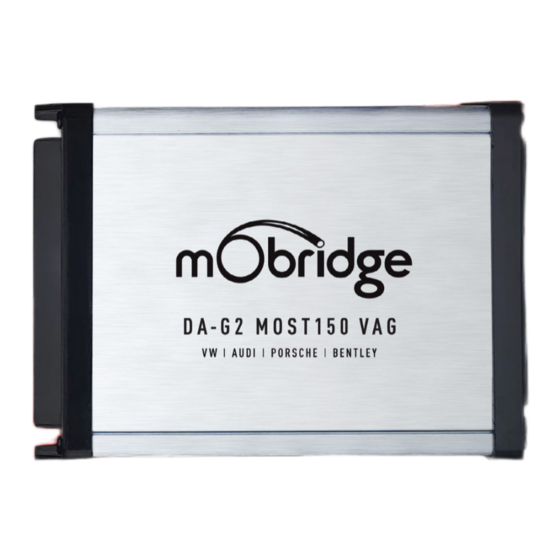
Summary of Contents for Mobridge DA-G2 MOST150 VAG
- Page 1 DA-G2 MOST150 VAG PROCESSOR M O B R I D G E . U S CONTAC T US PHONE (213) 401-0127 INQUIRIES sales@mobridge.com.au A U D I O R E I M A G I N E D I...
-
Page 2: Table Of Contents
DA-G2 MOST150 VAG Processor HARDWARE INSTALLATION System Layout Can you please supply a DA-G2 MOST150 VAG (Analog) picture of your unit DA-G2 MOST150 VAG (Digital Toslink) Unit Connections Installation Guide Installation Notes Tuning tips LED Status Indication DownMix Scenario Examples... -
Page 3: Disclaimer
D I S C L A I M E R mObridge makes every effort to try and keep the support Congratulations on your purchase of a mObridge DA-G2 MOST150 VAG and installation documentation up to date. processor. mObridge prides itself on striving to develop and manufacture... -
Page 4: Overview
OVER VIE W VEHICLE COMPATIBILIT Y The mObridge DA-G2 MOST150 VAG processor is compatible with specific late model Audi, Volkswagen, Porsche and Bentley vehicles. Please refer to the table below for the complete compatibility list. D A - G 2 M O S T 1 5 0 V A G... -
Page 5: Hardware Installation
H ARDW AR E IN S TA L L A TI ON HA RDWA RE INST ALLA TIO N SYSTEM L AYOUT | DA-G2 MOST150 VAG (ANALOG) SYSTEM L AYOUT | DA-G2 MOST150 VAG (DIGITAL TOSLINK) Amplifier turn-on 12v (... -
Page 6: Unit Connections
UNIT CONNECTIONS INSTALL ATION GUIDE If this vehicle has a factory amplifier, it must be removed and the mObridge can be installed into its USB (UPDATE) TOSLINK place. If this is an MIB3 system, then the mObridge is installed at the MMI module and the amp OUTPUT remains connected. -
Page 7: Installation Notes
Before connecting power to the mObridge, adjust dip-switch settings for the desired options: INSTALL ATION NOTES NOTE: If the vehicle does not possess an OEM amplifier, you must program the system for external amplifier for the This interface can be installed in vehicles with or... -
Page 8: Tuning Tips
Simply set the ‘reverse (Music) Front Rear Rear (L+R) volume’ to desired level while in reverse to adjust With dynamic music playing, adjust the radio this. The mObridge will retain this method. The 2 Channel Stereo Stereo Stereo Stereo Center Mono volume to maximum. -
Page 9: Technical Specifications
P O W E R S U P P LY < 1mA Current Hardware Version --1r0-- Current Consumption (Stand-by) Current Software Version mObridge 1.6.26-3-19-19 Current Consumption (Operational Idle) 350 mA MAX Current Software Version Windows 7 (64 bit), 8, 10 Operational Voltage 7V –... -
Page 10: Added Controls And Options
Subwoofer, Bass and Treble for direct Subwoofer control from the are now individually controllable from the Surround mObridge (RCA #12) (figure 01). radio screen, direct to the mObridge. (figure 03). 2:08 FIG 03 VW vehicles MIB 2 STD... -
Page 11: Faq
Insert the MIB3 programmer into the vehicle’s Treble 10:50 10:50 3D effect OBD port and wait approximately 30 second to After the radio restarts, if the mObridge is not Medium High Subwoofer 1 minute. currently connected, there will be no audio. - Page 12 NOTES PA G E 2 2 D A - G 2 M O S T 1 5 0 VA G P R O C E S S O R G U I D E...


Need help?
Do you have a question about the DA-G2 MOST150 VAG and is the answer not in the manual?
Questions and answers