
Related Manuals for Euphree CITY ROBIN X+


Summary of Contents for Euphree CITY ROBIN X+
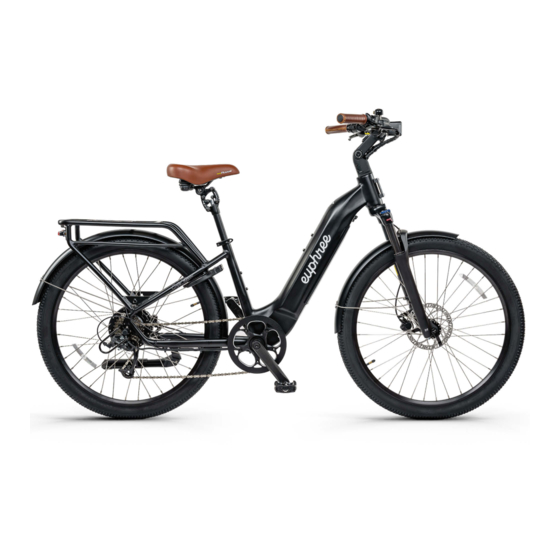
- Page 1 STEP-THRU EBIKE CITY ROBIN X+ Step-Thru Electric Bike Model X+ MANUAL Phone: (866) 729-8075 Website: www.euphree.com...
-
Page 2: Table Of Contents
EUPHREE C I T Y R O B I N X + C I T Y R O B I N X + + Model X+ MANUAL TABLE OF CONTENT EBIKE ASSEMBLY An American Company BASED OUT OF HOUSTON, TEXAS. - Page 3 This manual contains many warnings and cautions concern- curred as a result of the use of the Euphree City Robin X+ is limited to the cost of repairing or placing ing safe operation and consequences if proper setup, operation and maintenance are not performed.
- Page 4 Euphree for assistance. Before every ride, ensure the battery is ade-quately charged • Before cleaning your ebike, turn off the ebike and turn off the battery. Wipe the frame with a and operating properly.
-
Page 5: C I T Y R O B I N X
Front headlight ebike manual Step 1: Open the ebike box Components included in shipment, if there are any missing parts, please contact Euphree Step 2: Register your ebike Register your ebike to activate the warranty and link it to your purchase by scanning the QR code or registering at... - Page 6 After making any adjustments, perform the twist test again. If the handlebar still • Unscrew the bolt on the front of the fork moves, contact Euphree or consult a local, certified ebike mechanic. • Screw in the front fender with the same bolt onto the front fork •...
- Page 7 Step 9: Install the pedals • The pedals have a small A (right pedal - drive side) or B (left pedal - non drive side) on the front. • Place each pedal on the corresponding crank. • Pedals are left handed threads. Hardware Location Hardware Torque required(Nm)
-
Page 8: Battery
If the seatpost is raised beyond the minimum insertion point, the seatpost or frame may a charger purchased directly from Euphree that is designed for your ebike model. Never use an after- break, which could cause a rider to lose control and fall, resulting in damage to the ebike, to property, market charger. - Page 9 Connect to the DC output plug from the charger to the charging port on the side of If storing your Euphree ebike for longer than two weeks at a time, follow instructions to help maintain the battery health and longevity of your battery.
- Page 10 Contact Euphree if you have questions regarding assembly The battery will arrive with approximately 50-75% charge. It can be ridden without initial charging or or operation.
-
Page 11: Display
Handlebar features: Settings Menu The figure below shows the features of the handlebar • The settings, bike information, language, color themes, password, bluetooth and factory reset may be accessed from the settings menu Mode Selector: The image and table below show the features and information of the Mode Selector. Display Settings: •... - Page 12 Max speed set to class III ebike speeds of 28 mph Your Euphree is equipped with an error detection system integrated into the display and controller. In the case of an electronic control system fault an error code should display. The following error codes are the Display info most common and can aid in troubleshooting.
- Page 13 The error code Fault description Troubleshooting methods Check whether the speed control is in "04" The speed control put is not returned place "05" Speed regulation put fault Check the speed gauge "OT' Overvoltage protection Check the battery voltage "08'' Motor Hall signal line failure Check the motor module "09"...
- Page 14 ● Carrying loads: this manual in its entirety, the rider may now operate the Euphree ebike. On a flat surface, most rid-ers should be able to begin pedaling the ebike with pedal assist level 0 or 1. You may also...
- Page 15 Use of aftermarket tires or inner tubes not provided by Euphree may void your warranty, may dam- age your ebike, or may create an unsafe riding condition resulting in loss of control, accidents, seri- Extra care must be taken if operating this ebike at night.
-
Page 16: Warranty
• For the avoidance of doubt, Euphree will not be liable and/or responsible for any damage, failure or loss caused by any unauthorized service or use of unauthorized parts. •...
Need help?
Do you have a question about the CITY ROBIN X+ and is the answer not in the manual?
Questions and answers