Advertisement
Quick Links
Advertisement

Subscribe to Our Youtube Channel
Summary of Contents for Bambu Lab Kit-002
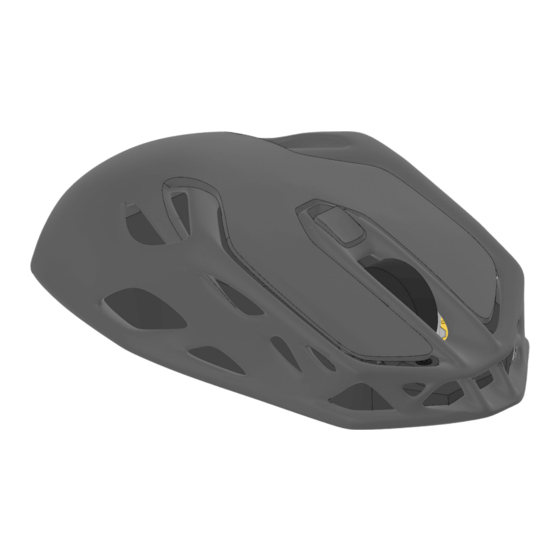
- Page 1 Wireless Mouse Components Kit-002 Assembly Guide...
- Page 2 List ① Scroll Wheel ② Power wires ③ Mouse Foot Pads (x4) ④ PCB Board ⑤ 2.4G Module ⑥ Lens ⑦ Toggle Switch ⑧ BT2x8 Screws(x6)
-
Page 3: Installation Steps
Installation Steps ① Remove 3D print support structures. - Page 4 ① Remove the protective film from the sensor surface. ② Place the PCB board and toggle switch in their respective positions.
- Page 5 ① Install the scroll wheel onto the PCB. ② Install the PCB onto the base plate, taking care to align with the toggle switch and the positioning holes.
- Page 6 ① Insert the positive and negative terminals, as well as the socket, into their respective slots. ② Gently tuck the positive (red) wire into the wire groove.
- Page 7 ① Be careful to avoid pressure on the wires from the PCB cover plate. ② Secure the PCB cover plate to the base plate using 3 screws.
- Page 8 ① Insert the front of the mouse into the front end of the upper shell. ② press down gently to secure the rear of the mouse. ③ Secure the base plate with two screws. ④ Attach the mouse foot pads.
- Page 9 ① Insert the battery. ② Insert the 2.4G module. ③ Press down and snap on the battery cover.
- Page 10 Note1:Push in the area of the battery cover depicted above to open it. Note 2: If the mouse disconnects during initial startup, you can perform a pairing operation as described below: 1. Keep the mouse powered off. 2. Insert the receiver into the computer. 3.
Need help?
Do you have a question about the Kit-002 and is the answer not in the manual?
Questions and answers