Table of Contents
Advertisement
Quick Links
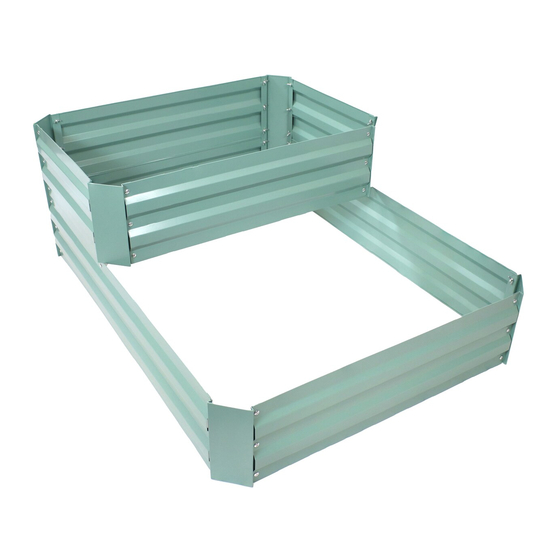
2 - TIER GALVANIZED STEEL
Review all care and assembly information carefully before using this product. Save this manual for future reference.
Inspect packaging to ensure all
parts are accounted for before
disposing of packing materials.
Save the packing slip.
No.
A
B
C
D
E
F
G
H
Tools Required
709185
Purchase Date:
Thank you for choosing Sunnydaze Decor. We stand behind our brand and the quality of the items we sell.
Replacement parts or products will be sent at our discretion within the 1-year warranty period. Proof of purchase, with
the date of purchase as well as photos of the merchandise defect, must be provided. Photos are used to determine
the cause of defects and for future quality control. Register your warranty at
If you have any questions, comments or concerns, feel free to contact us by phone at 833-982-1977, by email:
customerservice@sunnydazedecor.com, or via our contact us page at
RAISED GARDEN BED
Assemble components on a soft, clean surface to avoid damaging the finish.
Parts
Long Side Panel
Short Side Panel
End Panel
Short Corner
Long Corner
Bracket
M6x10mm Bolt
Wing Nut
(not included)
Phillips Screwdriver
/
/
Order/Customer Reference Number:
Qty.
CAUTION:
2
2
SHARP EDGES
4
4
USE EXTREME CAUTION
2
◄ WEAR GLOVES DURING ASSEMBLY ►
2
50
50
CHOKING HAZARD — This item contains small parts that can be
swallowed. Keep children and pets away during assembly.
09/2023
https://tiny.cc/SunnydazeWarranty
https://tiny.cc/SunnydazeContact
WARNING
Page 1 / 4
Advertisement
Table of Contents

Related Manuals for Sunnydaze Decor 2-TIER GALVANIZED STEEL RAISED GARDEN BED


Summary of Contents for Sunnydaze Decor 2-TIER GALVANIZED STEEL RAISED GARDEN BED
- Page 1 Order/Customer Reference Number: Thank you for choosing Sunnydaze Decor. We stand behind our brand and the quality of the items we sell. Replacement parts or products will be sent at our discretion within the 1-year warranty period. Proof of purchase, with the date of purchase as well as photos of the merchandise defect, must be provided.
- Page 2 ASSEMBLY Review all steps and understand assembly before beginning. Do not fully tighten hardware until all components have been loosely assembled. STEP 1 STEP 2 C: 2 B: 2 D: 4 H: 6 H: 12 G: 6 G: 12 IMPORTANT: Identify the rolled edges of the panels and ensure IMPORTANT: Do not secure the bottom mounting holes;...
- Page 3 STEP 5 C: 2 D: 4 H: 12 G: 12 Loosely secure Panels (C) to the long corners using twelve Bolts (G) and Wing Nuts (H). STEP 6 A: 2 H: 6 G: 6 Align the assembled unit from Step 2 with the long corners and secure using six Bolts (G) and Wing Nuts (H).
- Page 4 USE & CARE • This garden bed provides ergonomic access to plants and can eliminate the need to till the soil each year as long as the soil is not packed down. Avoid stepping inside the bed! • Prepare the site before installation. Level the ground and remove existing vegetation. Landscaping fabric can be used under the beds;...
Need help?
Do you have a question about the 2-TIER GALVANIZED STEEL RAISED GARDEN BED and is the answer not in the manual?
Questions and answers