Advertisement
Quick Links
Advertisement

Related Manuals for LifeBasis RN-PRO200

Summary of Contents for LifeBasis RN-PRO200
- Page 1 LifeBasis Intelligent Radon Monitor Instruction Manual RN-PRO200...
-
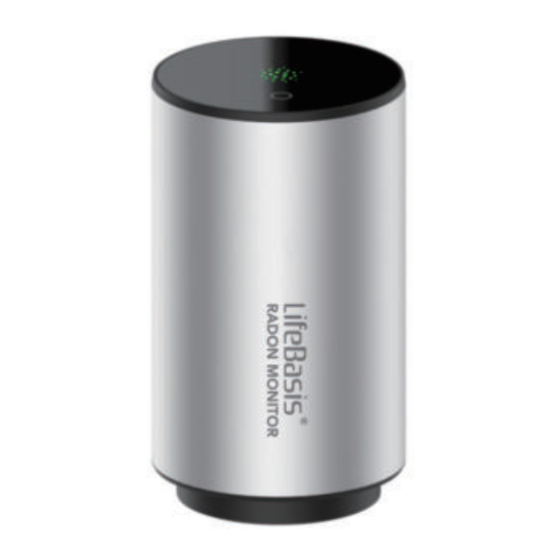
Page 2: Product Description
Thank you very much for using this product. In order to enjoy the service of this product, please keep and read the instruction carefully. If you have any problems for this product, please feel free to contact us ( contact@lifebasis.com). Product Description Our innovative radon monitor, which integrates the latest high-preci-... - Page 3 Product Placement Guidelines 1. Make sure it’s at the correct height. Place our radon monitor at least 20inches (50cm) above the floor. 2. Don't place radon monitor close to open windows or vents, and keep it away from high heat and high humidity. 3.
-
Page 4: Product Technical Specifications
Product Technical Specifications Product Name Intelligent radon monitor Sensor Type Pulsed ion chamber First Radon Result About 10 min First Highly Reliable Radon Result Within 1 hour Radon Date Update Interval 10 min (updated the average of the previous hour) Radon Count Sensitivity 30CPH (1hour / 1pCi/L) Measurement Range... - Page 5 How to Connect the Device and Use it ? Step 1.Connect the power cable into the device and plug the power adapter into an AC power supply. 2.Download and install the “Tuya” Step Smart App through the Google Play Store or Apple App Store. Or to scan QR code ( Picture 1) to download the “Tuya”...
- Page 6 Step 5. Click on the “Add device” button or the upper right corner “+” icon, add the device. Step 6. At this time, the connection box will pop up,click “Go to add” or “Add” to start pairing.
- Page 7 Enter Wi-Fi name Step 7. and password for your device to connect to Wi-Fi. Step 8. Enter the device page (picture 1). Click the device icon, you can jump to the data graph (picture 2); Click the data graph, you can jump to the data logger (picture 3).
- Page 8 Setting Alarm Level Threshold You can set the alarm level threshold freely as following - 2 Ways of Setting Up. Setting 1:...
- Page 9 Setting 2:...
- Page 10 Radon Data Log, And You Can Sharing With Others Keep track of hourly radon level by time and date of measurement. Click on the “Sharing” icon of the upper right (Picture 1). Then enter the Email address (Picture 2), you will share the radon date log to this email (please download email attachment to see graph).
-
Page 11: Maintenance
Maintenance 1. About the resetting WiFi. Press and hold the picture icon to enter the management interface, select the device you need to reset WiFi, click “Remove Device”, and then re-enter the pairing the status after removing the device. - Page 12 2. Reset existing data -To erase all data on your account, you need to remove your device and add again. 3. Power Off To switch off the radon monitor, please remove the power cable from the back side.
-
Page 13: Package Including
Led Light Color Guide Led Status Monitor Status It's before the paring state and need to be pared Flashing Green quickly with the smart phone and wireless router. It is in the paring state and waiting for paring with Flashing Red slowly smart phone and wireless router.
Need help?
Do you have a question about the RN-PRO200 and is the answer not in the manual?
Questions and answers