Table of Contents
Advertisement
Quick Links
Advertisement
Table of Contents

Related Manuals for moda Nexus

Summary of Contents for moda Nexus
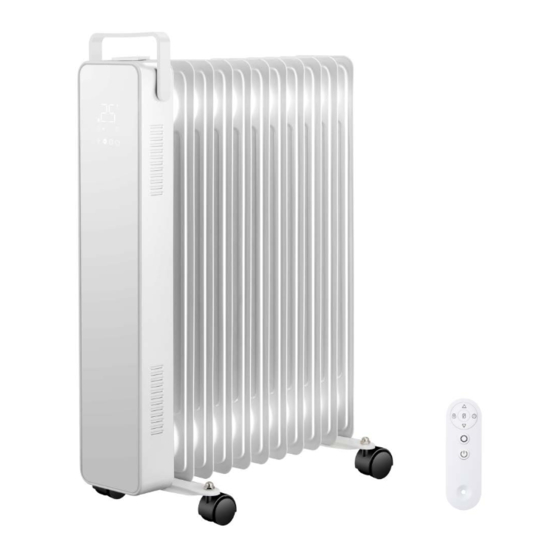
- Page 1 Nexus WiFi Oil-filled Portable Heater PLEASE READ AND SAVE THESE INSTRUCTIONS...
-
Page 2: Table Of Contents
Contents 1. Symbols......................3 2. Warnings & Precautions................ 3 3. Technical Information................7 4. Installation ...................... 7 5. Control Panel....................10 6. Using the Remote Control..............12 7. Connecting to WiFi ..................14 8. Using the App ....................18 9. Cleaning......................20 10. -
Page 3: Symbols
1. Symbols This symbol indicates a hazard with an average risk level which, if not avoided, could result in serious injury or death. This symbol indicates danger to the life and health of persons due to electrical voltage. This symbol located on the device indicates that it is prohibited to place objects (such as towels, clothes etc.) above or directly in front of the device. - Page 4 Save all warnings and instructions for future reference. Some parts of this product can become very hot and cause burns. Do not touch the surface when in operation. Do not install close to curtains or other combustible materials. Particular attention should be given where children and vulnerable adults are present.
- Page 5 If the supply cord is damaged, it must be replaced by the manufacturer, its service agent or similarly qualified persons to avoid a hazard. Make sure that the voltage indicated on the rating plate for this appliance corresponds to your power outlet: AC 220-240V, 50/60Hz. Check for transportation damage and make sure all parts are ...
- Page 6 Never insert fingers or other objects or body parts into the heater's protective grill: risk of electric shock or injury. The device must only be installed in an upright position on a smooth, stable, heat-resistant surface. The device is for indoor use only. Do not use outdoors. ...
-
Page 7: Technical Information
3. Technical Information Table 1: Technical Specifications Voltage 220-240V AC / 50-60Hz Wattage 2000W, 2500W Temperature Range 5–40 °C Temperature Resolution 1 °C IP Rating IP00 Appliance Class Class I Power cable length 1.5m 4. Installation 4.1. Fixings Before beginning installation, check that all fixings are supplied. The heater should only be mounted with the manufacturer’s fixing Component Castor wheels... - Page 8 2. Turn the radiator upside-down on a stable and clean surface. 3. Fit the two sets of castor wheels between the outermost fins. 4. Insert the hooked end of the Arc Bracket into the castor wheel, ensuring the curved section sits over the lower bar of the heater. 5.
- Page 9 4.3. Using your Moda Nexus Do NOT! DO NOT use in a bathroom or in the immediate surroundings of a swimming pool or other water container. Risk of electric shock, injury or death. DO NOT use in rooms where potentially flammable or ...
-
Page 10: Control Panel
5. Control Panel 5.1. Display The heater features a dimmable touchscreen LED display. Timer in Set temp progress display Keypad Heating icon locked Decrease Increase button button Brightness Standby/On button button Timer set Change mode button button Figure 3: Control Screen Layout and symbols Comfort Anti-Frost (full power) - Page 11 switches the heating on and off accordingly. The icon displays when the heater is heating. Set temperature can be adjusted between 5 °C and 50 °C using the keys. This will change the set temperature for both Comfort and Eco mode.
-
Page 12: Using The Remote Control
6. Using the Remote Control The Moda Nexus comes with built-in WiFi as well as a remote control, for total flexibility. The remote control can be used up to 2 metres away from the heater. - Page 13 All functions of the heater that can set via the control panel are available through the remote control. Button Operation Press the standby key to toggle between standby mode and the heating modes. Press the mode key to toggle between the heating modes: Comfort, Eco and Anti-frost.
-
Page 14: Connecting To Wifi
7. Connecting to WiFi 7.1. Downloading the app The Moda Nexus is designed to work with the Smart Life app. Scan the code below to go to the app. Press install and follow the app's instructions to create an account. - Page 15 connect on AP mode. You can change pairing mode by holding down the key. a. The symbol flashes fast - twice per second. This is EZ or Smart mode. See Figure 5 below. i. Select “Confirm the indicator is blinking”, then tap “Blink Quickly”.
- Page 16 Figure 6: Connecting the heater to the app using AP Mode 7. Once you have reached the connecting screen, it should take 20-30 seconds for the heater to be successfully added to the app. “Device added successfully” will display on the app and the symbol on the heater display will solidify.
- Page 17 Figure 7: Change heater name on app Troubleshooting If the heater does not connect on the first attempt: Repeat the steps above but try the alternate pairing method. Hold down the key to switch pairing mode. Reset the heater by turning it off at the wall socket, waiting a few ...
-
Page 18: Using The App
8. Using the App NOTE - The Smart Life app is a constantly evolving third party system. The guide below was correct at time of printing but may differ slightly from future versions. 8.1. Home overview You can use the Smart Life app to control multiple devices. - Page 19 8.3. Choose mode Tap the mode icon to choose the heating mode. The three options correspond to the three modes on the control panel: comfort, eco and anti-frost. 8.4. Countdown timer Tap the timer icon and scroll through the menu to set the countdown period from 1 to 24 hours.
-
Page 20: Cleaning
8.5.2. Display brightness Use the "Light" toggle in the settings menu to switch the heater display from full brightness to no light. Note - the half light display setting can only be set as the active light level using the icon on the heater. -
Page 21: Warranty
10. Warranty The Moda Nexus Oil-filled Heater carries a 1-year guarantee on the body, paintwork electrical components. Within the stated period, starting from the date the customer receives their unit, the supplier guarantees to repair or replace the unit where a fault is due to defects in materials or manufacturing. -
Page 22: Disposal
12. Manufacturer Information The Moda Nexus Oil-filled Heater is an electric heating product produced for Moda Heating and sold through various retailers and distributors. Please contact your supplier for technical advice regarding this product.
Need help?
Do you have a question about the Nexus and is the answer not in the manual?
Questions and answers