Advertisement
Available languages
Available languages
Quick Links
Installation Manual
Manual de Instalación
For technical support contact
Para soporte técnico, póngase en contacto con
626-341-5763
grace@homebandc.com
http://www.homebandc.com/
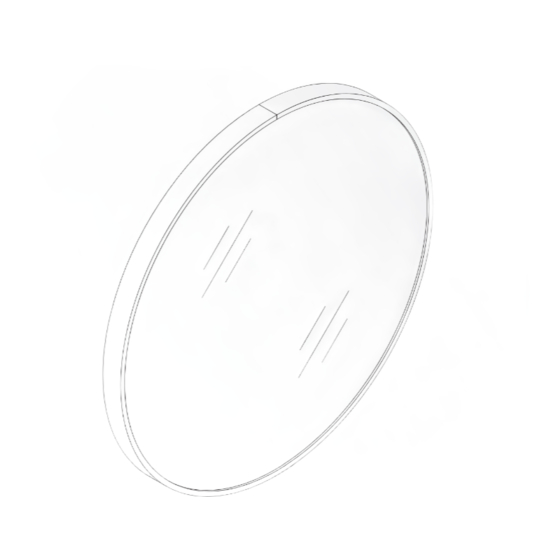
ROUND FRAMED
MIRROR
ESPEJO REDONDO CON
MARCO
Model Number/Número de modelo: RM-XX Series
Advertisement

Related Manuals for HERMITAGE BATH RM Series

Summary of Contents for HERMITAGE BATH RM Series
- Page 1 Installation Manual Manual de Instalación For technical support contact Para soporte técnico, póngase en contacto con 626-341-5763 grace@homebandc.com http://www.homebandc.com/ ROUND FRAMED MIRROR ESPEJO REDONDO CON MARCO Model Number/Número de modelo: RM-XX Series...
- Page 2 TABLE OF CONTENTS Component Details Pre-Installation Guidelines Installation Steps English Detalles del componente Instrucciones previas a la instalación IPasos de instalación 8-10 Español...
- Page 3 Detailed diagram of aluminum mirror components...
-
Page 4: Parts List
PARTS LIST. MIRROR(1 PCS) 1 1/12"SCREW(2 PCS) WALL PLUG(2 PCS) WARNING: SAFETY GLASSES SHOULD ALWAYS BE WORN WHEN WORKING WITH A DRILL. REQUIRED TOOLS: SCREW DRIVERS MEASURE TAPE DRILL BITS DRILL RUBBER MALLET LEVEL SAFETY GLASSES PENCIL Before You Start Thank you for choosing our Aluminium Mirror. - Page 5 STEP 1 Choose the preferred mirror position. Indicate the location. STEP 2 Mark the drilling location, ensuring that the markings are level. Model No.
- Page 6 STEP 3 3.1 Drill holes approximately 1 1/2" deep at the marked location. 3.2 Insert wall plug For drywall with a thickness exceeding 10-12mm, ensure the use of designated drywall anchors for installation. For drywall with a thickness less than 10-12mm, make sure to install the brackets on the stud.
- Page 7 STEP 3 Position the mirror against the wall and slide it downward as illustrated in image...
- Page 8 Diagrama detallado de los componentes del espejo de aluminio. TORNILLO DE 1 1/12"...
-
Page 9: Lista De Piezas
LISTA DE PIEZAS TORNILLO DE 1 1/2" ESPEJO (1 pieza) TACO DE PARED (2 piezas) (2 piezas) ADVERTENCIA: SIEMPRE SE DEBEN USAR GAFAS DE SEGURIDAD AL TRABAJAR CON UN TALADRO. HERRAMIENTAS NECESARIAS: DESTORNILLADORES CINTA MÉTRICA MARTILLO DE GOMA PUNTAS DE TALADRO PERFORADORA NIVEL GAFAS DE SEGURIDAD... - Page 10 PASO 1 Seleccione la posición preferida del espejo. Indique la ubicación. PASO 2 Marque la ubicación de perforación, asegurándose de que las marcas estén niveladas. Número de Modelo...
- Page 11 PASO 3 3.1 Taladre agujeros aproximadamente a 1 1/2" de profundidad en la ubicación marcada. 3.2 Inserte el taco para pared Para paneles de yeso con un grosor superior a 10-12 mm, asegúrese de utilizar los anclajes designados para paneles de yeso durante la instalación. Para paneles de yeso con un grosor inferior a 10-12 mm, asegúrese de instalar los soportes en el montante.
- Page 12 PASO 5 Coloque el espejo contra la pared y deslícelo hacia abajo según se ilustra en la imagen 2.
Need help?
Do you have a question about the RM Series and is the answer not in the manual?
Questions and answers