Table of Contents
Advertisement
Available languages
Available languages
Quick Links
Advertisement
Table of Contents

Summary of Contents for HERMITAGE BATH 2436
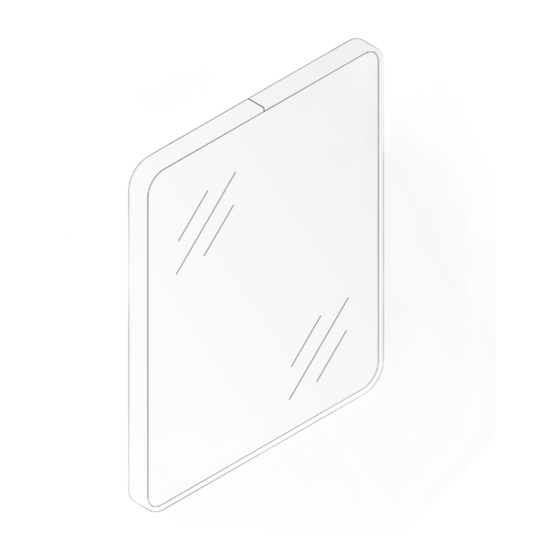
- Page 1 Installation Manual Manual de Instalación For technical support contact Para soporte técnico, póngase en contacto con 626-341-5763 grace@homebandc.com http://www.homebandc.com/ SQUARE MIRROR WITH FRAME ESPEJO CUADRADO CON MARCO Model Number/Número de modelo: 2436, 3036, 4236, 4836, 6036, 7236...
- Page 2 TABLE OF CONTENTS Component Details Pre-Installation Guidelines Installation Steps English Detalles del componente Instrucciones previas a la instalación IPasos de instalación 8-10 Español...
- Page 3 Detailed Diagram of Aluminium Mirror Components SCREW 1 1/2"...
-
Page 4: Parts List
PARTS LIST. MIRROR(1 PCS) 1 1/2" SCREW(2 PCS) WALL PLUG(2 PCS) WARNING: SAFETY GLASSES SHOULD ALWAYS BE WORN WHEN WORKING WITH DRILL. REQUIRED TOOLS: 5/16" DRILL MEASURE TAPE RUBBER MALLET DRILL BITS LEVEL PENCIL SCREW DRIVERS SAFETY GLASSES Before You Start Thank you for choosing our Aluminium Mirror. -
Page 5: Vertical Assembly
Choose the Mirror direction - vertical or horizontal Follow the appropriate diagram below VERTICAL ASSEMBLY HORIZONTAL ASSEMBLY STEP 1 Select the desired position of the mirror. Level and mark the location. Thank you for choosing our Aluminium Mirror. We hope to provide you with the mostsatisfying product and user experience. - Page 6 STEP 2 Mark the drilling locations and ensure marking are leveled, based on vertical or horizontal mounting. See chart below. VERTICAL HORIZONTAL MODEL NO. ASSEMBLY ASSEMBLY 4" for vertical 7" for vertical STEP 3 3.1 Drill holes approximately 1 1/2" deep at the marked location. 3.2 Insert wall plug For drywall with a thickness exceeding 10-12mm, ensure the use of designated drywall anchors for installation.
- Page 7 STEP 4 Install the screw , leaving a gap of 1/8" between the screw head and the wall. STEP 5 Peel off the double-sided tape film from the pad, place the mirror against the wall, and slide it down, as shown in Figure 2.
- Page 8 Diagrama Detallado de los Componentes del Espejo de Aluminio TORNILLO DE 1 1/12"...
-
Page 9: Lista De Piezas
LISTA DE PIEZAS TORNILLO DE 1 1/2" ESPEJO (1 pieza) TACO DE PARED (2 piezas) (2 piezas) ADVERTENCIA: SIEMPRE SE DEBEN USAR GAFAS DE SEGURIDAD AL TRABAJAR CON UN TALADRO. HERRAMIENTAS NECESARIAS: 5/16" TALADRO CINTA MÉTRICA MARTILLO DE GOMA BROCAS NIVEL LÁPIZ DESTORNILLADORES... - Page 10 Elige la dirección del espejo: vertical u horizontal. Sigue el diagrama correspondiente a continuación ENSAMBLAJE VERTICAL ENSAMBLAJE HORIZONTAL PASO 1 Seleccione la posición deseada del espejo. Nivélelo y marque la ubicación. Thank you for choosing our Aluminium Mirror. We hope to provide you with the mostsatisfying product and user experience.
- Page 11 PASO 2 Marque las ubicaciones de perforación y asegúrese de que las marcas estén niveladas, basándose en la instalación vertical u horizontal. Vea el cuadro a continuación. ENSAMBLAJE ENSAMBLAJE NÚMERO DE VERTICAL HORIZONTAL MODELO 4 pulgadas para vertical 7 pulgadas para vertical PASO 3 3.1 Perfore agujeros de aproximadamente 1 1/2 pulgadas de profundidad en la ubicación marcada.
- Page 12 PASO 4 Instale el tornillo , dejando un espacio de 1/8 de pulgada entre la cabeza del tornillo y la pared. PASO 5 Desprenda la película de cinta de doble cara del soporte, coloque el espejo contra la pared y deslícelo hacia abajo, como se muestra en la Figura 2. ALMOHADILLA...

Need help?
Do you have a question about the 2436 and is the answer not in the manual?
Questions and answers