Advertisement
en-us_main.book.book Page 1 Tuesday, October 31, 2023 10:48 AM
INSTALLATION MANUAL
MICROWAVE OVEN
Read this installation manual thoroughly before installing the
appliance and keep it handy for reference at all times.
ENGLISH
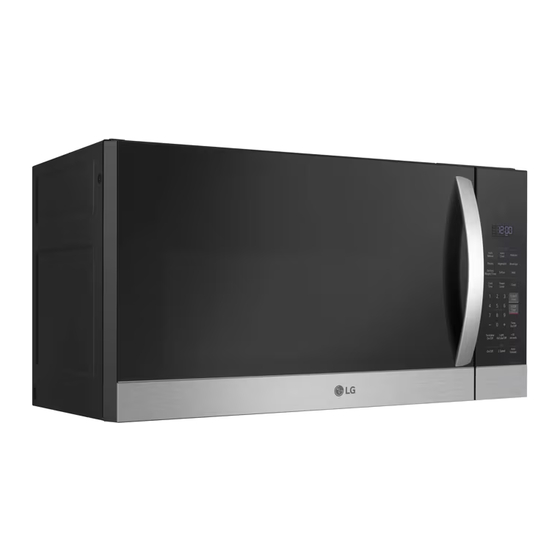
MVEM1825* MVEM1721*
www.lg.com
MFL06206516
Copyright © 2022-2023 LG Electronics Inc. All Rights Reserved.
Rev.02_103123
Advertisement

Related Manuals for LG MVEM1721F


Summary of Contents for LG MVEM1721F
- Page 1 Page 1 Tuesday, October 31, 2023 10:48 AM INSTALLATION MANUAL MICROWAVE OVEN Read this installation manual thoroughly before installing the appliance and keep it handy for reference at all times. ENGLISH MVEM1825* MVEM1721* www.lg.com MFL06206516 Copyright © 2022-2023 LG Electronics Inc. All Rights Reserved. Rev.02_103123...
-
Page 2: Table Of Contents
en-us_main.book.book Page 2 Tuesday, October 31, 2023 10:48 AM TABLE OF CONTENTS IMPORTANT SAFETY INSTRUCTIONS READ ALL INSTRUCTIONS BEFORE USE WARNING INSTALLATION Before Installing Installing the Microwave Oven 15 APPENDIX Checking Operation... -
Page 3: Important Safety Instructions
en-us_main.book.book Page 3 Tuesday, October 31, 2023 10:48 AM IMPORTANT SAFETY INSTRUCTIONS IMPORTANT SAFETY INSTRUCTIONS READ ALL INSTRUCTIONS BEFORE USE Safety Messages Your safety and the safety of others are very important. We have provided many important safety messages in this manual and on your appliance. Always read and follow all safety messages. - Page 4 en-us_main.book.book Page 4 Tuesday, October 31, 2023 10:48 AM IMPORTANT SAFETY INSTRUCTIONS • Place the plug into a properly installed and grounded outlet Three-pronged (grounding) plug Properly polarized and grounded outlet • Do not use an extension cord. • Keep the power cord dry and do not pinch or crush it. Failure to follow this instruction may cause a fire hazard.
-
Page 5: Installation
en-us_main.book.book Page 5 Tuesday, October 31, 2023 10:48 AM INSTALLATION INSTALLATION Before Installing • Be sure you have enough space (minimum vertical and horizontal clearance). Before You Start Be sure to read the following safety instructions Read the entire manual before you begin. The model number plate is located on the oven front. - Page 6 en-us_main.book.book Page 6 Tuesday, October 31, 2023 10:48 AM INSTALLATION Parts Tools and Materials You will need the following tools and materials for Included Parts the installation: NOTE • Depending on your ventilation requirements, you may not use all of these parts. Power cord clamp bushing (1ea): for the cord hole in a metal upper cabinet 1/4"...
-
Page 7: Installing The Microwave Oven
en-us_main.book.book Page 7 Tuesday, October 31, 2023 10:48 AM INSTALLATION NOTE WARNING • If you have brick or masonry walls, you will need • Avoid electric shock. This appliance must be special hardware and tools. grounded. • The ductwork you need for the installation is not •... - Page 8 en-us_main.book.book Page 8 Tuesday, October 31, 2023 10:48 AM INSTALLATION • After installation, check the outside hood 3 1/4" x 10" duct opening and operation. Wall cap • For the outside hood opening and size refer to the upper cabinet template or rear wall Elbow template.
- Page 9 en-us_main.book.book Page 9 Tuesday, October 31, 2023 10:48 AM INSTALLATION Cover the countertop or cooktop with a thick, For 3 1/4" x 10" systems protective covering to protect it from damage and dirt. 6 ft 2 ft = 25 ft 1/4"...
- Page 10 en-us_main.book.book Page 10 Tuesday, October 31, 2023 10:48 AM 10 INSTALLATION then one or several blower plate mounting Carefully lift the blower unit out of the screw(s) microwave oven. Use side cutters or tin snips to cut out and Blower unit remove the knockouts from the back plate Back plate...
- Page 11 en-us_main.book.book Page 11 Tuesday, October 31, 2023 10:48 AM INSTALLATION • Ventilation fan openings should be completely exposed to the outside. • After installation, check the air ventilation path. Refer to step 2 for proper vent selection. Improper installation can cause problems such as: •...
- Page 12 en-us_main.book.book Page 12 Tuesday, October 31, 2023 10:48 AM 12 INSTALLATION Center the rear wall template in the space Drill a 3/8” hole at points J and K on the upper by lining up the plumb line on the wall with cabinet template.
- Page 13 en-us_main.book.book Page 13 Tuesday, October 31, 2023 10:48 AM INSTALLATION Step 5: Install the Mounting Plate NOTE The oven must be connected to at least one wall • Cut out the shaded area marked F on the rear stud. wall template for wall-venting. Center the rear wall template in the space by lining up the plumb line on the wall with the centerline on the template.
- Page 14 en-us_main.book.book Page 14 Tuesday, October 31, 2023 10:48 AM 14 INSTALLATION Rotate the microwave oven upward so the top of the oven is against the bottom of the upper cabinet or cabinet frame. Then insert a bolt down through each hole in the upper cabinet bottom.
-
Page 15: Appendix
en-us_main.book.book Page 15 Tuesday, October 31, 2023 10:48 AM APPENDIX APPENDIX Checking Operation Before Using the Oven Plug in the power supply cord. Read your Owner’s Manual, and then check the operation of your oven. - Page 16 Page 16 Tuesday, October 31, 2023 10:48 AM LG Customer Information Center For inquiries or comments, visit www.lg.com or call: U.S.A. 1-800-243-0000 1-888-542-2623 CANADA Register your product Online! www.lg.com...
Need help?
Do you have a question about the MVEM1721F and is the answer not in the manual?
Questions and answers