Table of Contents
Advertisement
Quick Links
Advertisement
Table of Contents

Related Manuals for Racepak 250-DS-123


Summary of Contents for Racepak 250-DS-123
- Page 1 Racepak Dash Quick Start Guide 250-DS-123 & 250-DS-686...
-
Page 2: Table Of Contents
CONTENTS: Package Contents ............................. 3 Mounting ................................3 Connections ..............................5 Main Connector ............................5 CAN Extension Harness ..........................8 USB ................................9 GPS Antenna ............................. 9 Cleaning ................................10 Touchscreen Basics ............................10 Main Menu ............................... 10 Modifying Channels on a Preconfigured Layout ..................14 Saving Gauge Screens .......................... -
Page 3: Package Contents
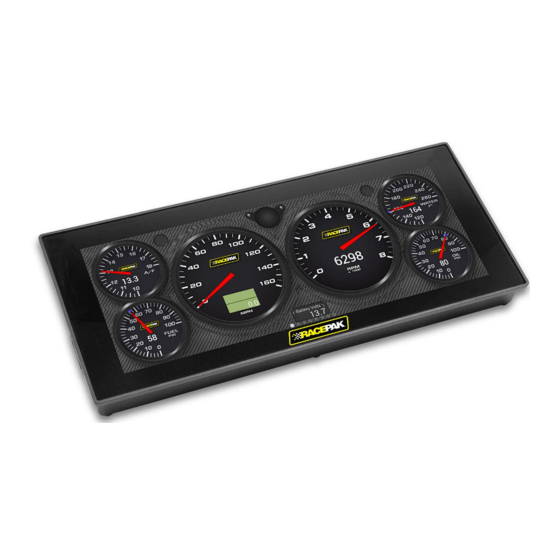
Introduction The Racepak 12.3” and 6.86” Dashes are customizable with a variety of gauge and indicator screens that can be programmed to display any parameter you need from a Racepak/Holley EFI system. This quick start guide will get you up and running with your new dash. A detailed User Manual can be found on the USB flash drive included with your product. -
Page 5: Connections
Connections Main Connector A 34 pin CAN/power harness is supplied with the dash and is used to for power, communications and I/O. The following are the required connections: Loose Black – Connect to a “clean” ground source. Don’t ground to poor sources such as sheet metal, or a ground point that does not have solid connectivity back to the battery. -
Page 8: Can Extension Harness
NOTE: IF NOT USING HOLLEY EFI SKIP TO PAGE 9 CAN – Connect the harness from the CAN connector on the vehicle’s EFI main harness to the dash using the supplied male/female 4’ CAN/Power extension. Place the supplied terminator into the empty CAN connector. The terminator must be used at the end of the CAN cable. -
Page 9: Usb
SSR1 SSR2 SSR3 SSR4 CAN1H CAN1L CAN2L CVBS1 CVBS2 CAN2H 5V_EXC AIN_1 AIN_3 AIN_5 AIN_7 AIN_9 AIN_11 AIN_13 AIN_2 AIN_4 AIN_6 AIN_8 AIN_10 AIN_12 SPD1 SPD2 Notes: 1. The 12V main power input (pin 2) also provides backup for the internal clock and GPS. 2. -
Page 10: Cleaning
Connect the SMA connector to the GPS antenna connector on the back of the unit. Do not overtighten the connector, 3-5 in lbs max. Cleaning If screen needs cleaning, use the supplied microfiber cleaning cloth. Do not use harsh chemical cleaners on the touchscreen display. - Page 11 Preconfigured Gauge Screens The following will appear the first time the dash is powered with an ECU connected, or when changing to a different type of ECU: Selecting Yes will load the appropriate default screens for your ECU.
- Page 12 Preconfigured Gauge Screens...
-
Page 14: Modifying Channels On A Preconfigured Layout
Modifying Channels on a Preconfigured Layout Choosing ‘Customize’ from the Main Menu enables the gauge customization mode. Entering this mode will allow any of the preconfigured layouts to be modified, or one may be built from scratch. Any gauge channel can be changed to meet user needs. To do this, touch the gauge you wish to modify and push ‘Customize’. -
Page 15: Rename And Save
Rename and Save The export function (below) will allow any gauge layout to be renamed and saved internally or to the included USB flash drive. To export a layout (single screen), touch any bare area of the background. Choose Layout >Export NOTE: The last ‘saved’... -
Page 16: Customizing The Gauge
Customizing the Gauge While in ‘Customize’ mode, touch the gauge you would like to modify and a menu will appear. To move the gauge, select ‘Move’ (A) and drag the gauge to place it in the desired location. To customize the visual properties and warning indicators, select ‘Customize’... -
Page 17: Data Log Playback
To restore a previously saved configuration, select the Restore Configuration from the menu, locate the desired .tgz file and press Restore. Data Log Playback The Holley EFI Pro Dash will play back logs that have been locally recorded using the ‘Record’ button or retrieved from an HP or Dominator ECU.
Need help?
Do you have a question about the 250-DS-123 and is the answer not in the manual?
Questions and answers