Table of Contents
Advertisement
Quick Links
Download this manual
See also:
User Manual
Advertisement
Table of Contents

Related Manuals for VistaQuest VQ-2000


Summary of Contents for VistaQuest VQ-2000
- Page 1 Quick-Start Guide DIGITAL CAMERA VQ2000...
- Page 2 020606 WARNING When the battery icon is blinking, download the pictures to your computer, immediately, and change the batteries; otherwise, your images will be lost. - 1 -...
-
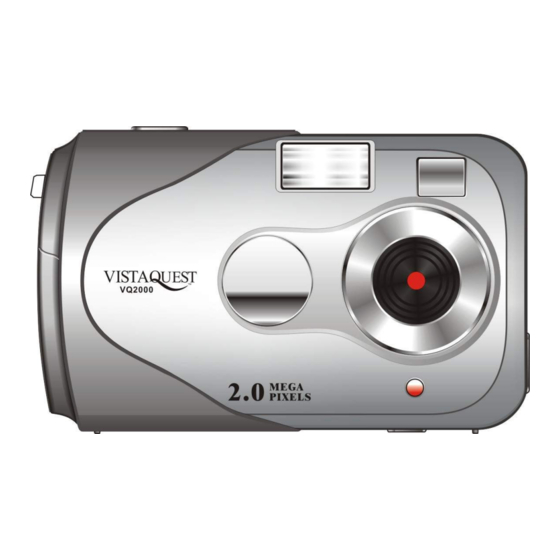
Page 3: Camera Features
1. Camera Features 1. Shutter Button 2. Flash 3. Viewfinder 4. USB Port 5. Lens 6. Self-Timer LED 7. Power/Mode Button 8. ENTER Button 9. Status LCD 10. Tripod Socket 11. Strap Eyelet 12. Battery Compartment Cover... -
Page 4: Installing The Batteries
Step 1: Open the battery door by lifting the tab on the door. Step 2: Insert two AA batteries with the polarity as Shown. Step 3: Close the battery cover. 3. Insert/Remove SD/MMC Memory Cards Inserting a Memory Card Insert an SD or MMC card into the memory card slot located on the side of the camera, and gently press down with your finger. -
Page 5: Avi Capture
Force Flash: the flash fires every time you take a picture, regardless of the lighting conditions. Auto Flash: the camera detects ambient lighting conditions, and the flash fires if it detects insufficient light. 6. Self-Timer If you would like to get into the image you may use the self-timer feature to delay image capture by ten (10) seconds. -
Page 6: Continuous Capture
8. Continuous Capture You can capture three images using the continuous capture feature. When you use this mode the image resolution will be 640 x 480. To use the Continuous Capture mode follow these steps: Step 1: Power on the camera. Press the Power/Mode button six times until the “ ”... -
Page 7: Camera Status Icons
Beyond the basics of capturing an image, the camera has many other features. Turn on the camera and notice the many icons and symbols on the status LCD: As you press the Power/Mode button the LCD display will change in the following order. To learn more about each function refer to the referenced section in this User Manual. -
Page 8: Display Information And Flows
6. Display Information and flows 1. Resolution Setting 1. Resolution Setting Press the Power/Mode button once. The LCD display will be as shown on the left. Press Power/Mode button repeatedly, the four stars (2408x1535) icon on the right top of the LED will change to one star (640x480) icon. Each time you are supposed to hold down Shutter button to confirm. - Page 9 5. Compression Rate Press the Power/Mode button seven times. The LCD display will be as shown on the left. Press the shutter button to confirm for shooting more images but small size. Press the Power/Mode button eight times. The LCD display will be as shown on the left.
- Page 10 8. Force flash Press the ENTER button once. The LCD display will be as shown on the left. Press the shutter button to confirm. 9. Auto flash Press the ENTER button twice. The LCD display will be as shown on the left.
- Page 11 The VistaQuest Corporation is proud that you have chosen its product and hopes you will enjoy sharing “a clearer vision” of your memories and special moments captured with your new camera with friends and family for many years.
Need help?
Do you have a question about the VQ-2000 and is the answer not in the manual?
Questions and answers