Table of Contents
Advertisement
Advertisement
Table of Contents

Related Manuals for PORODO Gimbal P10 PRO

Summary of Contents for PORODO Gimbal P10 PRO
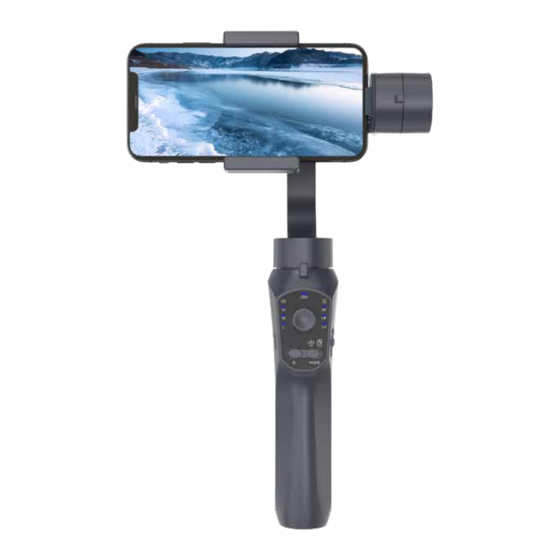
- Page 1 Gimbal P10 PRO 3-Axis anti shake - SKU: PD-3AXGMP-GGY...
-
Page 2: Table Of Contents
Table of Content Quick Start..................2 Powering the Device ON and OFF ............ 3 Bluetooth Connection ...............4 Instructions for Operation Modes............4 Schematic View of Porodo Gimbal P10 PRO ........7 Switching Between Horizontal/Vertical Mode ........11 Charging the Gimbal................14 App Connectivity................15 Specifications..................16 Caution.....................17 Storage and Maintenance..............17... -
Page 3: Quick Start
Quick Start To install the smartphone and adjust the balance of the phone follow these steps: Note: No need to turn on the Gimbal) 1. Remove the smartphone case before installation. 2. Place the smartphone in the phone holder, ensuring it is centered. 3. -
Page 4: Powering The Device On And Off
5. To re-adjust the phone loosen the balance knob. Adjust the balance arm until the smartphone is suitably balanced. Balance Knob Powering the Device ON and OFF Power ON Press and hold the power button until the indicator lights turn on. Power ON/OFF... -
Page 5: Bluetooth Connection
Power OFF Press and hold the power button until the indicator lights turn off. Bluetooth Connection 1. Turn on the device 2. Activate Bluetooth on your phone. 3. Navigate to the Bluetooth settings on your smartphone. 4. Select the device named "GP5_XXXX" to pair and connect. Instructions for Operation Modes All Follow (AF) Mode The Roll axis remains stationary.The Pan axis moves left and right... - Page 6 Half Follow (HF) Mode The Tilt and Roll axes are fixed. The Pan axis moves smoothly left and right in sync with the handle's movement. Roll axis Tilt axis Pan axis Lock Full (LF) Mode In this mode, the Pan, Tilt, and Roll axes are fixed. The camera remains stationary, not tracking the handle' s movement.
- Page 7 First Person View (FPV) Mode The Pan, Tilt, and Roll axes follow the movement of the handle, providing a first-person perspective. Roll axis Tilt axis Pan axis Phone Go Mode To activate the phone Go mode , press and hold the shutter button until the AF light starts flashing.
-
Page 8: Schematic View Of Porodo Gimbal P10 Pro
Schematic View of Porodo Gimbal... - Page 9 Battery Level Indicator High level (67%-100%) Battery Level Indicator Middle level (34%-66%) Battery Level Indicator Low level (1%-33%) Joystick Control the orientation of Gimbal Pro by maneuvering the joystick upward, downward, left, and right direction. Power Button (1) Long pressing the button turns the device ON and OFF. (2) Double press the power button to switch between front-facing and rear-facing cameras.
- Page 10 LF Mode Lock full (LF) mode is activated. HF Mode Half follow (HF) mode is activated AF Mode All follow (AF) mode is activated. Bluetooth Connection Indicator (1) Flashing slowly means that the Bluetooth is not connected. (2) Flashing rapidly indicates that Bluetooth is connecting. (3) Solid light is when Bluetooth is successfully connected.
- Page 11 Output Port Use this port to charge the smartphone. Shutter Button (1) Single press: Captures a photo or starts recording video (To use this feature connect the device to “Gimbal Pro” App). (2) Long press: Activates Phone Go mode. Input Port Use this port to charge the device.
-
Page 12: Switching Between Horizontal/Vertical Mode
Switching Between Horizontal/Vertical Mode There are three different methods to switch between horizontal and vertical modes Method 1: Pressing the Power Button 1. Position the gimbal as shown in the picture. 2. Press the power button three times to switch from horizontal to vertical mode. - Page 13 Method 2: Gesture Control 1.Hold the gimbal perpendicular to the ground. 2.Tilt the gimbal 70° left or right to switch orientation. 3.The gimbal automatically switches to vertical mode. 4.It will return to horizontal mode when held upright. Note: This method is not applicable in FPV mode.
- Page 14 Method 3: Rotate the Smartphone Clamp 1. Loosen the clamp knob. 2. Rotate the smartphone clamp by 90°. 3. Secure the phone by tightening the clamp knob.
-
Page 15: Charging The Gimbal
Charging the Gimbal Charging the gimbal Charging the smartphone To charge the smartphone follow these steps: 1. Place the phone inside the clamps as shown in the picture. 2. Use a Type-L charger to connect the smartphone to the gimbal. -
Page 16: App Connectivity
App Connectivity Porodo Gimbal is capable of performing primary tasks such as taking a simple picture without the App connectivity. However, various options, including the zooming feature, panoramic view, and time-lapse feature, are only provided via the Gimbal Pro App. -
Page 17: Specifications
Specifications Specifications Tilt angle 330° Roll angle 180° Pan angle 330° Weight 440 gr Payload 75 – 250 gr Operating temperature 0° to 40° C Controllable tilt angle -155° / +155° Controllable roll angle -30° / +30° Controllable pan angle -155°... -
Page 18: Caution
Caution 1. Ensure that the motor's rotation is not impeded by any external forces when the stabilizer is switched on. 2. Avoid exposing the stabilizer to seawater or corrosive liquids. 3. Do not disassemble the stabilizer, except to attach or detach accessories specified in the manual. -
Page 19: Warranty
Warranty Products that you buy directly from our Porodo website or shop come with a 24-month warranty. When you buy Porodo products from any of our approved sellers,you only get a 12-month warranty. If you want to extend this warranty, go to our website at https://porodo.net/warranty and fill out the...
Need help?
Do you have a question about the Gimbal P10 PRO and is the answer not in the manual?
Questions and answers