Lippert Flow Max RV Installation Manual
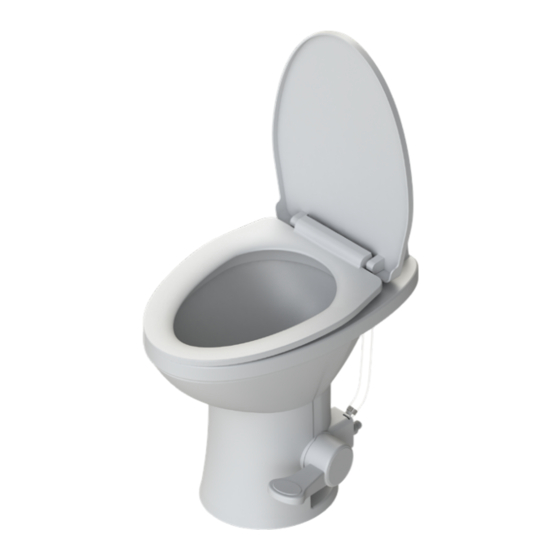
Toilet seat assembly kit
Hide thumbs
Also See for Flow Max RV:
- Installation manual (8 pages) ,
- Installation manual (4 pages) ,
- Service manual and troubleshooting manual (18 pages)

Subscribe to Our Youtube Channel
Related Manuals for Lippert Flow Max RV


Summary of Contents for Lippert Flow Max RV
- Page 1 Flow Max RV Toilet Seat Assembly Kit Installation Guide REV: 09.19.2023 TI-478 CCD-0007863...
-
Page 2: Parts List
Parts List Enlongated Seat Assembly Kit (2022121972) Letter Part Description Qty. 2020221050 Lid and Seat Assembly 2021106603 Flathead Screw, 1/4-20 X 1.75 2021106621 Adjustable Seat Block 2020221051 Toilet Seat Base 2021106608 Expanding Seat Nut, 0.72 X 1.50 REV: 09.19.2023 Page 2 TI-478 CCD-0007863... -
Page 3: Resources Required
Resources Required ∆ Hose clamp (if necessary) ∆ Phillips screwdriver ∆ Side-cut pliers ∆ Flat blade screwdriver ∆ Adjustable wrench Preparation NOTE: Only use FlowMax Seat Assembly Kit on the FlowMax Toilet to ensure it is the proper size and completely functional. 1. - Page 4 3. Slide lever to the left to unlock the seat. 4. While lever is to the left, pull seat (Fig. 2A) towards the front of the FlowMax bowl and away. This will allow the seat to slide off. 5. Use a screwdriver to remove Flathead Screws (Fig. 2B) from the seat base assembly.
- Page 5 6. Remove the rest of the seat assembly: A. Toilet Seat Base (Fig. 3A) B. Adjustable Seat Blocks (Fig. 3B) C. Expanding Seat Nuts (Fig. 3C) 7. Appropriately dispose of the old seat. Fig.3 TI-478 CCD-0007863 REV: 09.19.2023 Page 5...
-
Page 6: Post-Installation Checks
Installation 1. Remove new seat from packaging. 2. Install the seat assembly pieces as follows: A. Expanding Seat Nuts (Fig. 4A) B. Toilet Seat Base (Fig. 4B) C. Adjustable Seat Blocks (Fig. 4C) D. Flathead Screws (Fig. 4D) 3. Tighten Flathead Screws with a screwdriver to secure toilet seat base to FlowMax Bowl (Fig. - Page 7 Fig.4 TI-478 CCD-0007863 REV: 09.19.2023 Page 7...
- Page 8 Whenever, wherever, we make your experience better. LippertNOW Manual information may be distributed as a complete document only, unless Lippert provides explicit consent to distribute individual parts. All manual information is subject to change without notice. Revised editions will be available for free download at lippert.com.
Need help?
Do you have a question about the Flow Max RV and is the answer not in the manual?
Questions and answers