Advertisement
Quick Links
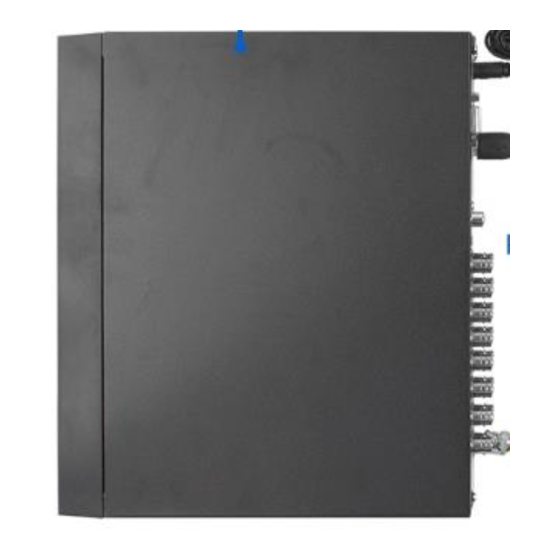
DVR-CVI-16CH
Warranty
1 Year Limited Warranty
Tech Support
1-866-514-8998
Mon-Fri
9am-5pm CST
Support@poedepot.com
DIY Kits Setup Instuctions
1. Connect each camera to the 65ft power and video cables.
2. Connect the 1-to-4 power splitter to the power adapter (from the
camera kit box).
3. Plug the video (yellow) connector to the DVR, and plug the power
(red) connector to the 1-to-4 power splitter.
4. Plug the power adapter (in the DVR accessories box) to the DVR.
5. Connect DVR with monitor by using VGA or HDMI cable.
6. Plug the mouse into USB port on the DVR.
7. Plug both power adapters into wall outlet.
8. Turn on the power switch on the back of the DVR (if applicable).
Initial Settings
1. Boot up device, which will display device initialization interface.
2. Setup password for admin (default username).
3. Set security questions and click "OK."
2
Advertisement

Related Manuals for BV Security DVR-CVI-16CH

Summary of Contents for BV Security DVR-CVI-16CH
- Page 1 DIY Kits Setup Instuctions DVR-CVI-16CH Warranty 1 Year Limited Warranty 1. Connect each camera to the 65ft power and video cables. Tech Support 2. Connect the 1-to-4 power splitter to the power adapter (from the camera kit box). 1-866-514-8998 3. Plug the video (yellow) connector to the DVR, and plug the power (red) connector to the 1-to-4 power splitter.
- Page 2 Quick Settings App Setup – Simpliview Require to connect DVR to network The startup and configuration wizards can guide you through the basic settings to get the device working properly. 1. Scan the QR code below and download “Simpliview.” 1. Login as an admin with the password. 2.
- Page 3 Schedule 6. Input your device name, click and scan/input the device SN. To find the device SN: 1. Enter Schedule interface: Right click mouse -> Main Menu -> Setup -> Network -> P2P Right click mouse -> Main Menu -> Setup -> Storage -> Schedule 2.
- Page 4 Motion Detection Playback Motion detection allows you to save hard drive space and maximize 1. Enter Playback interface: recording time by only recording when motion is detected in selected areas. Right click mouse -> Main Menu -> Search. 1. Enter Motion Detection interface: Device Selection Right click ->...
Need help?
Do you have a question about the DVR-CVI-16CH and is the answer not in the manual?
Questions and answers