Table of Contents
Advertisement
Advertisement
Table of Contents

Subscribe to Our Youtube Channel
Related Manuals for ViewSonic VOT133


Summary of Contents for ViewSonic VOT133
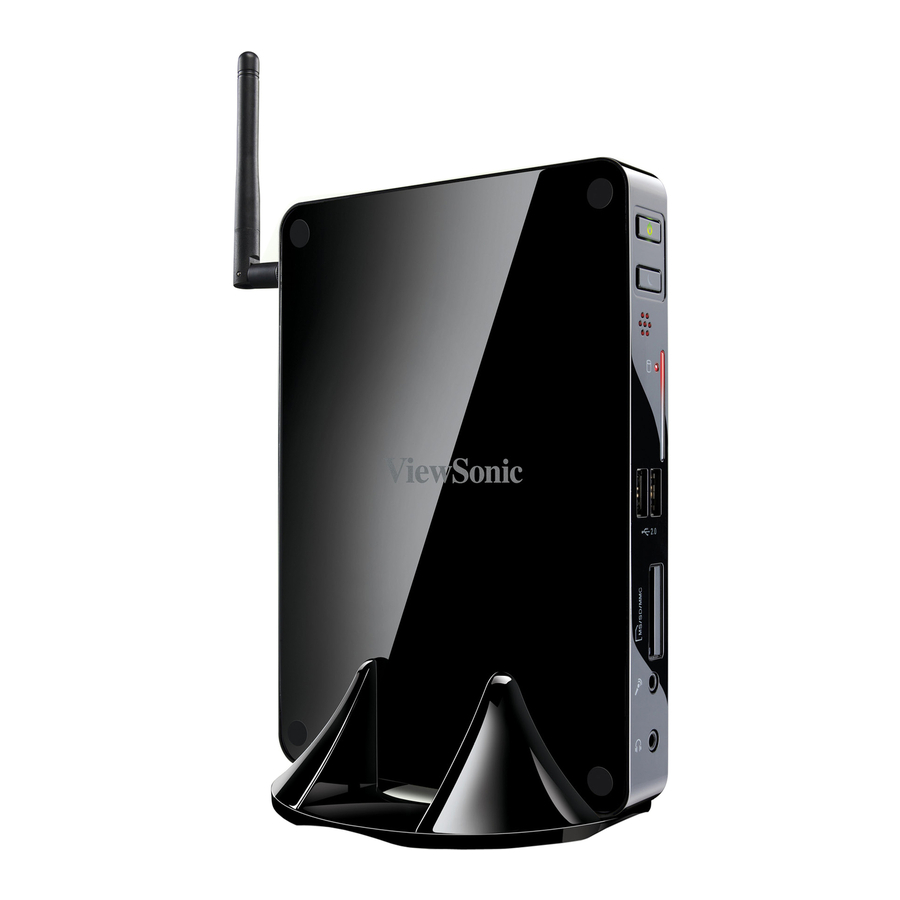
- Page 1 VOT133 PC Mini User Guide Model No. VS14165...
-
Page 2: Compliance Information
Preface Compliance Information For U.S.A. This device complies with part 15 of FCC Rules. Operation is subject to the following two conditions: (1) this device may not cause harmful interference, and (2) this device must accept any interference received, including interference that may cause undesired operation. - Page 3 systems according to local law. If the batteries, accumulators and button cells included with this equipment, display the chemical symbol Hg, Cd, or Pb, then it means that the battery has a heavy metal content of more than 0.0005% Mercury or more than, 0.002% Cadmium, or more than 0.004% Lead.
-
Page 4: Important Safety Instructions
Important Safety Instructions Read these instructions completely before using the equipment. Keep these instructions in a safe place. Heed all warnings. Follow all instructions. 5. Do not use this equipment near water. Warning: To reduce the risk of fire or electric shock, do not expose this apparatus to rain or moisture. Do not block any ventilation openings. Install the equipment in accordance with the manufacturer’s instructions. - Page 5 Declaration of RoHS Compliance This product has been designed and manufactured in compliance with Directive 2002/95/EC of the European Parliament and the Council on restriction of the use of certain hazardous substances in electrical and electronic equipment (RoHS Directive) and is deemed to comply with the maximum concentration values issued by the European Technical Adaptation Committee (TAC) as shown below: Substance...
-
Page 6: Product Registration
Serial Number: Purchase Date: Product disposal at end of product life ViewSonic respects the environment and is committed to working and living green. Thank you for being part of Smarter, Greener Computing. Please visit ViewSonic website to learn more. USA & Canada: http://www.viewsonic.com/company/green/recycle-program/ Europe: http://www.viewsoniceurope.com/uk/support/recycling-information/... -
Page 7: Table Of Contents
Table of Contents Chapter 1 Introducing the PC Mini Top View ... 2 Front Side View ... 2 Back Side View ... 3 Bottom View ... 3 Chapter 2 Placing and connecting the PC Mini Placement of PC Mini On the Desk ... 5 On the Display Back ... -
Page 8: Chapter 1 Introducing The Pc Mini
Chapter 1 Introducing the PC Mini The PC Mini is a compact and easy to use desktop. It features all the desktop capabili- ties but with a slim body design which enables your to browse the internet in a relax and comfortable way. -
Page 9: Top View
Introduction PC Mini features all the desktop capabilities but with a slim body design which enables you to browse the internet in a relaxable and comfortable way. 1-1 Top View 1-2 Front Side View Name Headphone Port Microphone In and S/PDIF In... -
Page 10: Bottom View
1-3 Back Side View Name RF(Radio Frequency) Port USB 2.0 Ports DVI Port HDMI Port Network Port Line Out and S/PDIF Out Port Power Input Port 1-4 Bottom View Name Description Sheet Metal Magnetic metal feet can be used for connection to optional VDD100 CD/DVD RW drive There are four Magnet-Metal-Feet in the package. -
Page 11: Chapter 2 Placing And Connecting The Pc Mini
Chapter 2 Placing and connecting the PC Mini In this chapter, the placement and the connection of some necessary peripherals will be introduced. This chapter includes the following information: ■ Placement of PC Mini ■ Connection of PC Mini... -
Page 12: Placement Of Pc Mini
2-1 Placement of PC Mini 1. On the Desk 1. You can install your PC Mini in the mount like the right image. 2. If there is enough space on your desk, you can simply put your PC Mini on the tabletop as shown below. 2-2 Connection of PC Mini 1. -
Page 13: Connect The Monitor
2. Connect the Monitor Connect a VGA to the PC Mini through DVI/VGA adapter. 3. Connect the USB Devices Connect USB devices to the USB ports of the PC Mini, for example, mouse and keyboard. 4. Connect the Network Cable Connect LAN cable to the RJ-45 port, with the other end connected to a hub or switch. -
Page 14: Connect The Power Cord
5. Connect the Power Cord Connect the power adapter to the power input port of the PC Mini, and push the power button to start it. Outlet The power adapter is dissipating heat during normal use, please make sure not to cover it and keep it away from your body to prevent discomfort or injury from heat exposure. -
Page 15: Chapter 3 Install Windows 7 In Pc Mini
Chapter 3 Install Windows 7 in PC Mini This chapter introduces the Windows installation : This chapter includes the following information: ■ Install Windows 7 ■ Install Drivers in Windows 7 Note: Skip this section, if you have purchased a PC Mini model with Windows 7 pre-installed. -
Page 16: Install Windows 7
Make sure you have these ready : 1. VDD100 . (It is an optional accessory. If there is no VDD100 in this package, you need other purchase an external USB DVD-ROM drive.) 2. PC Mini driver CD. (In this package) 3. - Page 17 4. The computer will reboot, and it will start loading the files for installing the Windows 7 Operating System. 5. After the computer reboots it will start loading the files for installing Windows 7. Click “Next” to continue and click “Install now” button to start the setup. 6. When the license terms appear choose accept and click “Next” to continue. 7. It will then ask you to select the installation type. Click “Custom (advanced)” to install a new copy of Windows.
- Page 18 9. In the hard disk size screen, you can click the “new” button to create partitions as you need. In this example we are creating a 70GB partition to install Windows. Make your modifications and click “Apply”. To ensure that all Windows features work correctly, Windows might create additional partitions for system files. So you will see a 100MB partition reserved by system after you create a partition.
- Page 19 10. The setup program will then start to install Windows 7 on your hard disk. During the installa- tion, your computer will restart several times. 11. When the installation is complete, setup will prepare your computer for it’s first use. You can then follow the steps to select system settings, create an account, set a password...etc, until the whole process is complete.
-
Page 20: Install Drivers In Windows 7
3-2 Install Drivers in Windows 7 1. When the Windows 7 is completely installed, you have to install the necessary drivers before using the PC Mini. Take out the Windows 7 Install CD from the USB DVD-ROM drive, and put the PC Mini driver CD inside. -
Page 21: Chapter 4 Specifications
Dimension • 190(W) x 135(D) x 24(H)mm Weight • 450g • PC Mini VOT133, Power Cord, Power adaptor, Desk Stand, VESA Mount, Quick Start Guide, ViewSonic Accessories Wizard CD, DVI to D-Sub adapter, WiFi Antenna, Magnet rubber *4, Screw *4, Insert sheet... -
Page 22: Chapter 5 Other Information
Renta y Datos, 29 SUR 721, COL. LA PAZ, 72160 PUEBLA, PUE. Tel: 01.222.891.55.77 CON 10 LINEAS Electroser, Av Reforma No. 403Gx39 y 41, 97000 Mérida, Yucatán. Tel: 01.999.925.19.16 Other places please refer to http://www.viewsonic.com/la/soporte/index.htm#Mexico Latin America (Peru) www.viewsonic.com/la/ Macau www.hk.viewsonic.com... -
Page 23: Limited Warranty
Germany, Spain, and Portugal are warranted for (2) years for parts and labor from the first consumer purchase. User is responsible for the back up of any data before returning the unit for service. ViewSonic is not responsible for any data lost. - Page 24 There are no warranties, express or implied, which extend beyond the description contained herein including the implied warranty of merchantability and fitness for a particular purpose. Exclusion of damages: ViewSonic’s liability is limited to the cost of repair or replacement of the product. ViewSonic shall not be liable for: 1. Damage to other property caused by any defects in the product, damages based upon...
Need help?
Do you have a question about the VOT133 and is the answer not in the manual?
Questions and answers