Advertisement
Quick Links
Advertisement

Related Manuals for Clavia nord stage 2


Summary of Contents for Clavia nord stage 2
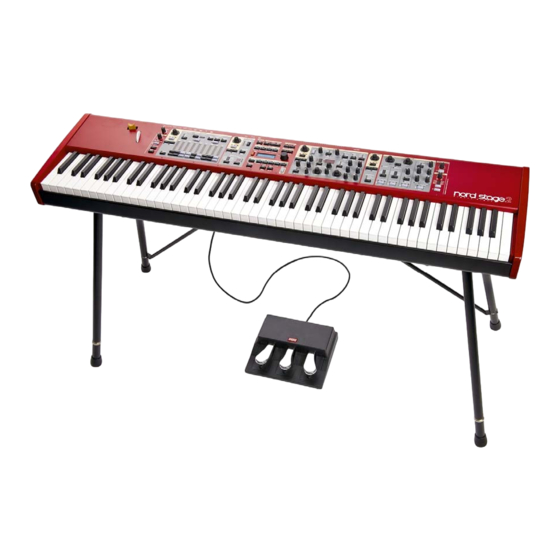
- Page 1 Service | Quick Guide v1.1 June 2011...
-
Page 2: Main Features
This NS2 service guide shortly explains the most common issues that might be of interest to authorized Nord Service Centers taking care of the Nord range. The information found in this document is not intended for end users and dealers. It may not be copied, modified or distributed in any way. - Page 3 Identifying REV A and REV B NS2 REV A is identified by the text “eighty eight” or “seventy six” below the logo. NS2 REV B units are identified by the text “Hammer Action HA88/76” below the logo. REV A REV B •...
- Page 4 Ribbon Cable, 10 pin – Powerboard | Part#23880 Ribbon Cables, 20 pin – Keyboard | Part#24144+24145 Clavia Service Kit | Part#13000 Two boxes filled with most common parts needed for the whole Nord range. Connectors, push buttons, jacks, pitch sticks etc.
- Page 5 Opening the NS2 The NS2 is opened by loosening four out of five screws on each wooden side panel. Keeping the screw mounted in each rear down-left/right corner makes it easier to tilt the upper lid when opening up the machine, please see the picture. After this, loosen the seven screws on the rear side as well as the three screws under the lower lid.
- Page 6 Clavia does not do any other spares related to the keybed such as rubber/contact strips, pcb’s etc. Each individual keybed is calibrated, key by key, in the Clavia factory and the IC holding this information is attached to the keybed.
- Page 7 After erasing the flashes, always install the OS first, followed by restoring the NS2 Factory Backup file using the latest Nord Sound Manager version. These files can be downloaded from our website. If the problem persists, or if the NP doesn’t manage to reach test mode all, please contact Clavia further assistance service@clavia.se.
-
Page 8: Test Mode
Test mode Like all Nord products, the NS2 holds an internal test program that is mainly used in the production line and as a guide for troubleshooting at service centers. Test mode Test mode (early revisions) Confirm (for erasing Flashes) Power off the NS2, press and hold SHIFT + KB ZONES 2 before powering the NS2 to reach the test... - Page 9 1. Mainbd Mainboard test used in production, automatically runs DSP/Flash tests. 2. Final 3. EEPROMQ 4. EEPROMT 5. DSP DSP tests, including external memories. 6. FlSynQ Flashtest of the synth section, quick version. 7. FlSynT Flashtest of the synth section, long version. 8.
Need help?
Do you have a question about the nord stage 2 and is the answer not in the manual?
Questions and answers