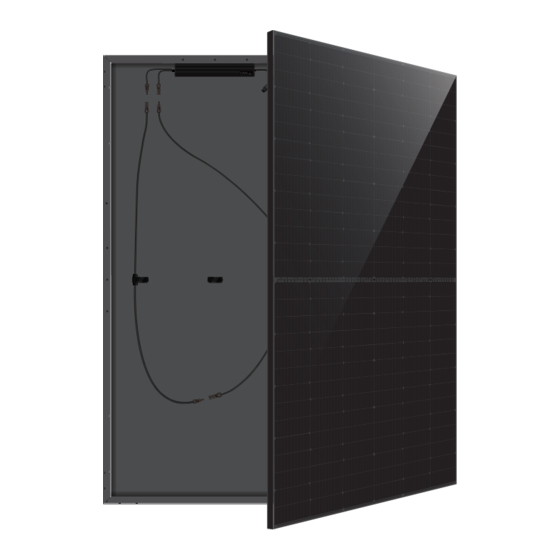
Summary of Contents for DAH Solar SolarUnit Balcony PV
- Page 1 Integrated PV System SolarUnit Balcony PV Installation Instructions SolarUnit—Integrated PV System...
-
Page 2: System Layout Diagram
SYSTEM LAYOUT DIAGRAM AC Grid Connection AC Cable Microinverter (Back of Module) ORIGINAL EQUIPMENT LIST Items Pictures Note Module Contained Microinverter Contained ECU Unit Contained AC Bus (3C/1.5mm Contained Spacing Cable Length 7.0m Quick Installation Manual Contained Optional Number DC Cable Optional Length of Connectors... - Page 3 STEP 1 LAYOUT AC BUS (ROOFTOP REFERENCE) Pre-arrange the AC bus at a suitable position in the SolarUnit system The T-shape connector should be reserved as close as possible to the middle gap between the two modules AC Bus STEP 2 MOUNTING BRACKET (BALCONY REFERENCE) Install the bracket on the balcony railing and x it with screws...
- Page 4 AC CONNECTION AND GRID CONNECTION Microinverter AC output cable connected to AC bus Insert the AC bus plug into the socket AC Bus Plug Each SolarUnit has a detachable serial number label located on the microinverter casing, as shown in the picture: tear o the serial number label and paste it on the corresponding position of the system installation worksheet (as shown in the D A H 1 2 3 4 5 6 7 8 9...
-
Page 5: App Download
APP DOWNLOAD 01 / APP Scan and download application USERS & CREATE Create Station User Name Email Email Registration Hello Welcome to SolarUnit Agree to 《User Agreement》and 《Privacy Policy》 Create Station Change Pics User Name Station Info Email Station Name Name Password Personal Info... -
Page 6: Distribution Network
DISTRIBUTION NETWORK WLAN WLAN DAHsolar_AP 10 / Long press the LED light on the ECU unit until the light flashes red and green alternately (Picture g). 11 / ECU unit hotspot: connect to the hotspot created by the ECU unit in the mobile phone settings, "DAHsolar_AP", no password required (Picture h).


Need help?
Do you have a question about the SolarUnit Balcony PV and is the answer not in the manual?
Questions and answers