
Related Manuals for Swiss Madison Sublime II SM-1T257


Summary of Contents for Swiss Madison Sublime II SM-1T257
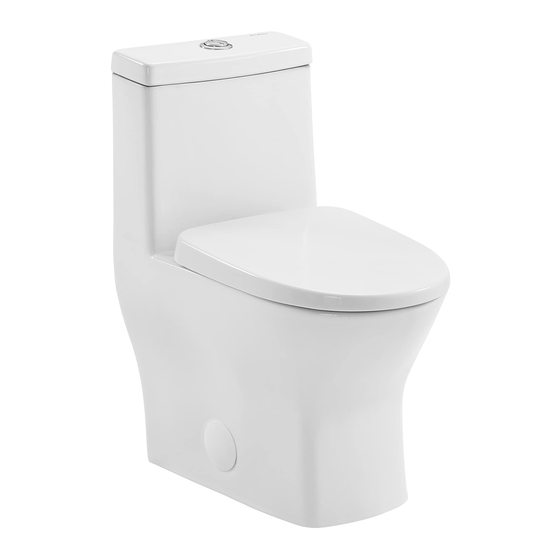
- Page 1 INSTALLATION wiss adison ® INSTRUCTIONS Sublime II One-Piece Toilet SM-1T257 Share your pictures for a feature! using #SwissMadison www.swissmadison.com | 1-434-623-4766 | info@swissmadison.com...
- Page 2 Prior to Installation: Inspect toilet to ensure no damages have occurred while in shipping. Observe all plumbing and building codes in accordance with your state and local requirements. Remove old toilet. Make sure mounting surface is CLEAN and LEVEL. All dimensions are nominal! Be sure to measure your toilet prior to installation. General Recommendations: Read installation and maintenance instructions thoroughly before installing the toilet.
- Page 3 Thank you for your purchase! Thank you for purchasing a Swiss Madison One-Piece Toilet. We appreciate your business and know you will enjoy your toilet for many years to come. If you have any questions or require assistance we would be happy to help, please contact us at 1-434-6234766 or info@swissmadison.com.
- Page 4 Level Safety Glasses Putty Knife Flexible Supply Tube Hacksaw Screwdriver PARTS LIST One-Piece Toilet Wax Ring/ Gasket Bolts Side Cover Caps NOTE: Specialized tools may be necessary to install a Swiss Madison One-Piece Toilet, plumbing not included. — 3 —...
- Page 5 The step-by-step guidelines in the installation instructions are a general reference. Should there be any discrepancies, Swiss Madison cannot be held liable. It is recommended to install all Swiss Madison products by hiring a licensed professional 1. Read the complete instruction manual before beginning installation.
- Page 6 3. Install Closet Bolts Install closet bolts to flange channel, turn 90° and slide into place 6” (152mm) apart and parallel to wall. Closet Flange Closet Bolts 4. Install Wax Seal Invert toilet on floor (use cushion to prevent damage), and install wax ring evenly around waste flange with tapered end of ring facing toilet.
- Page 7 5. Position Toilet on Flange Unplug floor waste opening and install toilet on closet flange so bolts project through mounting holes. Loosely install retainer washers and nuts. Side of washers marked “THIS SIDE UP” must face up! Washer Bolt Closet Flange 6.
- Page 8 7. Install Toilet Seat Place seat hardware over where you Insert threaded rubber piece into inserted the threaded rubber pieces. holes on top of toilet. Place washer onto screw then thread screw through seat hardware into the rubber piece. Before you fully screw in hardware, be sure to test position by placing the seat on top and making adjustments if needed.
Need help?
Do you have a question about the Sublime II SM-1T257 and is the answer not in the manual?
Questions and answers