Sign In
Upload
Download
Table of Contents
Contents
Add to my manuals
Delete from my manuals
Share
URL of this page:
HTML Link:
Bookmark this page
Add
Manual will be automatically added to "My Manuals"
Print this page
×
Bookmark added
×
Added to my manuals
Manuals
Brands
Acer Manuals
Laptop
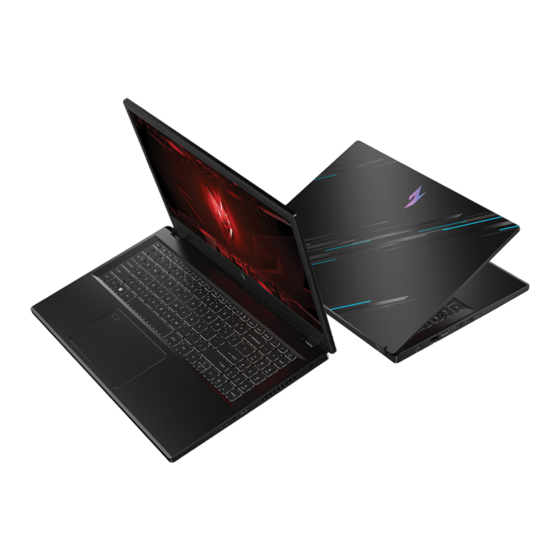
Nitro V 15
User manual
Acer Nitro V 15 User Manual
Hide thumbs
1
2
Table Of Contents
3
4
5
6
7
8
9
10
11
12
13
14
15
16
17
18
19
20
21
22
23
24
25
26
27
28
29
30
31
32
33
34
35
36
37
38
39
40
41
42
43
44
45
46
47
48
49
50
51
52
53
54
55
56
57
58
59
60
61
62
63
64
65
66
67
68
69
70
71
72
73
74
75
76
77
78
79
80
81
82
83
84
85
86
87
88
89
90
91
92
93
94
95
96
page
of
96
Go
/
96
Contents
Table of Contents
Troubleshooting
Bookmarks
Table of Contents
Table of Contents
First Things First
Your Guides
Basic Care and Tips for Using Your Computer
Turning Your Computer off
Taking Care of Your Computer
Taking Care of Your AC Adapter
Cleaning and Servicing
Guidelines for Safe Battery Usage
Internal Battery
Taking Care of Your Vision
Notes on Using 3D Images
Your Acer Notebook Tour
Screen View
Keyboard View
Left View
USB 3.2 Gen 1 Information
USB Type-C Information
Right View
USB 3.2 Gen 1 Information
Rear View
Base View
Using the Keyboard
Lock Keys
Special Keys
Hotkeys
The Windows os Desktop
Using the Precision Touchpad
Touchpad Gestures
Changing Touchpad Settings
Recovery
Creating a File History Backup
Backing up Your Wireless and LAN Drivers
Restoring Your Computer
Reset this PC and Keep My Files
Reset this PC and Remove Everything
Using a Bluetooth Connection
Enabling and Disabling Bluetooth
Enable Bluetooth and Add a Device
Connecting to the Internet
Connecting to a Wireless Network
Connecting to a Wireless LAN
Connecting with a Cable
Built-In Network Feature
Nitrosense
The Nitrosense Main Screen
Widget Cards
Nitrosense Settings
Planet9 Website and PC Client Download
Scenario
Scenario Profiles
Operating Mode
Fan Control
Adjusting the Advanced Settings
Monitoring
App Center
Bluelight Shield
Securing Your Computer
Using a Computer Security Lock
Using Passwords
Entering Passwords
Fingerprint Reader
How to Use the Fingerprint Reader
BIOS Utility
Boot Sequence
Setting Passwords
Power Management
Saving Power
Battery Pack
Battery Characteristics
Charging the Battery
Optimizing Battery Life
Checking the Battery Level
Battery-Low Warning
Traveling with Your Computer
Disconnecting from the Desktop
Moving Around and What to Bring with You
Universal Serial Bus (USB)
74 - USB Type-C Port
Thunderbolt 4 Port
Displays
Video and Audio Connectors
Connecting a Monitor
Headphones and Microphone
Hdmi
Frequently Asked Questions
Requesting Service
Tips and Hints for Using Windows
Can I Turn off Notifications
Can I Personalize the Lock Screen
Can I Change the Screen Resolution
Where Are My Apps
What Is a Microsoft ID (Account)
How Do I Check for Windows Updates
Where Can I Get more Information
Troubleshooting
Troubleshooting Tips
Error Messages
Internet and Online Security
First Steps on the Net
Protecting Your Computer
Choose an Internet Service Provider
Network Connections
Surf the Net
Internet Security Software
Advertisement
Quick Links
1
Table of Contents
2
Keyboard View
3
Using the Keyboard
Download this manual
USER'S MANUAL
Table of
Contents
Previous
Page
Next
Page
1
2
3
4
5
Advertisement
Table of Contents
Need help?
Do you have a question about the Nitro V 15 and is the answer not in the manual?
Ask a question
Questions and answers
Related Manuals for Acer Nitro V 15
Laptop Acer AN515-58-90YD User Manual
(86 pages)
Laptop Acer Nitro 5 User Manual
(89 pages)
Laptop Acer AN515-58 User Manual
(76 pages)
Laptop Acer AN515-55-53E5 User Manual
(83 pages)
Laptop Acer AN515-45 User Manual
(92 pages)
Laptop Acer AN715-51 User Manual
(84 pages)
Laptop Acer AN515-45-R6DA User Manual
(84 pages)
Laptop Acer AN515-46 User Manual
(84 pages)
Laptop Acer AN515 User Manual
(78 pages)
Laptop Acer AN515-56-56HA User Manual
(86 pages)
Laptop Acer Nitro 5 Lifecycle Extension Manual
(46 pages)
Laptop Acer AN515-57-79TD User Manual
(85 pages)
Laptop Acer AN515-58-527S User Manual
(83 pages)
Laptop Acer Nitro 7 User Manual
(77 pages)
Laptop Acer Nitro 16 User Manual
(97 pages)
Laptop Acer AN16-73 User Manual
(100 pages)
This manual is also suitable for:
Anv15-51
Anv15-41
Table of Contents
Save PDF
Print
Rename the bookmark
Delete bookmark?
Delete from my manuals?
Login
Sign In
OR
Sign in with Facebook
Sign in with Google
Upload manual
Upload from disk
Upload from URL


Need help?
Do you have a question about the Nitro V 15 and is the answer not in the manual?
Questions and answers