Table of Contents
Advertisement
Advertisement
Table of Contents

Summary of Contents for DAVID F3300C.DV2
- Page 1 F3300C.DV2 Owner’s Manual...
-
Page 3: Table Of Contents
CONTENTS Getting Started Important Safety Instructions Grounding Instructions Description of the Vacuum Assembling the Vacuum Positioning the Power Cord Operation Turning the Vacuum On/Off Edge Cleaning Automatic Carpet Height Adjustment Maintenance and Care Replacing the Vacuum Bag Removing/Reinstalling the Bottom Plate Replacing the Belt Resetting the Circuit Breaker Replace the Headlight Bulb... -
Page 4: Important Safety Instructions
Authorized DAVID Vacuum • Do not use without vacuum bag in place. Retailer for service. • Turn off all controls before unplugging. -
Page 5: Grounding Instructions
GROUNDING INSTRUCTIONS Commercial Model This vacuum cleaner must be grounded. If it should malfunction or break down, grounding provides a path of least resistance for electric current to reduce the risk of electric shock. This vacuum cleaner is equipped with a cord having an equipment- grounding conductor and grounding plug. -
Page 6: Description Of The Vacuum
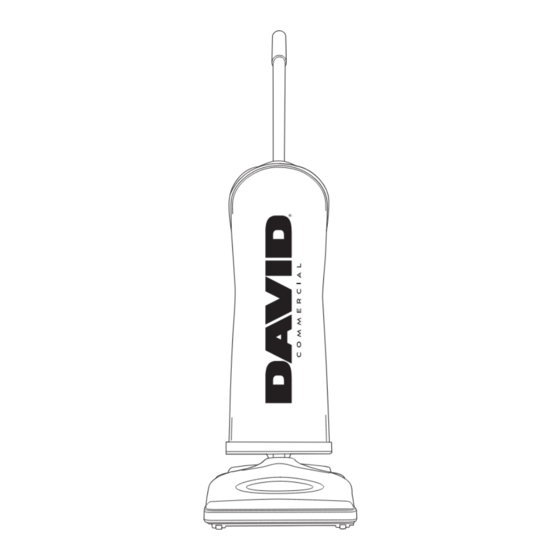
DESCRIPTION OF THE VACUUM 1 Cloth Bag 2 Vacuum Nozzle 3 Headlight 4 Furniture Guard 5 Power Cord 6 Handle... -
Page 7: Assembling The Vacuum
ASSEMBLING THE VACUUM Attaching the Handle to the Vacuum NOTE: Do not plug in the vacuum until it is completely assembled. The vacuum cleaner handle is packed as a separate component that requires assembly. • Release the handle bracket from the handle tube by removing the two screws (Fig. -
Page 8: Positioning The Power Cord
ASSEMBLING THE VACUUM Positioning the Power Cord • Loosen, but do not remove, the screw holding the upper cord hook (Fig. 1). • Position the cord between the cord hook and the vacuum tube (Fig. 2). Re-tighten the screw. • Once the cord is secured by the cord hook, proceed with wrapping the cord. -
Page 9: Operation
OPERATION Turning the Vacuum On/Off The switch is located on the back of the nozzle to the left of the handle tube (Fig. 1). Press the switch with your foot to turn the vacuum On or Off. The vacuum should be turned Off before returning handle to full upright position. -
Page 10: Maintenance And Care
MAINTENANCE AND CARE Replacing the Vacuum Bag NOTE: Unplug the vacuum cleaner from the electrical outlet before changing the bag. • Unzip the outer cloth bag (Fig. 1). • Remove the used bag by pressing the bag holder tab and pulling the bag off the vacuum (Fig. -
Page 11: Removing/Reinstalling The Bottom Plate
MAINTENANCE AND CARE Removing and Reinstalling the Bottom Plate CAUTION: To reduce the risk of injury from moving parts, unplug the vacuum before servicing. Removing the Bottom Plate • After unplugging the power cord, turn the vacuum cleaner over, exposing the underside. -
Page 12: Replacing The Belt
MAINTENANCE AND CARE Replacing the Belt CAUTION: To reduce the risk of injury from moving parts, unplug the vacuum before servicing. • Turn the vacuum over and remove the bottom plate (see “Removing and Reinstalling the Bottom Plate” on page 9). •... -
Page 13: Resetting The Circuit Breaker
Bottom Plate” on page 9), reset the circuit breaker by pressing the Circuit Breaker Reset Button (Fig. 1), plug in power cord, and turn unit on. If the unit fails to turn on, return it to an Authorized DAVID Vacuum Retailer for service. -
Page 14: Replace The Headlight Bulb 1
MAINTENANCE AND CARE Replace the Headlight Bulb WARNING: To reduce the risk of electric shock and injury from moving parts, unplug vacuum before cleaning or servicing. 1. First remove the nozzle housing. Turn the unit over to expose the underside. Locate the two main nozzle screws (Fig. 1) and remove both. -
Page 15: Problem Solving Guide
To locate your nearest Authorized Retailer, visit our website at www.DAVIDSVACUUMS.com or call 281-866-0027. Key Replacement Parts Genuine bags and filters are available from your authorized DAVID vacuum retailer. For Best Performance • Keep your vacuum clean and in good operating condition. -
Page 16: Warranty
Owner’s Manual, subject to the conditions and exclusions set forth below. Who may use this limited warranty? DAVID Products extends the limited warranty set forth below only to the consumer who originally purchased the product. This limited warranty does not extend to any subsequent owner or other transferee of the product. - Page 17 4. Consequential and incidental damages. 5. Defects caused by repair persons not authorized by DAVID Products. These defects include damages caused in the process of shipping, altering, or repairing your DAVID Products product (or any of its parts) when the repair is performed by a repair person not authorized by DAVID Products.
- Page 18 NOTES...
- Page 19 NOTES...
- Page 20 DAVIDSVACUUMS.COM B503-2850 10.21...


Need help?
Do you have a question about the F3300C.DV2 and is the answer not in the manual?
Questions and answers
cloth bag has become detached from Handel hangs loose from Handel how to reatach
To reattach the cloth bag to the handle on the DAVID F3300C.DV2:
1. Unplug the vacuum cleaner.
2. Unzip the outer cloth bag.
3. Install a new vacuum bag by positioning the bottom of the bag collar into the bag collar holder.
4. Push the top of the bag collar inward until it snaps into place under the bag holder tab.
5. Zip the outer cloth bag closed.
This answer is automatically generated
Is there a way to enable the vacuum work on high pile carpet?