Advertisement
Installation Guide
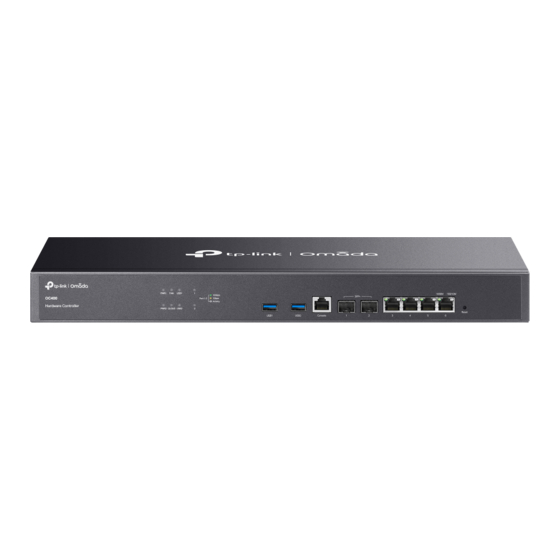
Omada Hardware Controller
Note: OC400 is used as an example throughout the Guide. Images may differ from the actual product.
1
Hardware Overview
• Front Panel
LEDs
LED
Indication
On: The device is powered by PWR1.
PWR1*
Off: PWR1 is disconnected or it works improperly, or the device is powered off.
Green On: The device is powered by PWR2.
PWR2
Yellow On**: PWR2 are connected, but the device is powered by PWR1.*
Off: PWR2 is disconnected or it works improperly, or the device is powered off.
Green On: The fan works properly.
FAN
Yellow On: The fan works improperly.
On: The device is bound to a TP-Link ID.
Slow Flashing: The device is connected to cloud but not bound to a TP-Link ID.
CLOUD
Quick Flashing: The device is being reset to its factory settings.
Off: The device is disconnected from cloud.
Green On: A USB storage device is inserted and identified.
USB1/USB2
Off: No USB storage device is inserted, or it is corrupted or incompatible.
Green On: Running at 10 Gbps, but no activity.
Green Flashing: Running at 10 Gbps and transmitting or receiving data.
SFP+ (Port 1-2)
Yellow On: Running at 1000 Mbps, but no activity.
Yellow Flashing: Running at 1000 Mbps and transmitting or receiving data.
Off: No device is linked to the corresponding port.
Green On: Running at 1000 Mbps, but no activity.
Green Flashing: Running at 1000 Mbps and transmitting or receiving data.
RJ45 (Port 3-6)
Yellow On: Running at 100/10 Mbps, but no activity.
Yellow Flashing: Running at 100/10 Mbps and transmitting or receiving data.
Off: No device is linked to the corresponding port.
*PWR1 is the primary power supply and it takes priority over PWR2.
**When both PWR1 and PWR2 work properly and the device is powered by PWR1, it takes 10-20
seconds for the LED PWR2 (yellow) to go out.
2
Hardware Installation
• Desktop Installation
1. Set the device on a flat surface to support the entire weight of the device with
all fittings.
2. Remove the adhesive backing papers from the supplied rubber feet.
3. Turnover the device and attach the rubber feet to the recessed areas on the
bottom at each corner of the device.
© 2023 TP-Link 7106510840 REV1.0.1
• Back Panel
Kensington
Security Slot
• Rack Installation
1. Check the grounding and stability of the rack.
2. Secure the supplied rack-mounting brackets to each side of the device with
Feet
Bottom of the device
Notch
To ask questions, find answers, and communicate with TP-Link users or engineers,
please visit https://community.tp-link.com to join TP-Link Community.
For technical support and other information, please visit
https://www.tp-link.com/support, or simply scan the QR code.
Interface
Description
USB1/USB2
USB 3.0 ports connecting to USB storage devices.
Console
Connect with a computer for monitoring the device.
SFP+ slot is designed to install the 10 Gbps SFP+ module.
SFP+ (Port 1-2)
Ethernet
RJ45 ports connecting to local PCs or switches.
(Port 3-6)
Kensington
Secure the lock (not provided) into the security slot to prevent the device
Security Slot
from being stolen.
Power Socket
Connect to the power outlet via the provided power cord.
Grounding
The device comes with a lightning protection mechanism.
Terminal
Button
Description
After the device is initialized, press and hold the button for 5s to reset the
Reset
device to its factory default settings.
supplied screws.
3. After the brackets are attached to the device, use suitable screws (not
provided) to secure the brackets to the rack.
Power
Grounding
Socket
Terminal
Rackmounting Bracket
Screw
Rack
Advertisement
Table of Contents

Subscribe to Our Youtube Channel
Related Manuals for TP-Link Omada OC400


Summary of Contents for TP-Link Omada OC400
- Page 1 (Port 3-6) On: The device is bound to a TP-Link ID. Slow Flashing: The device is connected to cloud but not bound to a TP-Link ID. Kensington Secure the lock (not provided) into the security slot to prevent the device CLOUD Quick Flashing: The device is being reset to its factory settings.
- Page 2 Omada App 3. Launch the app and go to Local Access. Then tap the + button on the 3. Launch the app and go to Cloud Access. Then log in with your TP-Link ID. upper-right corner to add your controller.
Need help?
Do you have a question about the Omada OC400 and is the answer not in the manual?
Questions and answers