
Subscribe to Our Youtube Channel
Related Manuals for Costway HV10452


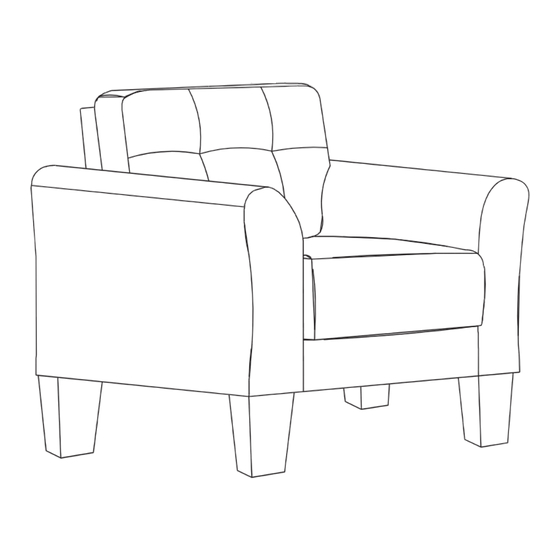
Summary of Contents for Costway HV10452
- Page 1 Armchair HV10452 THIS INSTRUCTION BOOKLET CONTAINS IMPORTANT SAFETY INFORMATION. PLEASE READ AND KEEP FOR FUTURE REFERENCE.
-
Page 2: Before You Start
Before You Start Please read all instructions carefully. Retain instructions for future reference. Separate and count all parts and hardware. Read through each step carefully and follow the proper order. We recommend that, where possible, all items are assembled near to the area in which they will be placed in use, to avoid moving the product unnecessarily once assembled. - Page 3 WARNING ● This product has been designed for seating one (1) average adult. To prevent injury and damage to this unit, PROHIBIT jumping on it. ● This product is designed for home use and not intended for commercial use. ● Children under the age of 5, small infants and babies should not sleep alone on this product for safety reasons.
-
Page 4: Back Cushion
PARTS SEAT BODY BACK REST (In the storage underneath of seat body) BACK CUSHION ARMRESTS PLASTIC LEGS METAL SUPPORT... - Page 5 HARDWARES Allen Key Bolt 1/4"x20mm Flat Washer Metal Plate Bolt 1/4"x35mm...
- Page 6 Step 1: Carefully unpack parts/hardware from box and storage of seat body, place on a clean flat surface. METAL SUPPORT HARDWARE PLASTIC LEGS Allen Key Bolt Flat Washer Metal Plate Bolt 1/4"x20mm 1/4"x35mm Storage underneath the seat body...
- Page 7 Step 2: Use the part (7) and (11) to assemble metal plates(10) to the seat body. Step 3: Place both armrests as shown below, then secure two legs into pre-drilled holes on the bottom of armrests. Please avoid over tightening. PLASTIC LEGS...
- Page 8 Step 4: Carefully lift and turn assembled armrests onto its legs. Insert metal plates of the seat body to both armrests as shown below, and ensure it is correctly in place. Step 5: Attach the back rest part (2) with the back cushion part (3) in velcro area.
- Page 9 Step 6: Insert backrest with ear piece metal plates to both armrests as shown below, and ensure it is correctly in place. Step 7: Insert backrest metal plates to both arms as shown below, and ensure it is correctly in place. After that, turn to the back rest and assemble the part (6) with the hardware (7), (8), (9).
- Page 10 Step 8: Finally, stretch and pull down the rear cover evenly before securing the Velcro strip to the seat base. Repeat if necessary for better fit. Cover...
- Page 11 Return / Damage Claim Instructions DO NOT discard the box / original packaging. In case a return is required, the item must be returned in original box. Without this your return will not be accepted. Take a photo of the box markings. A photo of the markings (text) on the side of the box is required in case a part is needed for replacement.
- Page 12 USA office: Fontana AUS office: Truganina GBR office: FDS Corporation Limited,Unit 4, Blackacre Road, Great Blakenham,Ipswich, Ip6 0FL,United Kingdom If you're having difficulty, our friendly USA:cs.us@costway.com AUS:cs.au@costway.com customer team is always here to help. GBR:cs.uk@costway.com...
Need help?
Do you have a question about the HV10452 and is the answer not in the manual?
Questions and answers