Advertisement
Quick Links
Assembly & Installation Guidelines
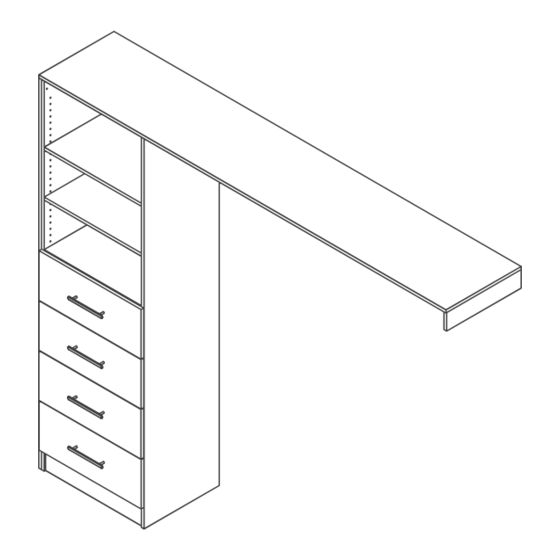
Built-in Wardrobe — Galleria BIR05
Please read these guidelines carefully before installing and using the product.
SAFETY INFORMATION
• Always wear appropriate safety equipment.
• This product requires two people for installation.
• If this product falls down, serious or fatal crushing injuries can
occur. This product should be permanently fixed to the wall –
contact your local fastening device retailer for advice on what
fastening devices are suitable for your walls.
• Assembly should be carried out by an appropriately skilled person,
due to the risk of wrongful assembly leading to injury or damage.
Advertisement

Related Manuals for STEGBAR Galleria BIR05


Summary of Contents for STEGBAR Galleria BIR05
- Page 1 Assembly & Installation Guidelines Built-in Wardrobe — Galleria BIR05 Please read these guidelines carefully before installing and using the product. SAFETY INFORMATION • Always wear appropriate safety equipment. • This product requires two people for installation. • If this product falls down, serious or fatal crushing injuries can occur.
-
Page 2: Items Included In The Box
Assembly & Installation Guidelines Built-in Wardrobe — Galleria BIR05 ITEMS INCLUDED IN THE BOX TOWER SHELL BOX DRAWER RUNNERS BOX 4 x drawer 4 x drawer 16 x cams runner clip (left) runner clip (right) 20 mm diameter 103 mm W x 53 mm H 103 mm W x 53 mm H x 17 mm D... - Page 3 Assembly & Installation Guidelines Built-in Wardrobe — Galleria BIR05 Step 1 EXTRA ITEMS AND TOOLS REQUIRED CHECKLIST Open tower shell box. These items are readily available from all major hardware stores. Screw in cam bolts into drawer tower sides (both sides). Drill and No.2 Phillips head driver Builder’s square...
- Page 4 Assembly & Installation Guidelines Built-in Wardrobe — Galleria BIR05 Step 3 Step 5 Place nailers over cam bolts and tighten. Open drawer, runners box and backs bases and fronts box. Place deck over cam bolts and tighten. Layout all parts to assemble drawers.
- Page 5 Assembly & Installation Guidelines Built-in Wardrobe — Galleria BIR05 Step 6 Step 8 Fix runners L (B) and R (H) to tower sides, Secure drawer back to bracket using screw. screwing euro screw into third hole in Drawer screw – 6Gx13 mm CSK (10) top row (Exploded image).
- Page 6 Assembly & Installation Guidelines Built-in Wardrobe — Galleria BIR05 Step 10 Step 12 Engage drawer front to drawer sides. Screw adjustment brackets C and K to drawer base. (click sound include) Drawer screw – 6Gx16 mm CSK (6) Fit cover plates L and E.
- Page 7 Assembly & Installation Guidelines Built-in Wardrobe — Galleria BIR05 Step 14 Step 15 Drawer adjustment: If required, to remove the drawer, extend the drawer, place hands under drawer, Align drawers using the up down to the side locating the brackets on each side and push adjustment.
- Page 8 Assembly & Installation Guidelines Built-in Wardrobe — Galleria BIR05 Step 17 Step 19 Measure the width and depth of tower Pre-drill 2 x 3 mm holes into tower nailer. and mark skirting with pencil Place tower in position. Place level on tower (be sure to include the infill if infill required).
- Page 9 Assembly & Installation Guidelines Built-in Wardrobe — Galleria BIR05 Step 22 Step 23 Measure distance from tower to side cleat. Measure top shelf width ensuring you check the walls are square using a square edge. Cut back cleat to size. Cut top shelf to correct size allowing for wall Apply liquid nails to back of cleat in run outs.
- Page 10 Assembly & Installation Guidelines Built-in Wardrobe — Galleria BIR05 Step 24 Step 26 Measure 214 mm off cleat on back wall and 80 Hanging rail sharkfin support must be screwed mm down from side cleat, thus measurement into a stud. is to the bottom hole of hanging rod end.
- Page 11 Stegbar is not responsible for any agreements, maintenance, delivery or satisfaction of any transactions undertaken with a third-party provider. To the extent permitted by law, Stegbar is not responsible is and is not liable for any loss, damage or injury suffered by you as a result of the conduct of the third party.
Need help?
Do you have a question about the Galleria BIR05 and is the answer not in the manual?
Questions and answers