Table of Contents
Advertisement
Quick Links
Advertisement
Table of Contents

Related Manuals for FONESTAR RDS-520HD


Summary of Contents for FONESTAR RDS-520HD
- Page 1 R S-520H HD SATELLITE RECEIVER INSTRUCTION MANUAL...
- Page 2 We take this opportunity to thank you for buying this product. We recommend you read the instruction manual before switching on the machine and follow the instructions that are given. Keep the manual for future reference. SECURITY AND THE ENVIRONMENT ELECTRICAL SECURITY Check that the current in the mains connection where the machine is to be installed corresponds to the power supply of the machine.
-
Page 3: Exemption Of Liability
The characteristics of the equipment and the content of the manual can change without forewarning. FONESTAR, S.A. does not assume responsibilities regarding the inappropriate use of the equipment or the information supplied in this instruction manual, and specifically disclaims any implied liability for marketability or fitness for any other use. -
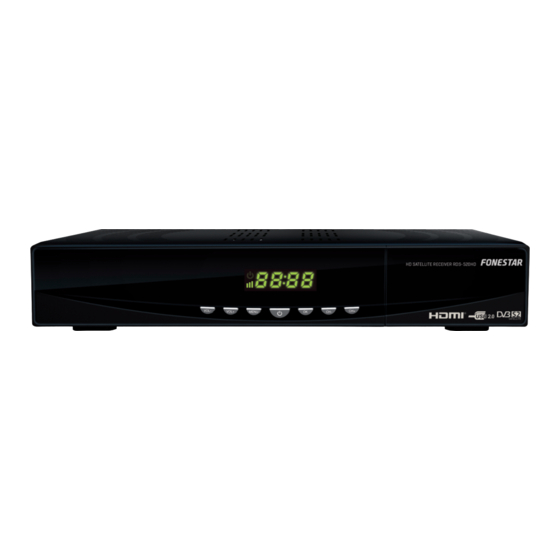
Page 4: Controls And Functions Front Panel
DESCRIPTION - HD satellite receiver. - DVB-S2/MPEG-4/MPEG-2. - HD output formats: 1080p, 1080i, 720p, 576p, 576i, 480p and 480i. - Personal video recorder (with time shift function). - Multimedia player. - 2 x USB 2.0 ports. - DiSEqC 1.0/1.1/1.2/1.3 (USALS). - Multilingual menu. -
Page 5: Rear Panel
REAR PANEL 1.- LNB IN: input for the parabolic aerial signal tuner (LNB). Female F connector. 2.- HDMI: high definition (HD) audio and video output to connect to a television with digital input. Output resolution selectable through menu. 3.- USB: USB port for connecting USB storage devices and upgrading software. 4.- VIDEO: composite video output, RCA connector. -
Page 6: Remote Control
REMOTE CONTROL 1.- POWER: on/standby mode. 2.- MUTE: activate/deactivate the audio output. 3.- GOTO: to go to an exact point in playback. Use the number buttons to enter the exact time. 4.- REC: to start recording from the channel that is being viewed at that moment. - Page 7 CONNECTION Before making any connections, switch off all the equipment and disconnect it from the mains. It is recommended that you read the manual before connecting the equipment. 1.- Install the satellite dish and position it facing the satellite. 2.- Connect the aerial to the receiver. 3.- Connect the receiver to the TV according to your needs.
- Page 8 INSTRUCTIONS FOR USE START UP When the receiver is switched on for the first time, a quick start up menu will appear on the screen making configuration of the receiver and channel tuning easier. 1.- Use the up and down navigation buttons to select the parameter that you want to set. Press the ok button to display the configuration options for each parameter (language, date and time, cable network configuration, DHCP, DNS, etc).
-
Page 9: System Options
SYSTEM OPTIONS Allows parameters to be configured such as: menu language/idioma de los menús, OSD transparency/transparencia OSD, OSD time limit/límite de tiempo OSD, audio language/idioma de audio, recall/rellamada or HDMI audio/audio HDMI. AV CONFIGURATION Allows the following options to be configured: screen format/formato de pantalla, screen mode/modo de pantalla, HD resolution/resolución HD, monitor type/tipo de monitor, complete screen signal/señal pantalla completa, video output/salida de vídeo, PCM and SPIF. -
Page 10: Time Configuration
TIME CONFIGURATION Allows the date/la fecha and time/hora on the receiver to be configured. TIMER To configure the options for changing channels or recording from the receiver. To record, activate the PVR option. PARENTAL CONTROL This option allows the channel lock/bloqueo de canales and channel tuning/sintonización de canales to be activated using a password to prevent children from accessing certain channels. -
Page 11: About The Receiver
ABOUT THE RECEIVER Displays information about the software and hardware versions. CHANNEL ADMINISTRATOR Allows channels to be ordered, edited, shown in a list, moved, blocked, renamed or deleted from the receiver. Press the navigation buttons and the colour buttons on the remote control to select the following options: Press the red button to access the list of satellites. -
Page 12: Installation
INSTALLATION Press the up and down navigation buttons on the remote control to select the following options: AERIAL CONFIGURATION Allows the satellite data and the LNB information for the automatic, manual and blind channel searches to be configured. Use the navigation buttons and the colour buttons until you reach the option required and press the OK button to confirm. -
Page 13: Automatic Search
AUTOMATIC SEARCH MANUAL SEARCH BLIND SEARCH - 13 -... -
Page 14: Motor Configuration
MOTOR CONFIGURATION Allows the different aerial motor options to be configured: select the satellite name, aerial movement, etc. FACTORY SETTINGS Allows the satellite receiver to be reset to the factory settings. UPGRADING Allows the receiver software to be upgraded. GAMES - 14 -... -
Page 15: Multimedia Menu
Allows games to be played using the remote control. MULTIMEDIA MENU Allows reproduction of audio, video and image files contained in the storage device connected to the device’s USB port. It also allows selection of other options such as ebook reader, games, recording management, etc. During playback the functions available on the remote control can be used (fast forward and rewind, previous and following, zoom, etc). -
Page 16: Channel List
CHANNEL LIST Press the OK button on the remote control to display the TV or radio channel list. Use the navigation buttons and the colour buttons to access the different options in the channel list. ELECTRONIC PROGRAM GUIDE (EPG) Press the EPG button on the remote control to access this option which allows you to view information on TV and radio programs. -
Page 17: Technical Specifications
TECHNICAL SPECIFICATIONS RDS-520HD CHARACTERISTICS HD satellite receiver. DVB-S2/MPEG-4/MPEG-2. HD output formats: 1080p, 1080i, 720p, 576p, 576i, 480p and 480i. Personal video recorder (PVR with time shift function). Multimedia player. 2 x USB 2.0 ports. DiSeqC 1.0/1.1/1.2/1.3 (USALS). Multilingual menu. Screen format: 4:3 and 16:9. -
Page 18: Warranty
2 months after being conscious of the problem. It is only necessary to contact FONESTAR if it is impossible or imposes an undue burden for them to solve it. To benefit from this warranty it is necessary to show the proof of purchase with the date clearly visible, with no corrections or crossing out. - Page 19 - 19 -...
- Page 20 www.fonestar.com...
Need help?
Do you have a question about the RDS-520HD and is the answer not in the manual?
Questions and answers