
Related Manuals for Smeg WD7015TECO


Summary of Contents for Smeg WD7015TECO
- Page 1 WD7015TECO INSTALLATION MANUAL DOCUMENT FOR THE USE OF AUTHORISED ENGINEERS ONLY TRANSLATION OF THE ORIGINAL INSTRUCTIONS...
-
Page 2: Table Of Contents
Full list of components for assembly ......................... 5 Precautions in preparation for installation ....................... 6 Unit assembly procedures ..........................7 Inspecting the unit after assembly ........................... 11 Manufacturer and after-sales service contact information ..................11 WD7015TECO – ECO HEAT EXCHANGER INSTALLATION INSTRUCTIONS 195610203.00 2 / 11... -
Page 3: Introduction - Wd7015Teco
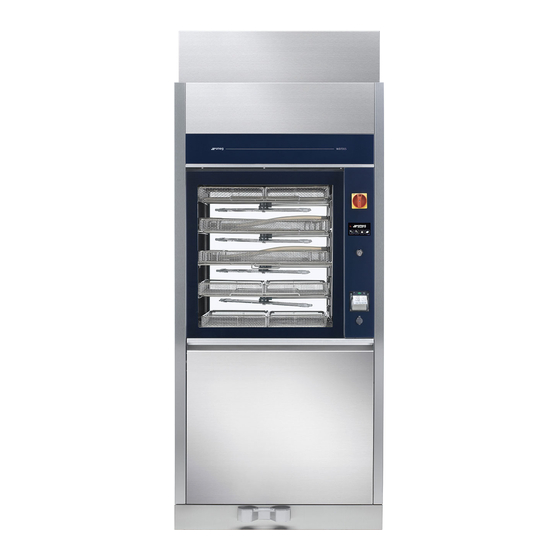
1 INTRODUCTION – WD7015TECO In addition to the demineralised water and hot water heaters, Smeg WD7015 models with suffix “TECO” – e.g. “WD7015TECO” – are fitted with an additional Heat Exchanger, the “Eco Heat Exchanger”. The Heat Exchanger, mounted on and fixed to the top of the product, allows hot demineralised water from the final thermal disinfection rinse to be reused to pre-heat the incoming demineralised water. - Page 4 Fig. 1 – Device overall dimensions. WD7015TECO – ECO HEAT EXCHANGER INSTALLATION INSTRUCTIONS 195610203.00 4 / 11...
-
Page 5: Assembly Instructions
COMPONENT DESCRIPTION QUANTITY Eco Heat Exchanger Side casings Front and rear casings Self-tapping screws M5 nuts Various hose clamps Fig. 3 – Heat exchanger position at end of assembly procedure. WD7015TECO – ECO HEAT EXCHANGER INSTALLATION INSTRUCTIONS 195610203.00 5 / 11... -
Page 6: Precautions In Preparation For Installation
The Eco Heat Exchanger must be placed on top of the device: proceed with all necessary precautions, using ladders and at least 2 operatives to place the unit in the required position. WD7015TECO – ECO HEAT EXCHANGER INSTALLATION INSTRUCTIONS 195610203.00... -
Page 7: Unit Assembly Procedures
Step 3 Loosely fit the nuts provided on the M5 pins on the top of the device, to hold the unit in position. WD7015TECO – ECO HEAT EXCHANGER INSTALLATION INSTRUCTIONS 195610203.00 7 / 11... - Page 8 Take special care to ensure that the connection is made properly: the pipe carries high temperature water from the thermal disinfection phases. IN_RWT WD7015TECO – ECO HEAT EXCHANGER INSTALLATION INSTRUCTIONS 195610203.00 8 / 11...
- Page 9 There is a drain fitting underneath the drip tray, which must be connected to the drain pipe provided. “OUT_DRIP_TRAY” connection Secure the connection with the clamp provided. WD7015TECO – ECO HEAT EXCHANGER INSTALLATION INSTRUCTIONS 195610203.00 9 / 11...
- Page 10 Make the electrical connection to the sensor using the connectors provided. Step 11 Securely tighten the unit’s 4 fixing bolts. Step 12 Fit the external casings and secure them with the screws provided. WD7015TECO – ECO HEAT EXCHANGER INSTALLATION INSTRUCTIONS 195610203.00 10 / 11...
-
Page 11: Inspecting The Unit After Assembly
Single contact number for Italy +39 0522.160.60.50 Email: assistenza.instruments@smeg.it • For sales information Email: instruments@smeg.it International Customers Please contact your Local Smeg Distributor or write an email to service.instruments@smeg.it WD7015TECO – ECO HEAT EXCHANGER INSTALLATION INSTRUCTIONS 195610203.00 11 / 11...
Need help?
Do you have a question about the WD7015TECO and is the answer not in the manual?
Questions and answers