Advertisement
Quick Links
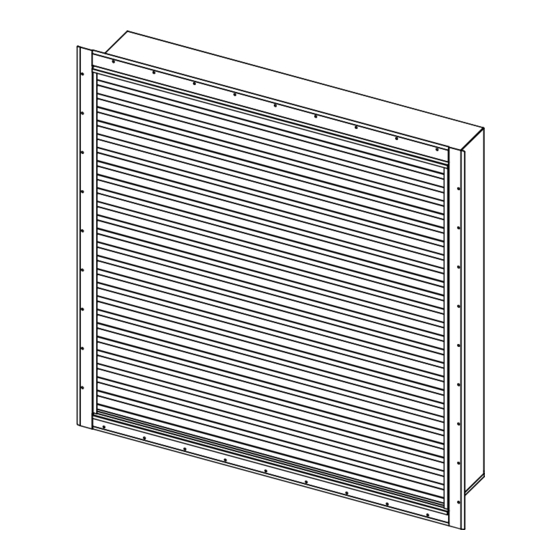
TUISKU
flush-mounted
snow covers
Installation manual
The mounting instructions are the same for the following product series:
TUISKU-VU and TUISKU-PU
TUISKU-AF
TUISKU-O
TUISKU-IS
The connection instructions of TUISKU-AF is in separate connection manual
climecon.fi
Advertisement

Related Manuals for Climecon TUISKU


Summary of Contents for Climecon TUISKU
- Page 1 TUISKU flush-mounted snow covers Installation manual The mounting instructions are the same for the following product series: TUISKU-VU and TUISKU-PU TUISKU-AF TUISKU-O TUISKU-IS The connection instructions of TUISKU-AF is in separate connection manual climecon.fi...
- Page 2 Vedenpoisto + lumensulatus Drainage + snow melting It is advisable to build a chamber with a drainage similar toFigure 1 or 2 behind the TUISKU snow covers to prevent moisture from getting into the ducts in exceptionally demanding conditions. Figure 1 is common in multielement TUISKU installations and Figure 2 when there is a one-piece TUISKU installation and a back seam.
- Page 3 TUISKU flush mounting 1-piece Seal the edge behind the TUISKU frame so that TUISKU can be installed tightly. Lift TUISKU in place from its brackets. Mount TUISKU to a load-bearing wall with screws. We recommend the following methods or equivalent to mount TUISKU to a wall: •...
- Page 4 Seal the edge behind the TUISKU frame so that TUISKU can be installed tightly. Lift the TUISKU elements in place from its brackets and screw it to the load-bearing wall. We recommend the following methods or equivalent to mount TUISKU to a wall: •...
- Page 5 Seal the edge behind the TUISKU frame so that TUISKU can be installed tightly. Lift the TUISKU elements in place from its brackets and screw it to the load-bearing wall. We recommend the following methods or equivalent to mount TUISKU to a wall: •...
- Page 6 Interior Exterior By opening the mounting bolts of the TUISKU-AK installation frame the size can be adjusted to fit the opening. After the adjustment, the bolts must be mounted with care. In Sandwich-structured walls the edges of the opening must be supported with a metal profile made from hot galvanized structural steel S320GD+Z350 3.0 mm or equivalent..
- Page 7 When installing TUISKU elements without an installation frame, a sufficient support must be built in the opening for TUISKU with the structural engineer’s instructions. The distance between TUISKU-AK mounting frame and the edge of the opening is 296 mm when the nominal depth of a flush-mount TUISKU louver is 300 mm.
- Page 8 Start installing from the bottom left corner as is shown in the figure. • The upper edges and the sides of the lower TUISKU elements are mounted from its rear end to the TUISKU-AK installation frame at intervals of about 300 mm.
- Page 9 Start installing from the bottom left corner as is shown in the figure. • The upper edges and the sides of the bottom corner TUISKU elements are mounted from its rear end to the TUISKU-AK installation frame at intervals of about 300 mm.
- Page 10 Fasten the wires as shown in the picture. Attach TUISKU to the installation frame. We recommend the following methods or equivalent to mount TUISKU to a wall: • Wood: Farmer screw Ruspert 4.8x25-65 mm, RR, sharp point with washer • Concrete: Concrete screw Fisher FBS 6x40/5 mm US or equivalent •...
- Page 11 If you have any questions concerning TUISKU installation, you can contact the Climecon customer service Tel. +358 (0)20 1986 600 Email info@climecon.fi Climecon Oy Lämmittäjänkatu 4 A 00880 HELSINKI FINLAND climecon.fi © Climecon...
Need help?
Do you have a question about the TUISKU and is the answer not in the manual?
Questions and answers