Advertisement
Quick Links
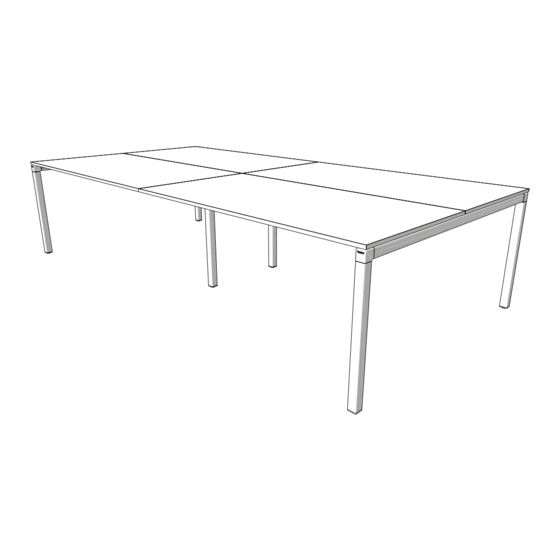
Fount Installation Manual
This manual will help you build the perfect solution for
a comfortable workstation.
* All legs can refer to this manual but the Original leg has
been taken as an example to explain.
* The manual shows installation of the quattro version.
Advertisement

Related Manuals for Ahrend Fount


Summary of Contents for Ahrend Fount
- Page 1 Fount Installation Manual This manual will help you build the perfect solution for a comfortable workstation. * All legs can refer to this manual but the Original leg has been taken as an example to explain. * The manual shows installation of the quattro version.
- Page 2 Fount Installation Manual Structure Plastic bracket (16 pcs) Middle leg (1 pcs) Quick fix (16 pcs) Beam (8 pcs) M8 x 55 ISO 7380 screws (32 pcs) M8 nuts (32 pcs) End leg (2 pcs) Install middle leg (Single and DUO version without middle leg, please omit this step)
- Page 3 Fount Installation Manual Insert plastic Quick fix element Sliding top option The beams are attached into the adapter by screws and nuts of M8 M8 x 55 ISO 7380 (16 pcs for DUO version) (8 pcs for Single version) Assemble and fix the end legs...
- Page 4 Fount Installation Manual Assemble the middle leg(s) but not yet fully fix the screws M8 x 55 ISO 7380 (16 pcs for DUO version) (8 pcs for Single version) M8 nuts reversed Flange of the nut not in the U-profile...
- Page 5 Fount Installation Manual Wood steel leg installation Only for wood steel leg Slide tube over bracket while holding movable Alu-part upwards Install the other side Only for wood steel leg Push both tubes on both brackets simultaneously page 5...
- Page 6 Fount Installation Manual Fix the table beam Only for wood steel leg M8 x 30 ISO 7380 (4 pcs) Insert plastic bracket page 6...
- Page 7 Fount Installation Manual Insert the cable clips (optional) Install the cable tray (optional) Bracket (2 pcs) Plastic hook (4 pcs) Cable tray (1 pcs) page 7...
- Page 8 Fount Installation Manual Assemble the cable tray and the bracket Insert plastic hook into the hole of bracket and then turn 90° Insert plastic hook into the hole of cable tray and then turn 90° Fix the cable tray to the table beams...
- Page 9 Fount Installation Manual Install the screen (optional) Fabric screen (1 pcs) Screen holder (2 pcs) 10 16 Fix the screen to the table beams Screen holder brackets are M6 x 16 alligned to the U brackets DIN 7500C (from the legs).
- Page 10 Fount Installation Manual Find the correct pre-drilled holes of the tabletops, install the screws for Quick fix For sliding top follow the steps from point 19 to point 24 on page 11 Quick fix screw Connect the tabletops to the frame structure by Quick fix Locked Quick fix screws are mounted into the pre-drilled holes in...
- Page 11 Fount Installation Manual The installation of the sliding top (optional) Quick fix (4 pcs) sliding top option (1 pcs) Elements for the lock 10 20 Find the correct pre-drilled holes, install two guidances and elements for the lock page 11...
- Page 12 Fount Installation Manual Slide the table top until the end of the stroke 10 22 Place the end cap page 12...
- Page 13 Fount Installation Manual Screw (oblique) the last screw with a hand screw driver, this can be a bit difficult. 10 24 Slide the table top into place page 13...
- Page 14 Fount Installation Manual Align the table tops, and finally fix the screws in the middle legs Fix the screws in the middle legs 10 26 Finish page 14...
Need help?
Do you have a question about the Fount and is the answer not in the manual?
Questions and answers