Table of Contents
Advertisement
Available languages
Available languages
Quick Links
Advertisement
Table of Contents

Subscribe to Our Youtube Channel
Related Manuals for Atag WI6011CM


Summary of Contents for Atag WI6011CM
- Page 1 WI6055BM hotte de cuisine WI6011CM Montage- und Bedienungsanleitung WI6055BC Dunstabzugshaube instructions for use and installation cooker hood...
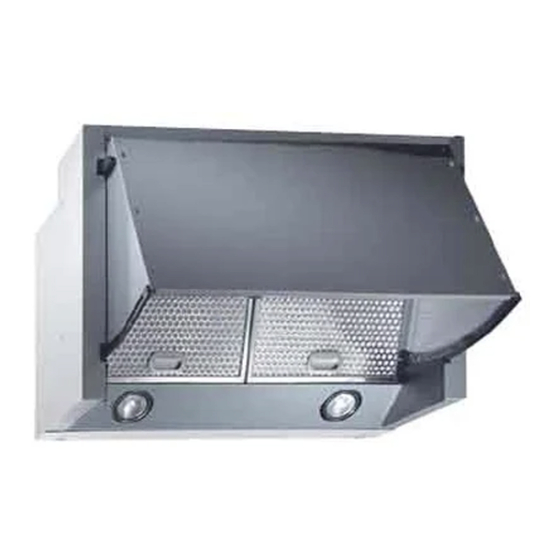
- Page 3 Fig.1 Fig.2 Fig.3 Fig.4 ° ° Fig.5 ELECTRO-VALVE RELAY BROWN BROWN SKY-BLUE BLACK WHITE GREY VIOLET WHITE BLACK mSW= Microswitch SWL= Switch lamps L1 = LOW SPEED (=L) L2 = MIDDLE SPEED L3 = HIGH SPEED...
-
Page 4: Installatie Instructies
NEDERLANDS MONTAGE VAN DE AFZUIGKAP AAN DE MUUR ALGEMEEN Boor zes gaten in de muur zoals blijkt uit het schema in fig. 2. Maak de afstandshouder L op de juiste hoogte aan de muur vast, waarbij u rekening De inhoud van dit boekje grondig doorlezen, daar het belangrijke informatie moet houden met de diepte van de keukenkastjes aan de zijkant. -
Page 5: Conseils Pour La Sécurité
FRANÇAIS GÉNERALITÉS Fixer au mur la pièce d’entretoisement (L) à la juste hauteur et sur la base de la profondeur des éléments hauts lateraux fig. 2. Lire attentivement le contenu du mode d'emploi puisqu'il fournit des Régler la position des etriers supérieurs (M) fig. 2 sur la base de la indications importantes concernant la sécurité... -
Page 6: Benutzung Und Wartung
DEUTSCH ALLGEMEINES Die Stellung der oberen Bügel (M) (Abb.2) entsprechend der Tiefe der seitlichen Hängeschränke regulieren. Die Haube mittels 4 der Beschaffenheit der Mauer (z.B. Zement, Diese Anleitung bitte aufmerksam durchlesen, da sie wichtige Gipskarton usw.) angemessenen Schrauben und Spreizdübel an der Sicherheitshinweise zur Installation, zum Gebrauch und zur Wartung Wand befestigen. -
Page 7: Installation Instructions
ENGLISH ENGLISH GENERAL Fix the hood on the wall through 4 screws and dowels with expanding plug , which are appropriate to that kind of wall (ex. concrete, plaster- board, etc.). Carefully read the following important information regarding installa- Fix the hood to the spacer through the screws (P) (fig. 1). tion safety and maintenance. - Page 8 3LI0INTA7...
Need help?
Do you have a question about the WI6011CM and is the answer not in the manual?
Questions and answers