Advertisement
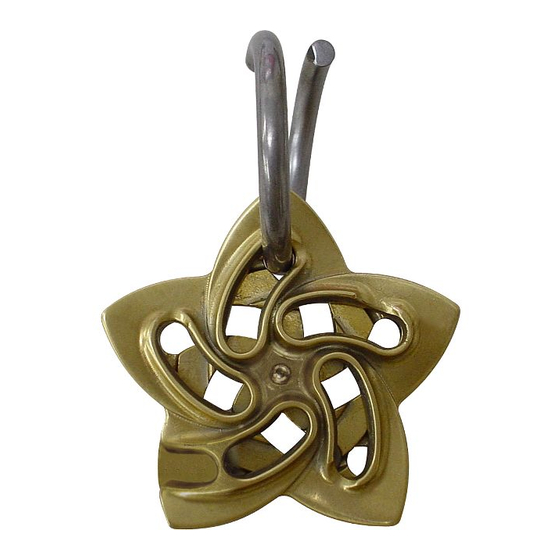
Cast Puzzles
4
1
The ring is positioned at the gaps "3" and "4" on the main body.
The parts and locations are as shown below.
The surface of the tip of the ring and protrusion 3 on the front of the main body should be positioned flat.
This is the shape of 1.
The back of the main body will also be positioned flat with the surface of protrusion 3 in the same way as the front.
Main body front
1
1
5
5
4
4
Ring
5
5
2
5
Rotate the back of the main body
Moving the back and front of the main body left and right to misalign them will create a gap large enough for the ring
clockwise. Simultaneously, move
to pass through the part overlapping the main body. Rotating the ring while passing it through the gap enables the ring
the ring to the back and cause the
to be moved to various positions.
ring to tilt.
Moving the main body creates a gap
2
2
1
1
4
4
5
5
Diagram seen from the side
3
Once the ring is able to moved to various positions, pass it through gaps "3" and "4", from both the front
and back of the main body.
1
1
8
Under rotation
2
2
Position
1
1
of logo
5
5
Diagram seen from the front
of the main body
4
4
5
5
Example of passing the ring through "3" and "4"
Diagram seen from the side
2
2
c d
d
1
1
3
3
b
b
e
a
4
4
5
5
HELIX
The above illustrations are provided for the purpose of solving the puzzle. Note that
Hanayama Toys Co., Ltd. cannot accept telephone calls requesting explanations related to
the mechanism of the puzzle.
Main body front
2
2
Main body back
1
1
3
3
2
2
3
3
4
4
The wide-open part is 4.
6
Rotate the back of the main body
clockwise, while making sure that
the front of the main body does not
move. At the same time, the ring will
Rotate the ring while passing it
start to tilt.
through the gap
Gap
1
1
3
3
1
1
Position
of logo
Diagram seen from the side
2
2
3
3
9
Finally, rotate the back of the main
body back clockwise, and remove
the ring.
The ring passes
3
3
through gaps "3" and "4"
4
4
Position
of logo
(hidden)
Diagram seen from the back
Diagram seen from the back
Secure the main body front and back to the position shown
in the diagram on the left. When the ring is in gap a, rotating
the ring as shown in the diagram on the right while passing
the ring through the gaps in the order b→c→d→e will bring
the ring to gaps "3" and "4".
logo
3
3
3
3
2
2
1
1
Protrusion 3
Diagram seen from the back
2
2
2
2
3
3
3
3
4
4
5
5
5
5
4
4
Diagram seen from the back
* This document may not be copied or used in any way without prior permission.
Solving the Cast HELIX 1
Solving the Cast HELIX2
The wide-open part is 4 seen even from the back
4
4
4
4
5
5
5
5
3
3
This is the shape of 1
2
2
2
2
4
4
seen even from the back
1
1
1
1
5
5
Main body back
7
Under rotation
2
2
The ring can be moved to various
positions
1
1
Position
1
1
of logo
(hidden)
5
5
5
5
Diagram seen from the side
10
Separated.
of the main body
To gap b
1
1
3
3
2
2
3
3
4
4
4
4
5
5
5
2
2
3
3
5
5
4
4
HANAYAMA Co., Ltd.
Advertisement
Table of Contents

Related Manuals for Hanayama CAST PUZZLE HELIX 1


Summary of Contents for Hanayama CAST PUZZLE HELIX 1
- Page 1 The above illustrations are provided for the purpose of solving the puzzle. Note that HANAYAMA Co., Ltd. Hanayama Toys Co., Ltd. cannot accept telephone calls requesting explanations related to the mechanism of the puzzle. * This document may not be copied or used in any way without prior permission.
- Page 2 The above illustrations are provided for the purpose of solving the puzzle. Note that HANAYAMA Co., Ltd. Hanayama Toys Co., Ltd. cannot accept telephone calls requesting explanations related to the mechanism of the puzzle. * This document may not be copied or used in any way without prior permission.
Need help?
Do you have a question about the CAST PUZZLE HELIX 1 and is the answer not in the manual?
Questions and answers