
Subscribe to Our Youtube Channel
Related Manuals for MasterCraft MCRAC15KEWM


Summary of Contents for MasterCraft MCRAC15KEWM
- Page 1 OWNER’S MANUAL 15100 BTU Window Air Conditioner NOK69 Please read the entire manual carefully to ensure proper operation of the product.
-
Page 2: Product Registration
PROdUCT REgiSTRATiON Thank you for purchasing a Master Craft® product. The first step to protect your new product is to complete the product registration on our website: www.mcappliance.com/register. The benefits of registering your product include the following: Registering your product will allow us to contact you regarding a safety notification or product update. Registering your product will allow for more efficient warranty service processing when warranty service is required. -
Page 3: Table Of Contents
CONTENTS PRODUCT REGISTRATION ........2 IMPORTANT SAFETY INSTRUCTIONS . -
Page 4: Important Safety Instructions
iMPORTANT SAfETy iNSTRUCTiONS ExPLANATION OF SYMBOLS WARNiNg: Hazards or unsafe practices which COULd result in severe personal injury or death. CAUTiON: Hazards or unsafe practices which COULD result in minor personal injury or property damage. IMPORTANT SAFETY INSTRUCTIONS Read all instructions before using the appliance. For household use only. - Page 5 21. Contact customer service or an authorized service technician for repair or maintenance of this unit. DO NOT try to take apart or repair the unit by yourself. 22. Turn off and unplug the unit if strange sounds, smells, or smoke come from it. 23.
-
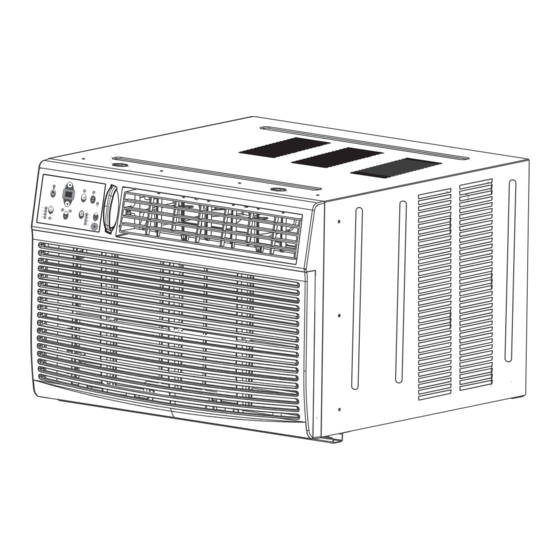
Page 6: Specifications
SPECIFICATIONS Figure 1 Model MCRAC15KEWM Dimensions (W x D x H) 23.6” x 25.4” x 17.9” 15,100 Voltage 115V / 60Hz Watts 1279 Refrigerant Type R410A 11.8 OPERATING TEMPERATURE RANGE Outdoor Temperature 64-109°F (18-43°C) Indoor Temperature 62-90°F (17-32°C) -
Page 7: Installation Instructions
iNSTALLATiON iNSTRUCTiONS BEFORE YOU BEGIN iMPORTANT: Save these instructions for local inspectors use. iMPORTANT: Observe all governing codes and ordinances. NOTE TO CONSUMER: Keep these instructions for future reference. NOTE TO iNSTALLER: Be sure to leave these instructions with the Consumer. •... - Page 8 Check for anything that figure 3 figure 4 could block airflow. Check area outside of Sash Sash the window for things such as shrubs, trees, 19” Min. or awnings. Inside, be sure furniture, drapes, 19” Min. 12” Min. 12” Min. or blinds will not impede 12”...
- Page 9 WINDOW MOUNTING figure 5 figure 6 Front Panel REMOVE CHASSIS Pull down front grille and remove filter. (See Figure 5.) Lift front grille upwards and place to Front Grille one side. Locate the four front screws and figure 7A figure 7B remove.
- Page 10 ASSEMBLE WINDOW FILLER PANELS figure 13 Place cabinet on a flat, stable surface. Plastic Window Filler Frame Panel Slide I section of window filler panel into side retainer on the side of the cabinet (see Figure 13 & Figure 14). Repeat for other side.
- Page 11 INSTALL SUPPORT BRACKET figure 18A figure 18B Left Hold each support bracket flush 1/2” Long Screws against the outside of the sill, And Locknuts Locknut and tight to bottom of cabinet Sill Angle as shown in Figure 18A. Mark Bracket brackets at top level of sill, and remove.
- Page 12 ATTACH WINDOW FILLER PANELS TO WINDOW FRAME figure 22A Window Channel Extend the window filler panels out against the window frame. Window Sash Use a 1/8” drill bit to drill a starter hole through the hole in the top leg of each window filler panel and into Left-hand Window the window sash.
- Page 13 INSTALL R1 HARDWARE (ONLY APPLICABLE TO ENERGY STAR MODELS) In order to minimize air leaks and ensure optimal insulation, it is necessary to install the included R1 hardware (h) to the side curtain. Follow the instructions below. After the unit is installed to the window, measure the inner width of the side curtain as shown in Figure 25.
- Page 14 THROUGH THE WALL INSTALLATION NOTE: It is only recommended to have the through the wall Installation done by a qualified carpenter. ALWAYS consult local building codes. The air conditioner has a slide-out chassis so it can be installed through an outside wall as specified: •...
-
Page 15: Operation Instructions
OPERATiNg iNSTRUCTiONS OPERATION OF CURRENT DEVICE The power supply cord contains a current device that senses damage to the power cord. To test your power supply cord do the following: Plug in the Air Conditioner. The power supply cord will have TWO buttons on the plug head. Press the TEST button, you will notice a click as the RESET button pops out. - Page 16 TO CHANGE TEMPERATURE SETTING Press (UP/DOWN) button to change temperature setting. NOTE: Press or hold either UP ( ) or DOWN ( ) button until the desired temperature is seen on the display. This temperature will be automatically maintained anywhere between 62°F (17°C) and 86°F (30°C).
- Page 17 When the time of TIMER ON is displayed press the Timer button again and the TIMER OFF indicator light will illuminate to indicate the Auto Stop program is initiated. Press or hold the UP or DOWN button to change the Auto time by 0.5 hour increments, up to 10 hours, then at 1 hour increments up to 24 hours.
- Page 18 • ON/OFF: Operation starts when button is pressed and figure 31 stops when it is pressed again. NOTE: If the unit has ENERGY SAVER function, it will automatically initiate under Cool, Dry, and Auto (only Auto-Cooling and Auto-Fan) modes. • TEMP DOWN: Push this button to decrease the indoor temperature setting.
- Page 19 WARNING: • Chemical Burn Hazard. Keep batteries away from children. This product contains a lithium button/coin cell battery. If a new or used lithium button/coin cell • battery is swallowed or enters the body, it can cause severe internal burns and can lead to death in as little as 2 hours.
Need help?
Do you have a question about the MCRAC15KEWM and is the answer not in the manual?
Questions and answers