Advertisement
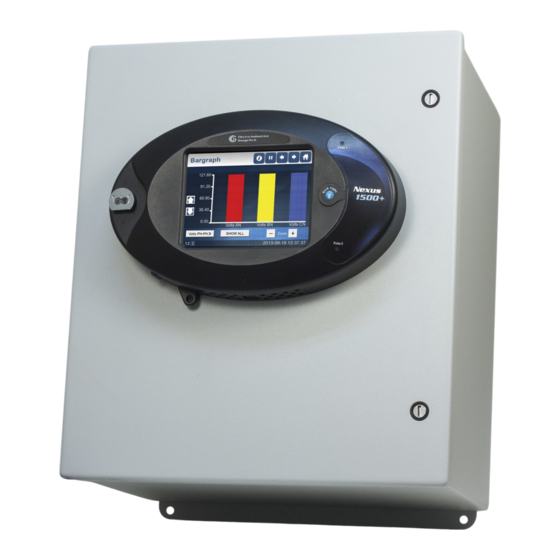
Nexus® 1500 Meter Quick Start Guide
Mechanical Installation
1. Slide the meter into the panel's cut-out. (See the diagram shown
on the right. You can use either an octagonal or a rectangular cut-out.)
2. From the back of the panel, slide the 4 Mounting Brackets into the
grooves on the top and bottom of the meter housing - 2 fit on the top
and 2 fit on the bottom.
3. Snap the Mounting Brackets into place.
4. Secure the meter to the panel with lock washer and a #8 screw
in each of the 4 mounting brackets.
5. Tighten the screws with a #2 Philips screwdriver.
Do not over-tighten.
Mounting
Bracket
Grooves
WYE or DELTA with PTs 3 Phase, 4-wire
NOTE: See the meter's Installation and Operation Manual for additional wiring configurations.
e
Electro Industries/GaugeTech
Electrical Wiring Diagrams
#8
Screw
DELTA Direct 3 Phase, 3-wire
Doc # E154702 V.1.02
Rectangular Cut-out Dimensions
WYE or DELTA Direct 3 Phase, 4-wire
DELTA with PTs, 3 Phase, 3-wire
Q-1
Advertisement
Table of Contents

Related Manuals for Nexus 1500


Summary of Contents for Nexus 1500
- Page 1 Nexus® 1500 Meter Quick Start Guide Mechanical Installation 1. Slide the meter into the panel’s cut-out. (See the diagram shown on the right. You can use either an octagonal or a rectangular cut-out.) 2. From the back of the panel, slide the 4 Mounting Brackets into the grooves on the top and bottom of the meter housing - 2 fit on the top and 2 fit on the bottom.
- Page 2 Programming the Nexus® 1500 Meter Using the USB Virtual Com Port NOTES: • Before using the USB Virtual Com port for the first time, see Appendix A of the Nexus® 1500 Meter Installation and Operation Manual that came with your meter, for instructions on configuring it. •...
Need help?
Do you have a question about the 1500 and is the answer not in the manual?
Questions and answers