Advertisement
Quick Links
Advertisement

Related Manuals for intensity MINI VRF MDV-V120W/DVN1


Summary of Contents for intensity MINI VRF MDV-V120W/DVN1
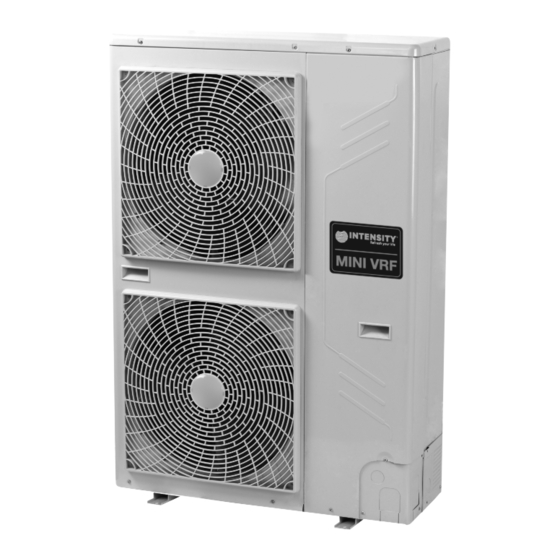
- Page 1 MINI VRF MDV-V105W/DVN1, MDV-V120W/DVN1, MDV-V140W/DVN1, MDV-V160W/DVN1. Thank you very much for purchasing our air conditioner, before using your air conditioner, please read this manual carefully and keep it for future reference. INSTALLATION MANUAL MAN-I-IMVRF-0316 intensity.mx...
-
Page 2: Table Of Contents
CONTENTS PAGE WARNING PRECAUTIONS..................1 If the supply cord is damaged, it must be replaced by the ATTACHED FITTINGS................2 manufacturer or its service agent or a similarly qualified person in order to avoid a hazard. OUTDOOR UNIT INSTALLATION..............3 An all-pole disconnection switch having a contact separation of INSTALL THE CONNECTING PIPE............4 at least 3mm in all poles should be connected in fixed wiring. -
Page 3: Attached Fittings
An insufficient power supply capacity or inappropriate installation 6) Reamer may cause fire. 7) Gas leak detector Use the specified cables for wiring connect the terminals 8) Tape measure securely fix. To prevent external forces applied to the terminals 9) Thermometer from affecting the terminals. -
Page 4: Outdoor Unit Installation
Installation in the following places may result in some troubles. Do not install the unit in such places below. A place full of machine oil. A place full of sulphuric gas. A place where high-frequency radio waves are likely to be generated as from audio quipment, welders, and medical equipment. -
Page 5: Install The Connecting Pipe
4. INSTALL THE CONNECTING PIPE 3.3 Moving and installation Since the gravity center of the unit is not at its physical center, Check whether the height drop between the indoor unit and so please be careful when lifting it with a sling. outdoor unit, the length of refrigerant pipe, and the number of the bends meet the following requirements: Never hold the inlet of the outdoor unit to prevent it from... - Page 6 The second connect method Check point of indoor unit Outdoor Unit(Take Model 160 for example) Check point of outdoor unit Intdoor Units Fig. 4-2 The First Line Branch Pipe 4.3 Heat Insulation Do the heat insulation to the pipes of air side and liquid side separately.
- Page 7 Table 4-8 The straight distance between the contiguous branch pipes is at Capacity of Maximum Sum Capacity least 0.5m; Outdoor Unit Outdoor unit Quantity of of Indoor unit The straight distance which the branch pipes connected to the (kW) (horsepower) Indoor unit (horsepower) indoor unit is at least 0.5m;...
- Page 8 The indoor unit below to the main pipe L3 are N3 N6, and its to- Indoor unit branch pipe tal capacity is 28×3+22=106, the size of pipe L3 is 15.9/ 9.5, Inner branch pipes are a~f, the size selection please refers to and he branch pipe C should be FQZHN-01C.
- Page 9 The second connect method Outdoor unit Pipe length(From the nearest branch pipe equivalent length Maximum pipe equivalent length (From the first line branch pipe) Maximum pipe equivalent length The First Line Branch Pipe Indoor unit Fig.4-8 4.10 Refrigerant Amount to be Added 4.7 Remove Dirt or Water in the Piping Make sure there is no any dirt or water before connecting Calculate the added refrigerant according to the diameter and the...
-
Page 10: Electrical Wiring
5. ELECTRICAL WIRING Outdoor unit Power Supply Signal wire between indoor/outdoor unit Indoor unit Indoor unit Indoor unit Branch Box Branch Box Branch Box Power Supply Signal wire between indoor units Please use 3-core shielded wire, and connect the shielded layer to Grounding Fig. - Page 11 Power (208-230V~ 60Hz 3-Phase) Power (208-230V~ 60Hz 1-Phase) Switch / Circuit breaker Switch / Circuit breaker Power wiring Power wiring wire distribution box (indoor) (outdoor) in broken line table, users can purchase the Central control montior when necessary.please contract with local supplier in details . Outdoor Indoor Indoor...
- Page 12 Wrong connection may cause malfunction . NOTE Wiring Connection The wire diameter and continuous length is under the Seal the wiring connection with the insulation material , or the condition that the voltage vibration is within 2%. If the condensing dew will be caused. continuous length is exceed showing value, choose the wire diameter follow relevant regulation.
-
Page 13: Test Running
Table 5-3 SW3 SW-1 Outdoor unit Obtain network address automatically Obtain network address manually Revocation indoor unit network address Indoor unit Room full of leak refrigerant (All refrigerant has run up) b. Leak alarm related to mechanical ventilator 6. TEST RUNNING Indoor unit Operate according to "gist for test running"...
Need help?
Do you have a question about the MINI VRF MDV-V120W/DVN1 and is the answer not in the manual?
Questions and answers