Table of Contents
Advertisement
Quick Links
Advertisement
Table of Contents

Related Manuals for NEFF T27DA69N0A/41


Summary of Contents for NEFF T27DA69N0A/41
- Page 1 Built-in gas hob [en] User manual and installation in- structions T27DA69N0A...
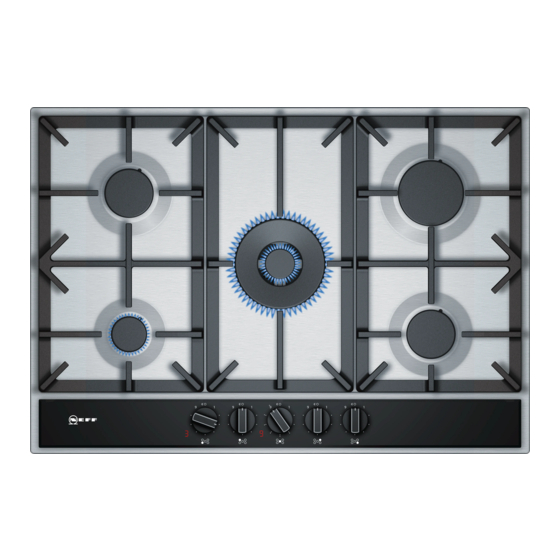
- Page 2 T27DA69N0A Component Pan support Control knobs Economy burner with an output of up to 1,00 kW Standard-output burner with an output of up to 1,75 kW High-output burner with an output of up to 3,00 kW Dual-wok multi-crown burner with an output of up to 5,00 kW The images shown in these instructions are for guid- ance only.
-
Page 3: Table Of Contents
Safety en Futher information and explanations are available online: Table of contents 1.2 Intended use The appliance can only be used safely if it is INFORMATION FOR USE correctly installed according to the safety in- structions. The installer is responsible for en- Safety .............. 3 suring that the appliance works perfectly at its 1.4 Safe installation .......... 4... -
Page 4: Safety
en Safety 1.4 Safe installation 1.5 Safe use Follow these safety instructions when in- WARNING ‒ Risk of explosion! stalling the appliance. Escaping gas may cause an explosion. WHAT ¡ Read the installation instructions carefully. TO DO IF YOU SMELL GAS OR IF THERE → "Installation instructions", Page 6 ARE FAULTS IN THE GAS INSTALLATION ¡... - Page 5 Safety en Escaping gas may ignite. WARNING ‒ Risk of poisoning! ▶ If the burner does not ignite after Using the gas cooking appliance leads to a 10 seconds, turn the control knob to the build-up of heat, moisture and combustion "Off" position and open the door or window products in the room where the appliance is in the room.
- Page 6 en Installation instructions ▶ Never pull on the power cord to unplug the Cookware that is not the right size, or that is appliance. Always unplug the appliance at damaged or incorrectly positioned may cause the mains. serious injuries. ▶ If the appliance or the power cord is dam- ▶...
- Page 7 Installation instructions en ¡ Seal the cut surfaces of wooden work surfaces with ¡ Height of the pan support above the worktop sur- a special glue seal to protect them from moisture. face: up to 60 mm. ¡ Any adjoining vertical wall surface situated within 200 mm from the edge of any cooktop burner must be a suitable non-combustible material for the entire length of the cooktop, in accordance with clause...
- Page 8 en Installation instructions Turn the cooktop around and insert it into the re- 2.5 Positioning the appliance cess. Insert the cooktop in the front of the recess. Note: Do not use silicone to bond the appliance to the worktop. Position the cooktop with the upper side facing down on a flat, stable surface.
- Page 9 Installation instructions en Wiring diagram Gas connection R 1/2 Observe the wiring diagram. Fit regulator (N. G.) or a test point (Universal LPG) ▶ directly to the R 1/2 connection. – Direction of gas flow is indicated on the rear of the regulator. –...
- Page 10 en Installation instructions ¡ Check all connections for gas leaks with soap and Carefully remove the cover. water. DO NOT use a naked flame for detecting Removing the circuit board leaks. Tip: The circuit board is secured to the holder by ¡ Ignite all burners both individually and concurrently fastening pins at the sides and in the middle.
- Page 11 Preventing material damage en Burner ULPG ULPG Hourly gas consump- Injector mark Hourly gas consump- Injector mark tion (MJ) tion (MJ) Economy burner 4.00 3.50 Standard-output 6.85 burner High-output burner 11.00 11.00 Dual-wok multi-crown 19.50 ¡ Outer flame: 190 16.50 ¡ Outer flame: 96 burner ¡...
-
Page 12: Environmental Protection And Saving En- Ergy
en Environmental protection and saving energy Handling the cookware roughly may damage the sur- Acidic liquids, such as lemon juice or vinegar, may face of the appliance. damage the surface of the appliance. Handle the cookware on the cooktop carefully. Do not leave acidic liquids on the cooktop. ▶... -
Page 13: Accessories
Accessories vary from one appliance to another. When purchasing accessories, always quote the exact product number (E no.) of your appliance. → Page 18... -
Page 14: Basic Operation
en Basic operation 7 Basic operation ¡ The burner holes and grooves must be clean to en- 7.1 Igniting a gas burner sure a correct flame. The cooktop has automatic ignition of the burners. → "Cleaning the burners", Page 16 WARNING ‒ Risk of fire! Escaping gas may ignite. 7.2 Safety system If the burner does not ignite after 10 seconds, turn ▶... -
Page 15: Recommended Settings For Cooking
Recommended settings for cooking en 8.2 Using cookware Do not use deformed Deformed cookware is cookware. Only use cook- not stable on the cooktop The selection and positioning of the cookware affects ware with a thick, flat and may tip over. the safety and energy efficiency of your appliance. base. -
Page 16: Cleaning And Servicing
en Cleaning and servicing 10 Cleaning and servicing To keep your appliance working efficiently for a long Allow the appliance to cool down. time, it is important to clean and maintain it carefully. Clean using a non-metallic brush and soapy water. Completely dry the appliance. - Page 17 Troubleshooting en 11.1 Malfunctions Fault Cause and troubleshooting The general electrical The circuit breaker is faulty. operation is impaired. Check the circuit breaker in the fuse box. ▶ The circuit breaker or one of the residual-current circuit breakers has been triggered. In the fuse box, check whether the circuit breaker or one of the residual-current circuit ▶...
-
Page 18: Service
en Service Fault Cause and troubleshooting Electronics fault. , , , , , , light up in the Disconnect the cooktop from the mains. - Page 20 *8001262326* 8001262326 BSH Hausgeräte GmbH Carl-Wery-Straße 34 021201 81739 München, GERMANY...
Need help?
Do you have a question about the T27DA69N0A/41 and is the answer not in the manual?
Questions and answers