Advertisement
- 1 General Notice
- 2 Precautions
- 3 Safety Notice
- 4 Installation Guide
- 5 Downloading the APP
- 6 Parts Info
- 7 Dashboard Display Info
- 8 Operation Guide
- 9 Battery Use and Maintenance Guide
- 10 DOs and DON'Ts while Riding
- 11 Maintenance and Repair
- 12 Troubleshooting List
- 13 Technical Parameters
- 14 Documents / Resources
General Notice
- Please read this User Manual carefully for proper operation before riding the scooter.
- For your safety, please check whether the parts are in good condition according to this User Manual before riding. Contact your dealer in time in case of any problems.
- Please follow the traffic laws. Slow down on slippery roads in bad weather to allow greater braking distance for your safety.
- Please pay attention to deep water. It may cause rusting or failure of the motor, battery, or other parts if water level reaches wheel axle.
- Do not dismantle the scooter on your own. Please contact your dealer for replacement or purchase of original parts.
- For others' safety and preventing unnecessary damage to your scooter, do not lend your scooter to those who can't operate.
- For more produce information or maintenance need, please visit our website: www.niu.com/en
Precautions
- Rider and Passenger
This scooter is not designed for a ride of more than 2 persons. - Road Conditions
This scooter is not designed for off-road use. - This User Manual should be deemed as a permanent document of this scooter. If this scooter is transferred to others, this User Manual should also be handed over to the new owner.
- Reproduction or reprint of any part of this User Manual is strictly prohibited.
 ATTENTION: Do not exceed speed limit and apply brakes cautiously. Always use side stand or central stand when parking.

Failure to follow the instructions herein may lead to serious casualties, personal injury, or scooter damage.
Safety Notice
- Using a helmet and protective goggles is strongly advised.
- You are advised to take proper training or exercise before using on open roads.
- Please follow the Operation Guide to fully understand how to properly operate the scooter.
- It should be noted that the braking distance in bad weather will be much longer. Please avoid braking on paint markers, manhole covers, and oil stains to prevent slipping. Pay extra attention when riding through railway crossings, junctions, tunnels, and bridges. Slow down if road conditions are unclear.
- Do not use high beam indiscriminately. Continuous use of high beam may disturb the vision of other drivers and pedestrians.
- Do not use mobile phones or other electronic devices which may draw your attention while riding.
- Do not change the lane without signaling. Changing the lane at will is one of the major causes for accidents. When you need to change the lane, remember to switch on the Turn Signal Indicator first. Always check the vehicles approaching from behind before changing the lane.
Installation Guide
- Insert the key to the main lock and turn to the icon of "OPEN" as shown in the figure.
![]()
- Open the saddle to take out the key box, windshield package (with rubber pads and standard parts), and installation tools.
Insert the key into the keyhole in the rear storage and turn it to open the battery compartment. Take out the charger and rearview mirrors package inside.
![]()
- Take out the rearview mirrors and check them carefully. Install the left rearview mirror into the mounting hole on the left brake lever and turn it clockwise. The bolt shall be screwed in for more than 15 mm.
![]()
- Adjust the rearview mirrors to an appropriate position and then tighten nuts on the rearview mirror with a spanner. Properly set the dust cover. Install the right rearview mirror in the same way.
![]()
- Align the windshield rubber part with the windshield holes and then install it.
![]()
- Tighten the two screws with the screwdriver to secure the windshield.


Downloading the APP
Functions such as checking battery level, locating, and management can be implemented on the electric scooter through the app.
- Scan the QR code below to download the APP titled Niu E-Scooter.
- Run Setup after downloading and register.
- Please scan the QR code on the inside of cover page for app registration.

NOTE:
The mobile phone system is required to be at least Android 4.0 or iOS 8. Make sure that the mobile phone has been connected to the Internet when running the app (Wi-Fi / 2G / 3G / 4G).
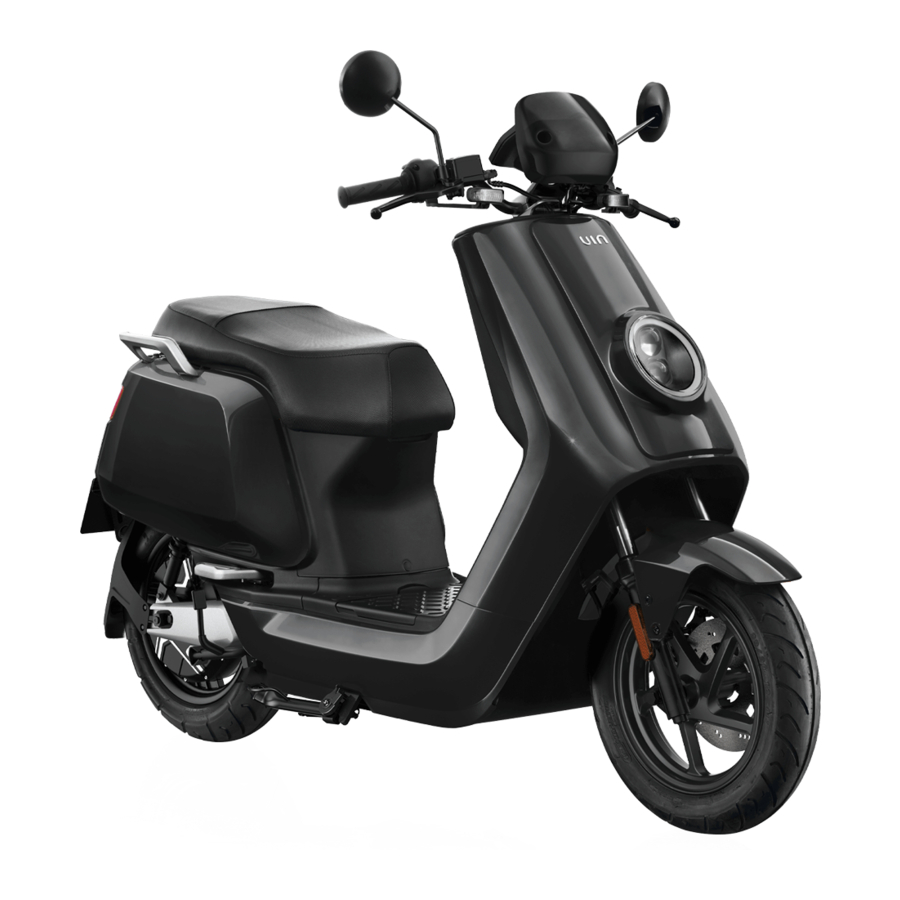
Parts Info

Dashboard Display Info

 | Left Turn Indicator | The Left Turn Indicator is on. |
 | Right Turn Indicator | The Right Turn Indicator is on. |
 | High Beam | The High Beam is on. |
 | Ready Indicator | In Riding Mode. |
 | Low Battery Indicator | Battery level less than 10%. |
 | Time | Now is 10:00 |
 | Economic Mode | Ideal energy consumption status. |
|
| GPS Signal GSM Signal | No flashing: Signal strong. Bars are falshing: Signal weak. Entire icon flashing: No signal. |
 | Cruise Mode | The scooter is in Cruise Mode. |
 | Diagnostic Code | The Diagnostic Code is 30. Please see the "Troubleshooting List". |
 | Energy Recycling Status | Energy is being recycled from braking. |
 | Battery Bar | Current battery level is 80~89%. |
 | Battery Percentage (Small) | Current battery level is 85%. |
 | Remaining Charging Time | The remaining charging time is 3.2 h (using scooter charging port). |
 | Charging | Battery is being charged. |
 | Distance Travelled | Distance Travelled is 802 miles. |
 | Instant Electric Current | Indicates instant power output. |
 | Riding Mode | Sport Mode Dynamic Mode Energy Saving Mode |
 | Speed | Current speed is 26 mph. |
 | ChargingPercentage (Large) | Current batter ycharging progress is 13% (using scooter charging port). |


Operation Guide
Front Storage Area

- USB Charging Port
- Main Lock
- Hook
- Front Storage


Push the key and turn to LOCK position to lock the Steering Handlebar
Left Combination Switch

- High/Low Beam Light
- Turn Signal Indicator
- Horn
- Cruising Mode
 | High/Low Beam Light: Press the upper part to switch to high beam; press the lower part to switch to low beam. |
 | Turn Signal Indicator: Push the button left to turn on the Left Turn Signal Indicator; push the button right to turn on the Right Turn Signal Indicator. Press the button to turn off. |
 | Cruising Mode: Push the button to cruise at current speed. Press again or brake to turn it off. |
Right Combination Switch

- Mode Selector
- Hazard Light Switch
- Start/Stop Button
 | Mode Selector: Press right part to switch up the mode. Press left part to switch down the mode. |
 | Hazard Light Switch: Push the switch left to turn on the Hazard Light; push the switch right to turn it off. |
 | Start/Stop Button: Press and hold the button for 2 seconds to set the scooter in the riding mode. The  indicator on the dashboard will light up and you are ready to go. Press the button again to turn it off. indicator on the dashboard will light up and you are ready to go. Press the button again to turn it off. |
Start the Device

- Press the Unlock button of the remote controller. After the Turn Signal Indicators flash twice, the scooter is unlocked.
- After the scooter is unlocked, insert the key into the Keyhole and turn clockwise to
![]() position.
position. - After system diagnostic, hold the brake and press the Start Button for 2 seconds.
- The
![]() indicator will light up. Release the brake and the scooter will be ready to go.
indicator will light up. Release the brake and the scooter will be ready to go.
 position.
 Locking Steering Handlebar
Turn the steering handlebar to the left, then push the key inward and turn it anticlockwise to LOCK position.
Locking with Remote Controller
The scooter can only be locked when the scooter is turned off. Press the Lock Button on the Remote Controller within an effective distance to turn on the Alarm. The Turn Signal Indicators will stay on for 2 seconds after the scooter is properly locked.
Locating
Press the Locating Button and the Turn Signal Indicators will flash for 10 seconds. If no further operation during this period, the Alarm will be on for 10 seconds. The Alarm can be cancelled by pressing the Unlock or Lock Button.
Battery Use and Maintenance Guide
Using Environment
 In order to prevent possible leakage, overheat, smoking, fire or explosion, please follow these instructions:
- The battery should be used at the temperature of -10°C to 45°C.
- Do not expose to water, beverages or corrosive liquids.
- Keep away from heat source, open fire, inflammable and explosive gases and liquids.
- Please keep metal parts away from the battery compartment.
 In case of undesirable odor, overheat or deformation of the battery, please disuse the battery immediately, keep away from the battery and contact your dealer.
The battery is not a repairable part by the user. In case of battery fault, please contact your dealer. Users dismantling the battery may lead to leakage, overheat, smoking, fire or explosion. This will invalidate product warranty.
Charging Environment
The battery should be charged at the temperature of 0°C to 35°C. The charging time should not exceed 24 hours, or it will shorten the battery life. Do not charge the battery outdoors.
ATTENTION: Do not charge the battery below 0°C.
Using non-original battery chargers may lead to leakage, overheat, smoking, fire or explosion.

- Battery Compartment Cover
- Battery
- Battery Compartment Lock
- Battery Compartment
Battery charging instructions
NQi GTS provides you with two modes of vehicle charging and external charging.
Vehicle charging mode
You can connect the charger to the vehicle charging interface at the rear of the saddle box to charge two NQi GTS batteries at the same time. Also the charger can be connected to the single battery of the vehicle to charge; Then the charging indicator of the NQi GTS meter will light up and the charging progress will be displayed.

External charging mode
Take out the NQi GTS batteries, connect the charger separately and charge them externally; or use the double-battery charging adapter box to charge two NQi GTS batteries at the same time. The battery indicator will light up during the charging and the charging process will be displayed.
When only one battery powers the vehicle, the maximum speed of the vehicle is the speed at the second gear.
Battery indicator light instructions

- In the charging state, the current battery power will be displayed. After the battery is fully charged, all the indicators are always on and no longer flash.
- When in the non-charging state, press the power show button and the indicator will show the battery power in the normal state.
- If the battery is less than 20%, an indicator will flash threes to remind you to charge.
- If all the indicators flash, it means that the battery is being in fault.
- Please call the official customer service hotline 400-6388-666 for consultation.
- All operation should be strictly conform to the user manual. If not, result will be assumed by user.
- Must use original charger.
- Pay attention to the type of battery and applied voltage. Mixture use is forbidden.
- Charging should be in ventilated environment. DO NOT charge in closed space or under high temperature. DO NOT put charger into trunk or tail box while charging.
- While charging, connect battery with charger before connect with electric supply. After fully charged, disconnect the electric supply before unplug the battery plug.
- When the green light turns on, disconnect the power in time.
- Avoid long time connection between charger and AC power supply while not charging.
- While charging, if the signal light is abnormal, has odor, or the charger is over temperature, please stop charging immediately and check or change the charger in time.
- When using and storing the charger, please avoid foreign matter, especially water or other liquid in case of internal short circuit.
- DO NOT bring charger within scooter, if have to, please make sure of damping.
- DO NOT disassemble or change the parts in charger by yourself.
ATTENTION
- If the battery can not be fully charged after 12 hours, please stop charging and contact your dealer.
- To maximize the battery life, please keep the battery percentage within 20% to 80%.
- The battery will lose more capacity in lower temperature conditions. To be more specific, the usable capacity at -10°C is 70%, 85% at 0°C, and 100% at 25°C.
- The best battery capacity performance for storage is 50%. Storing battery with less than 10% or more than 90% over a long period of time will cause irreversible capacity loss to the battery.
- The battery needs to take out from the scooter for storage longer than one week. In this condition, please keep the battery at the temperature of 0°C to 20°C with capacity of 30%-70%. It's advised to have at least one cycle of charge and discharge every 2 months to minimize battery capacity loss during storage.
- If the battery failure is due to misuse or lack of proper maintenance as instructed, its warranty will be invalidated.
![burn hazard]() Falling may cause uncontrollable internal damage to the battery and may cause leakage, overheat, smoking, fire or explosion.
Falling may cause uncontrollable internal damage to the battery and may cause leakage, overheat, smoking, fire or explosion.
DOs and DON'Ts while Riding
Before Riding
Please check the following details before riding.

Braking Precautions
Adjust the scooter upright before applying brakes. If the tyres are locked and the scooter loses steering ability resulting from excessive braking force, loosen the grip on the braking lever and the tyres will be working again and the scooter will be stabilized. Try to maintain a 1:1 ratio of front and rear braking force on slippery roads.

For your safety, do not exceed the speed limit, use the brakes gently to maintain at safe speed while riding downhill.
ATTENTION: Inexperienced riders tend to use the rear brake only, which will accelerate the wear of the brake and result in a longer braking distance.
Using the front brake or rear brake only is dangerous because of possible grip or control loss. Pay extra attention and use the brakes gently when riding on damp, slippery roads, and around corners. Otherwise, riders will be exposed to great danger.
Maintenance and Repair
Users are advised to have the scooter checked and maintained on a regular basis, even for the scooters that are not used for a long time.
Regular Maintenance
Users are advised to have their scooters checked 2 months after purchased or with 500 km travelled distance. Overall check and maintenance is advised to be conducted every 6 months or 3000 km thereafter.
Daily Maintenance
If any problem occurs during checks, please look through the Home Repair Instructions or send the scooter to the dealer's for checks and maintenance.
Device Washing
Please always take out the battery before washing the scooter. Please use neutral detergent and water to wash the scooter. Use soft cloth to wipe the scooter after washing to prevent scratching.
ATTENTION
If the scooter is frequently used in overload, high-speed, bumpy or up/downhill riding conditions, the maintenance cycle should be shortened.
For more guaranteed quality and longer service life, please use original parts, which are under normal warranty.
If incapable of repair or adjustment on his/her own, the scooter owner is advised to send the scooter to the dealer's for maintenance and adjustment for the sake of safety. Always choose a smooth surface road for repair and adjustment and unfold the central stand before repair and adjustment. If it's necessary to repair the scooter during a ride, mind the traffic.
Do not use pressure washer to wash the scooter, especially around the battery compartment. Do not flush the rear inner mudguard, where the charger, controller and other parts are installed behind. If the charging port on the scooter is wetted, please do not charge before the charger dries off. Contacting your dealer is recommended.
Short-term Storage
- Keep the scooter in flat, steady, well-ventilated and dry area.
- Charge the battery to 50% full before storage to maximize battery life.
- Avoid exposure under sunlight and rain to reduce damage or aging.
Long-term Storage
- Remember to have a charge and a discharge at least every 2 months and charge the battery to 50% full before storage to maximize battery life.
- Charge the battery to 100% full after long-term storage.
- Check all the parts carefully to make sure that there is no problem before riding it. If there's any problem, take the scooter to your dealer for maintenance or repair.
Please disconnect the battery with the scooter during storage.

Troubleshooting List


Technical Parameters


Documents / Resources
References
Download manual
Here you can download full pdf version of manual, it may contain additional safety instructions, warranty information, FCC rules, etc.
Advertisement


Need help?
Do you have a question about the NQi GTS and is the answer not in the manual?
Questions and answers