Tascam US-122 Installation Instructions
Cd installation
Hide thumbs
Also See for US-122:
- Owner's manual (36 pages) ,
- Supplementary manual (16 pages) ,
- Application manual (4 pages)
Advertisement
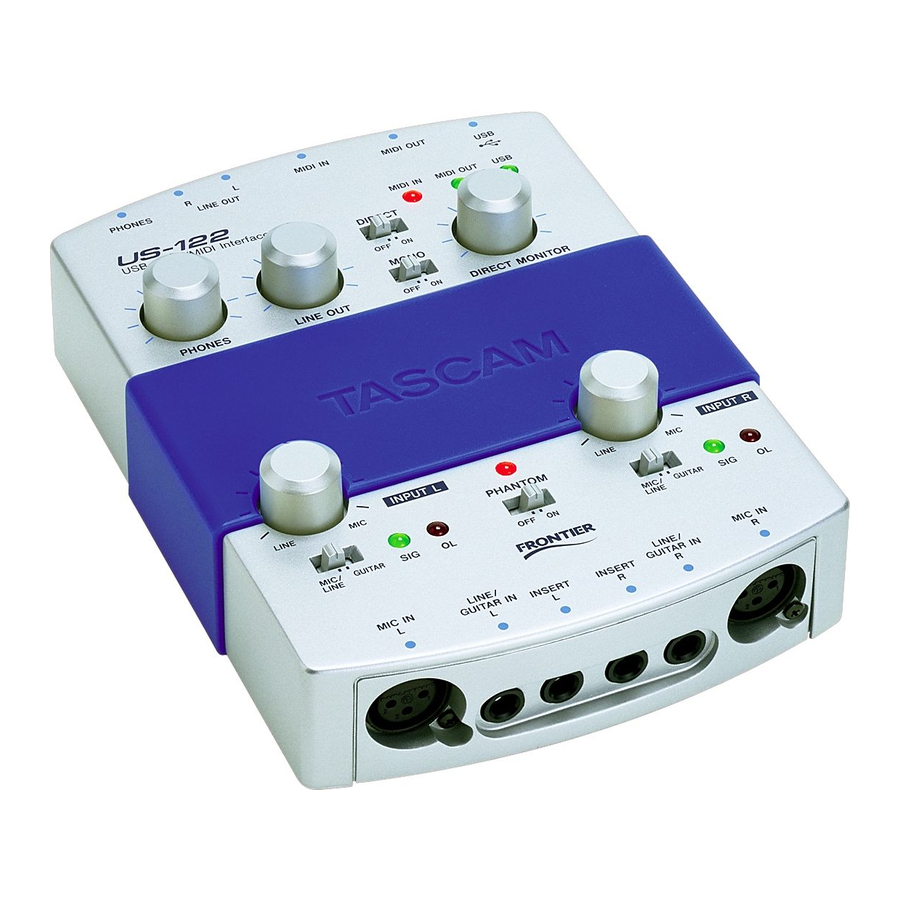
US-122
CD Installation
Below are the detailed and complete CD installation instructions for
the Tascam US-122 for Windows XP. These instructions are to be
followed if the user is unable to install with the instructions provided
with the US-122
BEFORE YOU BEGIN,
MAKE SURE THE US122 IS NOT PLUGGED IN
DO NOT PLUG IN YOUR US122 UNTIL YOU ARE INSTRUCTED TO.
TURN OFF YOUR ANTI VIRUS
(1A)
IF YOU HAVE PRECIOUSLY ATTEMPTED TO INSTALL THE US-122
PERFORM A CLEAN UNINSTALL BEFORE PROCEEDING.
The US122 Clean Uninstall document can be found on your CD with in the
Application notes or Documentation folder, English, CleanWin2k_Eng.
Please note that the instructions in that document direct you to the /WINNT folder
for Windows 2K. This folder is named /WINDOWS in XP.
Load the US122 CD-ROM into the CD drive.
Wait a few seconds and a window will appear.
Select Open folder to view files using Windows explorer.
Double-click on Drivers or Drivers Installers.
Double-click on "US122_Win2K_Install_3_06.exe". note: the Version number
might change
It will have a computer and boxes for an icon.
A "Windows Logo testing warning" screen may appear.
If so, click on CONTINUE ANYWAY.
The "Welcome" screen will appear.
Follow the Closing of Programs instruction if it is applicable to your situation.
Click on NEXT.
The "Read me Information" screen will appear.
Click on NEXT.
Advertisement
Table of Contents

Related Manuals for Tascam US-122


Summary of Contents for Tascam US-122
- Page 1 US-122 CD Installation Below are the detailed and complete CD installation instructions for the Tascam US-122 for Windows XP. These instructions are to be followed if the user is unable to install with the instructions provided with the US-122 BEFORE YOU BEGIN, MAKE SURE THE US122 IS NOT PLUGGED IN DO NOT PLUG IN YOUR US122 UNTIL YOU ARE INSTRUCTED TO.
- Page 2 Select "Yes, reboot my computer now". Click on NEXT. AFTER YOUR COMPUTER FULLY REBOOTS, PLUG IN YOUR US-122 DIRECTLY INTO YOUR COMPUTER USING THE CABLE THAT IS PROVIDED. UNPLUG ANY USB DEVICE OR HUB THAT IS USING THE SAME BUS EXCEPT FOR YOUR KEYBOARD AND MOUSE.
- Page 3 Click on FINISH. A balloon Screen should pop up indicating "Your new hardware is installed and ready to use". The USB light should be lit on the US-122. If your USB light is not on go back to (1A) YOU HAVE COMPLETED THE INSTALLATION PROCESS.
Need help?
Do you have a question about the US-122 and is the answer not in the manual?
Questions and answers