Tascam DM-24 Quick Start Manual
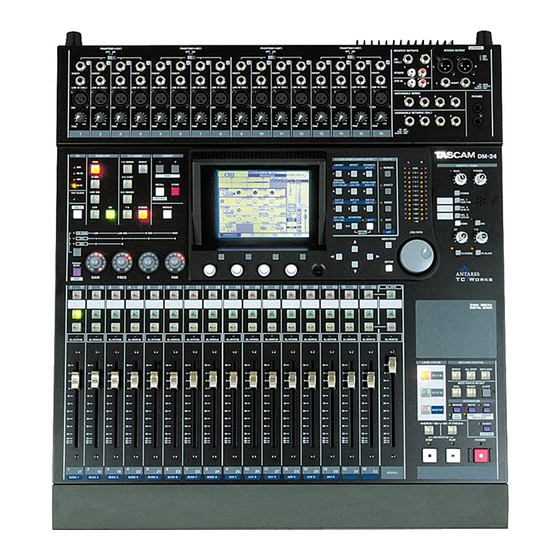
Digital mixing console
Hide thumbs
Also See for DM-24:
- Owner's manual (146 pages) ,
- Service manual (90 pages) ,
- Automation manual (36 pages)
Table of Contents
Advertisement
Quick Links
Advertisement
Table of Contents

Related Manuals for Tascam DM-24


Summary of Contents for Tascam DM-24
- Page 1 9101441500 Digital Mixing Console QUICK START GUIDE...
- Page 2 There are some common sense precautions which you should note before starting to w ork with the DM-24. • Keep the DM-24 on a firm, level surface. Make sure there is enough space at the rear for cable connections, and for ventilation.
- Page 3 DM-24 Quick Start Guide Connections to the DM-24 There are many recording devices that one might connect to the DM-24. In this scenario we are using three DA-78HRs. Use this as a general guideline. You may not have the same equipment, but this should help to serve as an example.
-
Page 4: Setting Up The System
DTRS REMOTE CONTROL with a terminator on its REMOTE OUT connector. • The DM-24 contains two high-quality effect processors, but in this example, we are showing how to connect an external effects processor. The DM-24 contains its own dynamic processors. However, external dynamic processors may be used with channel inserts or the assignable sends and returns. -
Page 5: Mic/Line Inputs
DM-24 Quick Start Guide Mic/line inputs Select mic/line inputs as the signal sources for channels 1 through 16. If the screen at left does not appear, press soft key 1 (the four soft keys are located immediately below the screen). -
Page 6: Tape Returns
DM-24 Quick Start Guide Outputs We also need to set up the outputs properly for our needs. We need to make sure Direct outs 1-8 are going to TDIF 1, Direct outs 9-16 are going to TDIF 2 and Buss 1-8 is going to TDIF 3. - Page 7 DM-24 Quick Start Guide Tape returns continued Press the LAYER STATUS key for CH 1-16 and press the CH 1 SELECT key. Turn SHIFT off and press the AUX 1-2 key. Use the cursor keys to select "Aux level fader control" at the top left of the screen.
- Page 8 DM-24 Quick Start Guide Tape returns continued Recording and monitoring tracks 17-24 requires different settings than tracks 1-16. Remember that AUX 1-2 is still our tape return path for tracks 1-16. This leaves the first 16 channels available for us to use for our input sources. For this example, use channels 1-8 as your input channels.
-
Page 9: Mix Down Mode
DM-24 Quick Start Guide Mix Down Mode We are now ready to make the proper settings for mix down. First we must make channels 1-16 Tape Return channels. Assignable sends and returns The external effect unit that we included in the setup diagram is connected using the assignable sends and returns. - Page 10 DM-24 Quick Start Guide Monitoring Until now we've been using AUX 1-2 as our monitoring source. But at mix down you will use the 2 TR IN. This is so you can monitor the signal being recorded on the DA-45HR.
-
Page 11: Channel-To-Buss Assignments
DM-24 Quick Start Guide Channel-to-buss assignments Making buss assignments to multiple channels is easier to do with the ASSIGN page. Whereas individual buss assignments are easier to do with the ASSIGN KEYS on the front panel. With the SHIFT indicator unlit, press the ASSIGN key. - Page 12 DM-24 Quick Start Guide Setting EQ in the modules The EQ settings on the DM-24 are made using the PODs (immediately below the screen) or the four rotary encoders to their left. Press the key of the channel to be edited.
-
Page 13: Snapshot Recall
DM-24 Quick Start Guide Snapshot recall The DM-24 allows almost all mixer settings to be stored as part of a snapshot which can be stored and recalled. There are also libraries available for EQ settings, for effects settings and for dynamic processor settings. - Page 14 DM-24 Quick Start Guide Controlling the DA-78HR The DM-24 allows control over the DA-78HR DTRS recorder, using the built-in transport controls, etc. As well as this, the keys above the channels can also be used to arm the tracks of the DA-78HR, and other special features of the DA-78HR are also directly controllable from the DM-24.
-
Page 15: Recording Snap Shot
DM-24 Quick Start Guide Mixing Snap Shot 1. All channel EQ set to ON. Hi =10.1kHz, H. SHELF, Gain =0dB, Hi Mid=5.04kHz, Q=1.20, Gain =0dB, Low Mid=1.26kHz, Q=1.20, Gain=0dB, Low=125Hz, L. SHELF, Gain=0dB. 2. All channel dynamics set to OFF. -
Page 16: System Default Settings
DM-24 Quick Start Guide System Default Settings * Clock set to TDIF 1 * SETUP-Time Code, LCD screen popup, Coarse, Snapshot, OL -3dB * PREFRENCES-Select Module Return, ST Link by Select Key, Balance Level Center 0dB, Select Key Follows Fader Level, Fader Meter Follow, Cursor Follows EQ Band Key.
Need help?
Do you have a question about the DM-24 and is the answer not in the manual?
Questions and answers