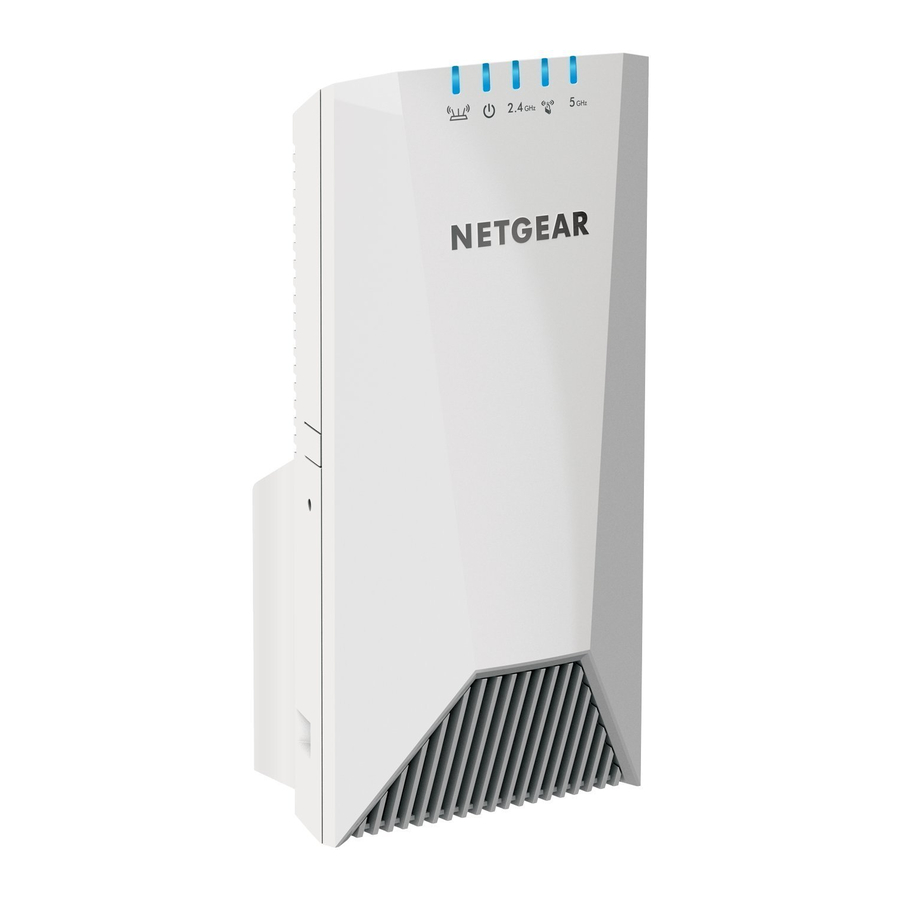
NETGEAR Nighthawk X4S EX7500 - AC2200 WiFi Range Extender Quick Manual
- Quick start manual ,
- User manual (185 pages) ,
- Manual (17 pages)
Advertisement
Getting Started
To extend the range of your WiFi network, you must connect your Nighthawk® extender to your existing WiFi network. You can do this in one of two ways:
- Connect with WPS.
Wi-Fi Protected Setup (WPS) lets you join a secure WiFi network without typing the network name and password.
Note: WPS does not support WEP network security or a hidden SSID network. If your existing WiFi network uses WEP security or its SSID is hidden, follow the instructions Connect With WPS. - Connect with the NETGEAR installation assistant.
To use the NETGEAR installation assistant, you must launch a web browser on your computer or mobile device. For more information, see Connect With the NETGEAR Installation Assistant on the other side of this quick start guide.
Connect With WPS
- Place and plug in your extender.
- Place the extender close to your WiFi router.
- Plug the extender into an electrical outlet.
Wait for the Power LED to light solid blue. - If the Power LED does not light, press the WPS/Power button until the Power LED lights.
![]()
- Connect to your WiFi router.
- Press the WPS/Power button on the extender for less than five seconds.
The WPS LED![]() blinks blue.
blinks blue.
Note: If you press the WPS/Power button for more than five seconds, the extender turns off.
![]()
- Within two minutes, press the WPS button on your WiFi router.
When the extender connects to the router, the WPS LED![]() lights solid blue.
lights solid blue.
If the Router Link LED![]() lights blue, the connection between the router and extender is good. If the Router Link LED lights amber or red, move the extender closer to the router and try again.
lights blue, the connection between the router and extender is good. If the Router Link LED lights amber or red, move the extender closer to the router and try again.

- If your WiFi router supports the 5 GHz band, repeat Steps 2a and 2b.
Note: If your router supports the 5 GHz band, your extender attempts to connect to the router's 5 GHz band the first time you press the WPS/Power button. If your extender did not connect to the router's 5 GHz band the first time, repeat the WPS process.
- Press the WPS/Power button on the extender for less than five seconds.
- Choose a location and check the signal strength.
- Move your extender to a new location that is about halfway between your router and the area with a poor router WiFi signal.
The location that you choose must be within the range of your existing WiFi router network. See the image below for an example.

- Use the Router Link LED
![]() to help you choose a spot where the extender-to-router connection is optimal:
to help you choose a spot where the extender-to-router connection is optimal: - Blue. Best connection.
- Amber. Good connection. Consider moving the extender closer to the router.
- Red. Poor connection. Move the extender closer to the router.
- Off. No connection.
- If you get no connection or a poor connection, move the extender closer to your router and try again until the Router Link LED lights blue.
- Move your extender to a new location that is about halfway between your router and the area with a poor router WiFi signal.
- Connect your devices.

- Take your WiFi-enabled computer or mobile device to the location with poor WiFi router coverage.
- Connect your WiFi-enabled computer or mobile device to the extended network.
Your extender uses the same WiFi network settings as your router for its 2.4 GHz and 5 GHz extended networks.
For example, if your extender connects to the router's 2.4 GHz WiFi band, your extender uses your router's 2.4 GHz WiFi settings for both its networks:- Router 2.4 GHz WiFi network name. MyWiFiExample
- Router 5 GHz WiFi network name. MyWiFiExample-5G
- Extended 2.4 GHz WiFi network name. MyWiFiExample
- Extended 5 GHz WiFi network name. MyWiFiExample

 blinks blue.
 lights solid blue.
 lights blue, the connection between the router and extender is good. If the Router Link LED lights amber or red, move the extender closer to the router and try again.

 to help you choose a spot where the extender-to-router connection is optimal:
If your extender connects to the router's 5 GHz WiFi band, your extender uses your router's 5 GHz WiFi settings for both its networks:
- Router 2.4 GHz WiFi network name. MyWiFiExample
- Router 5 GHz WiFi network name. MyWiFiExample-5G
- Extended 2.4 GHz WiFi network name. MyWiFiExample-5G
- Extended 5 GHz WiFi network name. MyWiFiExample-5G
Note: Since your router and extended networks share the same WiFi network name, only one WiFi network name is broadcast.
Connect With the NETGEAR Installation Assistant
To use the NETGEAR installation assistant, you must launch a web browser on your computer or mobile device.
- Place and plug in your extender.
- Place the extender close to your WiFi router.
- Plug the extender into an electrical outlet. Wait of for the Power LED to light solid blue.
- If the Power LED does not light, press the WPS/Power button until the Power LED lights.
![]()
- Connect to the extender.
- On your WiFi-enabled computer or mobile device, open the WiFi connection manager.
- Locate and connect to the extender network called NETGEAR_EXT. When your computer or mobile device is connected to the extender, the 2.4 GHz Client Link LED lights solid blue.

- Set up with a web browser.
- Launch a web browser.
You are automatically taken to the extender's NETGEAR installation assistant. If the NETGEAR installation assistant does not display, visit www.mywifiext.net. - Follow the prompts to connect your extender to your existing WiFi network.
- Launch a web browser.
- Choose a location and check the signal strength.
- Move your extender to a new location that is about halfway between your router and the area with a poor router WiFi signal. The location that you choose must be within the range of your existing WiFi router network. See the image below for an example.

- Use the Router Link LED
![]() to check the connection between the extender and router:
to check the connection between the extender and router: - Blue. Best connection.
- Amber. Good connection. Consider moving the extender closer to the router.
- Red. Poor connection. Move the extender closer to the router.
- Off. No connection.
- If you get no connection or a poor connection, move the extender closer to your router and try again until the Router Link LED lights blue.
- Move your extender to a new location that is about halfway between your router and the area with a poor router WiFi signal. The location that you choose must be within the range of your existing WiFi router network. See the image below for an example.


 to check the connection between the extender and router:
 Log In to Access Extender Settings
After installation, you can log in to the extender to view or change the extender's settings.
- Launch a web browser from a computer or mobile device that is connected to your extender network.
- Log in to your extender:
- If you did not enable the One WiFi Name feature, enter www.mywifiext.net in the address field of the browser.
- If you enabled the One WiFi Name feature, enter one of the following URLs:
- Windows-based computer. http://mywifiext
- Mac computers and iOS devices.
http://mywifiext.local - Android devices.
http://<extender's IP address> (for example, http://192.168.1.3) To find your extender's IP address, do the following:- Log in to your router.
- Find the page in your router web interface that lists the devices connected to your router.
- Find your extender in the list and note your extender's IP address.
- Enter your extender's IP address in the address field of your web browser.
A login page displays.
- Enter your admin user name and password and click the LOG IN button.
The Status page displays.
Support
Thank you for purchasing this NETGEAR product. You can visit www.netgear.com/support to register your product, get help, access the latest downloads and user manuals, and join our community. We recommend that you use only official NETGEAR support resources.
For the current EU Declaration of Conformity, visit http://kb.netgear.com/11621.
For regulatory compliance information, visit http://www.netgear.com/about/regulatory/.
See the regulatory compliance document before connecting the power supply.
NETGEAR, Inc.
350 East Plumeria Drive
San Jose, CA 95134, USA

NETGEAR INTL LTD
Building 3, University Technology Centre
Curraheen Road, Cork, Ireland
© NETGEAR, Inc., NETGEAR and the NETGEAR Logo are trademarks of NETGEAR, Inc. Any non-NETGEAR trademarks are used for reference purposes only.

Documents / Resources
References
NETGEAR
NETGEAR Support | NETGEAR
EU Declarations of Conformity - NETGEAR Support
Regulatory | NETGEAR
Download manual
Here you can download full pdf version of manual, it may contain additional safety instructions, warranty information, FCC rules, etc.
Download NETGEAR Nighthawk X4S EX7500 - AC2200 WiFi Range Extender Quick Manual
Advertisement


Need help?
Do you have a question about the Nighthawk X4S and is the answer not in the manual?
Questions and answers