Open Mesh A62 - Wireless Access Point Quick Start Guide
- Quick start manual (2 pages)
Advertisement
Cloud management
- Download the CloudTrax mobile арр for iOS or Android, or sign up at cloudtrax.com. (lt's included with this access point.)
- Follow the prompts to verify your account and create your first network. lf you already have а network, create а new one by navigating to Network" Create new network.
- Follow the prompts to add your first access point. lf you're adding this access point to an existing network:
ln the CloudTrax mobile арр: select Add Access Point from the top menu and scan the QR code оп the bottom of the access point.
Оп cloudtrax.com: navigate to Manage "Access Points " Add New and enter the МАС address. Use the drop-down arrow to enter multiple МАС addresses at once or upload а CSV file.
Repeat this process to add as many access points as required. - Set your configuration. Опсе your access point has power and lnternet, CloudTrax will configure the access point and start reporting status within а few minutes.
Physical installation
This access point is designed to bе installed virtually anywhere, indoors and out. Regardless of how you mount this access point, keep the following in mind:
- This access point сап use 802.Заf or 18-24v passive РоЕ input. Connect to an 802.Зaf-compatible РоЕ switch or РоЕ injector in Ethernet 1, or 18-24v passive РоЕ in Ethernet 2.
- Place the access point in the center of the room and away from any metallic surfaces.
- This access point radiates signal primarily to the front and sides. This access point will only provide limited coverage directly behind it.
- Do not place heavy objects оп the access point.
- lnstall the access point in an area free from strong electromagnetic sources.
- Check the Ethernet саblеs to ensure they are fully secured to both the access point and РоЕ injector or switch.
- Do not install this access point in plenum spaces. Use the ceiling mount instead.
Support and resources
Visit help.cloudtrax.com for additional resources, video guides and to contact technical support.
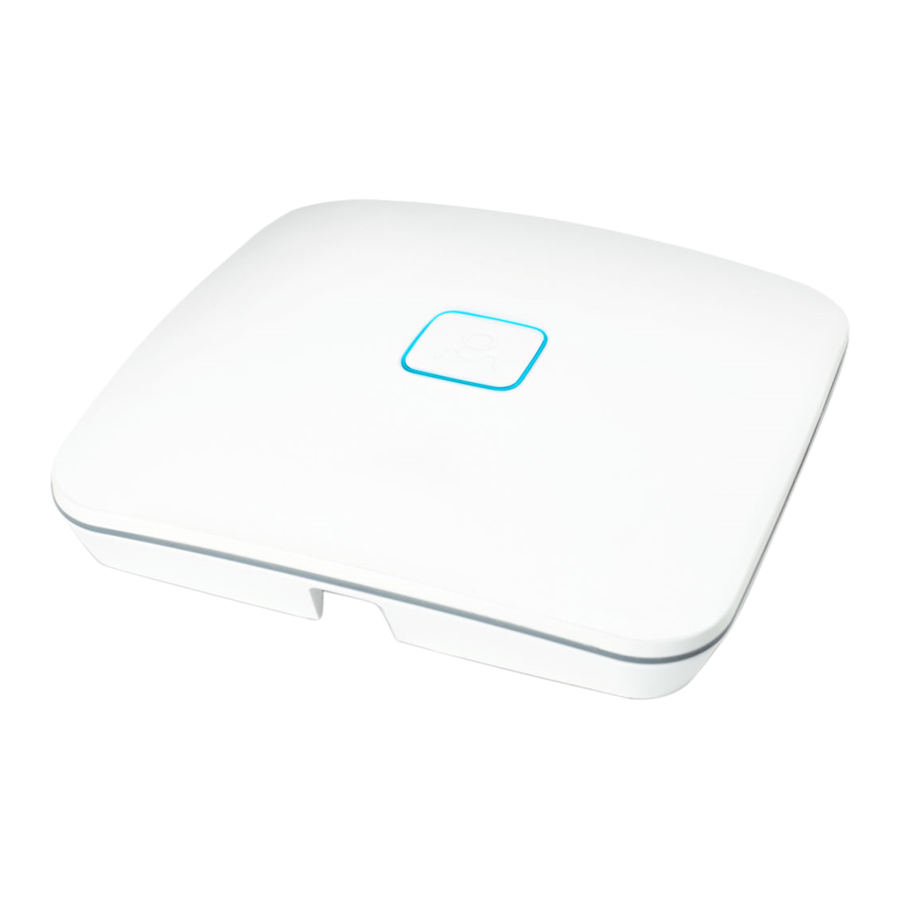
Access point overview

| LED State | Indication |
| Solid Purple or Yellow | AP is booting |
| Solid Red | Filmware upgrade in progress |
| Flashing REd or Purple | Offline: no default route or DNS down |
| Solid Teal | Online in gateway mode |
| Flashing Green | Online in repeater mode, mesh speed <= 2Mbps |
| Solid Green | Online in repeater mode, mesh speed > 2Mbps |
| Solid White | Settings change in progress |
Visit help.cloudtrax.com for a complete list of LED indications.

Mounting bracket overview

Wall or solid ceiling mount
Remove the rear door and outdoor seal from the bottom of the access point. Attach the universal mounting plate to any solid surface with the smooth side against the wall (screws are not included). lf the Ethernet саblе is in the wall or ceiling, pull it through the mounting plate; if the саblе is outside the wall or ceiling, place it in the саblе channel. Plug the саblе into Ethernet 1 for 802.Заf РоЕ or Ethernet 2 for 18-24v passive РоЕ.
Next, place the access point over the mounting plate and slide down until it locks into place.
То unlock, insert а small, flat screwdriver into the hole оп the side of the access point. Slide the access point until it disen gages from the mounting plate.
 openmesh.com/a-wall

T-rail ceiling mount
Remove the rear door and outdoor seal from the bottom of the access point. Attach the fixed t-rail clips to the back of the universal mounting plate bу pushing the top of the clip through the plate and securing the bottom of the clip to the mounting peg: use the narrow peg hole for 9/16" t-rails and the wider peg hole for 15/16" t-rails. Attach the adjustable clips to the mounting plate by pushing the top of the clip through the plate and snapping the bottom of the clip into the channel. Pull the Ethernet cable through the center of the mounting plate and plug into Ethernet 1 for 802.Заf РоЕ or Ethernet 2 for 18-24v passive РоЕ. Next, place the access point over the mounting plate and slide until it locks into place. Clip the саblе channel cover in place. Finally, attach the access point to the ceiling rail bу placing the fixed clip against the rail and sliding the adjustable clips until secure.
openmesh.com/a-ceiling


Ethernet or junction box mount
This access point can be mounted to any US or European-style junction box for secure installations in hotel and resort guest rooms, dorms, care facilities and more.
Remove the rear door and outdoor seal from the bottom of the access point. Attach the universal mounting plate with the smooth side against the wall to a junction box using the designated screw holes. Connect the small Ethernet cable (included) to the female connection in the wall, then pull it through the mounting plate and plug into Ethernet 1 for 802.3af PoE or Ethernet 2 for 18-24v passive PoE. Connect any pass-through device to the unused Ethernet port and position the cable in the bottom channel of the access point. Next, place the access point over the mounting plate and slide down until it locks into place.
To unlock, insert a small, flat screwdriver into the hole on the side of the access point. Slide the access point until it disengages from the mounting plate.
openmesh.com/a-ethernet

Outdoor mount
This access point can be configured as an outdoor model and mounted to any wall or pole. This configuration protects against the sun, rain and dust. (Outdoor for NII-3)
Remove the rear door and outdoor seal from the bottom of the access point. Attach the universal mounting plate to any outdoor wall or pole using screws or zip ties (not included). The small tabs should be at the top of the plate so the cable exits through the bottom of the access point.
Open the slit in the side of the rubber gasket and place the Ethernet cable through the hole. Plug the cable into Ethernet 1 for 802.3af PoE or Ethernet 2 for 18-24v passive PoE. Ensure the second hole still has its rubber plug in place. Place the rubber gasket into the channel surrounding the ports on the access point. Place the rear cover on the access point and snap into place. Finally, place the access point over the mounting plate and slide down until it locks into place.
To unlock, insert a small, flat screwdriver into the hole on the side of the access point. Slide the access point until it disengages from the mounting plate.
openmesh.com/a-outdoor
We help professionals create powerful, easy-to-use networks that automatically spread Internet connections throughout hotels, apartments, retail stores, restaurants, small and medium-sized businesses—and just about anywhere else.
The Open Mesh A Series access points are a modular, plug-and-play professional WiFi solution that works with CloudTrax, a free cloud-based network controller that can manage an unlimited number of switches, access points and networks around the world.
openmesh.com
The software included in this product contains copyrighted software that is licensed under GPL. A copy of that license, along with instructions on how to obtain the source code, is available at http://www.openmesh.com/gpl.
111 SW 5th Ave, Suite 1150, Portland, OR USA 97204

Documents / Resources
References
Download manual
Here you can download full pdf version of manual, it may contain additional safety instructions, warranty information, FCC rules, etc.
Download Open Mesh A62 - Wireless Access Point Quick Start Guide
Advertisement


Need help?
Do you have a question about the A62 and is the answer not in the manual?
Questions and answers