Advertisement

Instructions for the programming of standard FIX CODE and ROLLING CODE
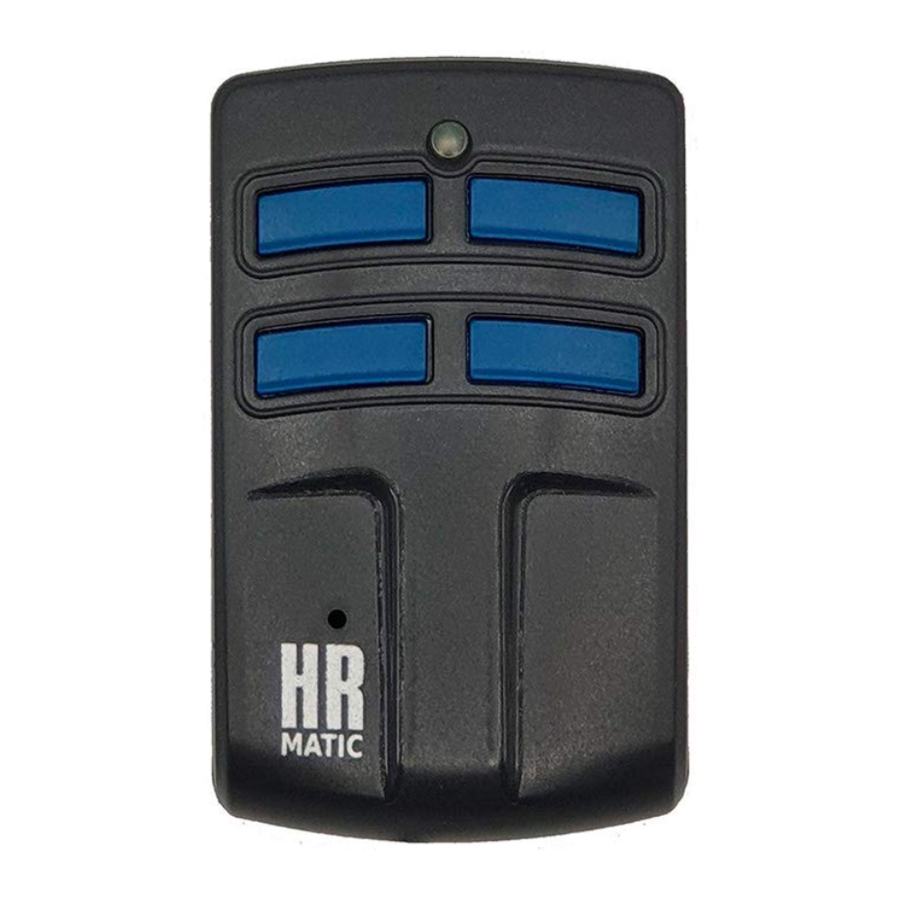
- Place the original remote control in front of the "MULTI 2", at about 2-4 centimeters of distance.
- Press and keep pressed the button 1 (left) of the "MULTI 2" and at the same time press 4 times the button 2.
- Release both buttons. At this point, the LED of the "MULTI 2" flashes slowly.
- Press and keep pressed the button of the original remote control to be copied. Wait until the LED of the "MULTI 2" will change the lighting mode (flashing faster), as a confirmation of the correct copy of the code.
- While the LED is flashing, press the button of the "MULTI 2" where you want to memorize the code and keep it pressed until the LED will turn off.
- The copy was successful.

- If the LED flashes only 3 times and then turns off, it means that the code was not copied properly. In this case, please repeat the operation from the point 1.
- The memory of the "MULTI 2" is completely re-writable.
- To program a second button of the "MULTI 2", please repeat the operation from the point 1.
Instructions for the programming of complex ROLLING CODE
BFT
- Place the original remote control in front of the "MULTI 2", at about 2-4 centimeters of distance.
- Press and keep pressed the button 1 (left) of the "MULTI 2" and at the same time press 4 times the button 2.
- Release both buttons. At this point, the LED of the "MULTI 2" flashes slowly.
- Press and keep pressed the button of the original remote control to be copied. Wait until the LED of the "MULTI 2" will turn on with a fix light and then will emit a double flash every 2 seconds.
- Transmit the master code of the original remote control (press the hidden button or press the buttons 1 and 2 simultaneously in new model).
- Now the LED blinks fast: press the button of the "MULTI 2" where you want to memorize the code and keep it pressed until the LED will turn off.
- The copy was successful.
FAAC SLH & GENIUS 868
check that the remote control to be copied is a MASTER one.
By pressing any button, the LED must emit a double flash rather than turning on immediately as fix light.
- Place the original remote control in front of the "MULTI 2", at about 2-4 centimeters of distance.
- Press and keep pressed the button 1 (left) of the "MULTI 2" and, at the same time press 4 times the button 2.
- Release both buttons. At this point, the LED of the "MULTI 2" flashes slowly.
- Predispose the FAAC/GENIUS remote control for the emission of the master code (by pressing the buttons 2 and 3 simultaneously).
- Press and keep pressed the button to be copied until the LED of the "MULTI 2" will start to flash quickly.
- Press the button of the "MULTI 2" where you want to memorize the code and keep it pressed until the LED will turn off.
- The copy was successful.
Special cloning mode
- In order to force the generation of a fix code of a transmitter: press and keep pressed the button 1 and, at the same time, press 4 times the button 3.
- In order to force the generation of a rolling code of a transmitter with the same serial number than the original one: press and keep pressed the button 2 and, at the same time, press 4 times the button 1.

- Press simultaneously the buttons 1 and 2 of the remote control for 8 seconds and release them when the LED flashes.
- While the LED flashes, press the button for which you need the master code.
Automatic Storage System
The automatic system to memorise the MULTI 2 on receiver will only work if the remote storage is activated, the memory is not full or the receiver has not a system to block the function.
DO NOT USE THE ORIGINAL REMOTE CONTROL BEFORE THE END OF THE STORAGE PROCESS.
The procedure is the following:
With the MULTI 2 already programmed in front of your garage door, press and keep pressed the button you desire to activate until led start flashing. This process takes around 10 seconds. Once the led start flashing release the button and wait until the led stops flashing. Your MULTI 2 is ready to be used.
GUARANTEE - In compliance with legislation, the manufacturer's guarantee is valid from the date stamped on the product and is restricted to the repair or free replacement of the parts accepted by the manufacturer as being defective due to poor quality materials or manufacturing defects. The guarantee does not cover damage or defects caused by external agents, faulty maintenance, overloading, natural wear and tear, choice of incorrect product, assembly errors, or any other cause not imputable to the manufacturer. Products that have been misused will not be guaranteed or repaired. Printed specifications are only indicative. The manufacturer does not accept any responsibility for range reductions or malfunctions caused by environmental interference. The manufacturer's responsibility for damage caused to persons resulting from accidents of any nature caused by our defective products, are only those responsibilities that come under European law.
www.hrmatic.es
email: info@hrmatic.es

Documents / Resources
References
Download manual
Here you can download full pdf version of manual, it may contain additional safety instructions, warranty information, FCC rules, etc.
Advertisement


Need help?
Do you have a question about the MULTI 2 and is the answer not in the manual?
Questions and answers