Advertisement
Before operating your new appliance, please read all instructions carefully and keep for future reference.
IMPORTANT SAFEGUARDS
The Elite Brand takes consumer safety very seriously. Products are designed and manufactured with our valued consumers' safety in mind. Additionally, we ask that you exercise a level of caution when using any electrical appliance by following all instructions and important safeguards.
READ ALL INSTRUCTIONS BEFORE USE AND SAVE FOR FUTURE REFERENCE

When using electrical appliances, basic safety precautions should always be followed as below:
- READ ALL INSTRUCTIONS.
- Use handles or knobs; do not touch hot surfaces.
- Do not immerse the cord, plugs, or unit in water or any other liquid.
- This appliance is not intended for use by persons (including children) with reduced physical, sensory or mental capabilities, or lack of experience and knowledge.
- Use close supervision when any appliance is used by or near children.
- When not in use and before cleaning, unplug from wall outlet. Allow appliance to cool before cleaning or storing.
- Do not yank the cord to disconnect the appliance from the outlet. Grasp the plug and gently pull to disconnect.
- Do not operate any appliance with a damaged cord or plug, after the appliance malfunctions, or if it has been damaged in any way. Return appliance to the nearest authorized service facility for repair.
- Accessories not recommended by the appliance manufacturer may cause fire, electrical shock or injuries.
- Do not use outdoors. This is for household only.
- Do not use for commercial purposes.
- Do not let the electrical cord hang over the edge of the table or counter, or touch hot surfaces.
- Do not place on/near a hot gas, electric burner, or in a heated oven.
- Use on a heat-resistant, flat level surface only.
- Use extreme caution when moving an appliance containing hot food, water, oil or other hot liquids.
- This appliance should only be plugged into a 120V AC electrical outlet.
- A short power-supply cord is provided to reduce the risk of tripping over a longer cord.
- Longer extension cords are available and may be used if care is exercised in their use.
- If an extension cord is used:
- The marked electrical rating of the detachable power-supply cord or extension cord should be at least as great as the electrical rating of the appliance,
- If the appliance is of the grounded type, the extension cord should be a grounding type 3-wire cord; and
- Place the longer cord so that it will not drape over the counter top or table top.
- To disconnect, remove the plug from the outlet.
- Always unplug the appliance after use.
- Take proper precautions to prevent the risk of burns, fire or other damage to persons or properties.
- All users of this appliance must read and understand this Instruction Manual before operating or cleaning this appliance.
- Do not leave this appliance unattended during use.
- Provide adequate ventilation on all sides for air circulation. Do not allow this appliance to touch curtains, wall coverings, clothing, dish towels or other flammable materials during use.
- This appliance is hot during operation and remains hot after turning OFF. Always use oven mitts when handling hot materials and allow metal parts to cool before cleaning. Do not place anything on top of the appliance while it is hot.
Notes on the Plug
This appliance has a grounded 3-prong plug. Connect to a properly grounded outlet only. Do not attempt to modify the plug in any way.
Notes on the Cord
The provided short power-supply cord (or detachable power-supply cord) should be used to reduce the risk resulting from becoming entangled in or tripping over a longer cord.
Plasticizer Warning

To prevent plasticizers from transferring from the finish of the counter top, table top, or other furniture, place non-plastic coasters or place mats between the appliance and the counter top or table top. Failure to do so may cause the finish to darken as well as permanent blemishes or stains.
Electric Power
If the electrical circuit is overloaded with other appliances, the appliance may not operate properly. Operate on a separate electrical circuit from other appliances.
SAVE THESE INSTRUCTIONS.
THIS PRODUCT IS FOR HOUSEHOLD USE ONLY.
SHORT CORD PURPOSE
Note: A short power cord is provided to reduce the risk of personal injury resulting from becoming entangled in or tripping over a long cord.
Longer power-supply cords or extension cords are available and may be used if care is exercised in their use.
If an extension cord is used:
- the marked electrical rating of the extension cord should be at least as great as the electrical rating of the product;
- the extension cord should be arranged so that it will not drape over the counter top or tabletop where it can unintentionally be pulled on or tripped over by children or pets.
POLARIZED PLUG
If this appliance is equipped with a polarized plug (one blade is wider than the other), please follow the below instructions:
To reduce the risk of electrical shock, this plug is intended to fit into a polarized outlet only one way. If you are unable to fit the plug into the electrical outlet, try reversing the plug.
If the plug still does not fit, contact a qualified electrician. Never use the plug with an extension cord unless the plug can be fully inserted into the extension cord. Do not alter the plug of the product or any extension cord being used with this product. Do not attempt to defeat the safety purpose of the polarized plug.
PARTS IDENTIFICATION

BEFORE FIRST USE
- Unpack the Panini Grill and remove all packaging and materials.
- Set the appliance on a dry, clean, and flat surface.
- Slide the 2 prongs of the removable drip tray into the bottom front of the unit. Push firmly to ensure the drip tray is securely attached.
- Slide the grill plate lock on the side of the handle to the OPEN position. (See Figure 1)

- Lift the top grill plate.
- Before using your Panini Grill for the first time, wipe the grill plates with a damp cloth to remove all dust. Wipe dry then wipe outer surfaces.
- For best results, pour a teaspoon of vegetable oil onto an absorbent kitchen towel. Spread onto the non stick grill plates. Wipe off any excess oil.

- Do not let water run into the appliance.
- Never immerse panini grill body in water or any other liquids!
HOW TO USE
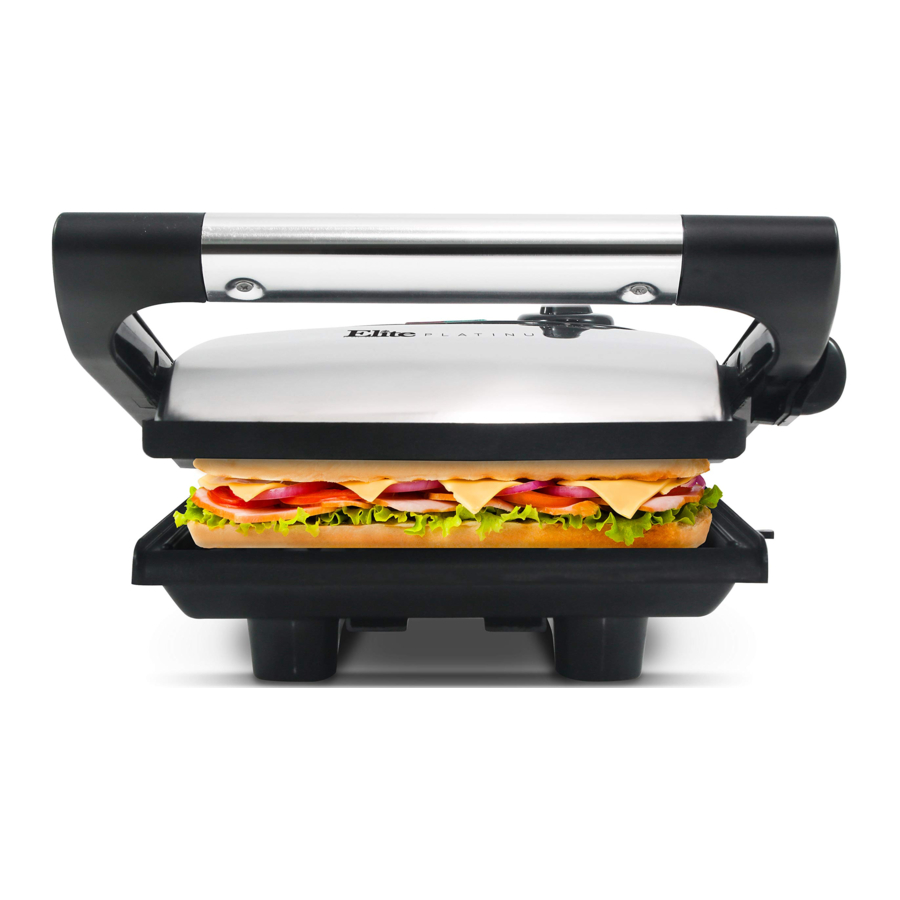
The Panini Grill can be used open or closed. Cook burgers, boneless, thin pieces of meat, fish, fruits, and vegetables.

NOTE:
When your Panini Grill is heated for the first time, it may emit a slight smoke or odor. This is normal and harmless. It should disappear after one or two uses. This does not affect the safety of the appliance.
TO USE AS A CONTACT GRILL (Open Position)
- Plug unit into a 120 V AC electrical outlet. The red POWER light will illuminate and remain lighted during use.
- Slide the grill plate lock on the side of the handle to the OPEN position. (See Figure 1)
- To preheat, turn the temperature control dial to the MAX setting. Operate the unit in the closed position during preheat.
- After approximately 2 minutes, the green READY light will illuminate, indicating the unit is preheated and is ready for use.
- Using a pot holder or oven mitt, grasp the handle to hold the top grill plate open when placing or removing food on the cooking surface.
- Center food on the bottom grill plate.
- When done cooking, turn the temperature control dial to OFF. Remove the plug from the wall outlet.
NOTE:
- When cooking more than one piece of food, prepare so that the thickness of food items is consistent. This will allow food to cook quickly, evenly and produces rich grill marks both top and bottom.
- The raised ridges and tilted bottom plate allow grease, fat and other drippings to run off away from your food and into the drip tray.
TO USE AS A PRESS GRILL (Closed Position)
- Follow steps 1 through 6 of the How To Use section entitled: "To Use as a Contact Grill (Open Position)" described previously.
- Using a pot holder or oven mitt, pull down the arm and gently lower the top grill plate. The floating hinge will automatically adjust to the thickness of the food.
- To ensure perfectly grilled food, check that the top grill plate lies evenly on the top of the food and that the food is centered on the grill plate.
- Adjust temperature control dial as needed. During grilling, the green READY indicator light will cycle on and off during cooking. This indicates that the thermostat is maintaining the proper cooking temperature.
- Using an oven mitt or pot holder, grasp the handle and carefully lift the top grill plate. Always use a plastic or wooden spatula to remove cooked food.
- Turn the temperature control dial to OFF. Remove the plug from the wall outlet.
- Never use a sharp or metal object as it may damage the non-stick surface of the grill plates.
- Do not leave appliance unattended during use!
PANINI PREPARATION
To prepare delicious pressed sandwiches, follow these simple steps:
- Assemble panini. Brush or wipe both sides of the outside of the sandwich with olive oil, butter or margarine (optional).
- Follow steps 1 through 5 of the Operating Instructions section entitled: "To Use as a Contact Grill (Open Position)" described previously.
- Center the panini, oiled side down, on the bottom grill plate.
- Using a pot holder or oven mitt, pull down the arm and gently lower the top grill plate. The floating hinge will automatically adjust to the thickness of the sandwiches.
- To ensure perfectly grilled panini, all sandwiches placed on the Panini Grill at the same time must be the same thickness. Look to make sure that the top grill plate lies evenly on the top of the bread. Make sure sandwiches are centered on the grill plate. If desired, press the handle down several times while cooking.
- During grilling, the green READY indicator light will cycle on and off during cooking. This indicates that the thermostat is maintaining the proper cooking temperature.
- Using an oven mitt or pot holder, grasp the handle and carefully lift the top grill plate. Continue grilling until the bread is toasted and food is cooked to your liking.
- To remove the panini sandwiches, always use a plastic or wooden spatula.
- Turn the temperature control dial to OFF. Remove the plug from the wall outlet.
- Allow panini to cool to a safe handling temperature before slicing.
NOTE:
The raised ridges and tilted bottom plate allow cheese, fat, and other drippings to run off away from your panini and into the drip tray.
- Never use a sharp or metal object as it may damage the non-stick surface of the grill plates.
- Do not leave appliance unattended during use!
PANINI TIPS
- Preheat the Panini Grill before each use.
- Have all ingredients at hand before preparing panini.
- A wide variety of breads may be used, such as whole wheat, rye, fruit breads, tortillas, flatbreads, even pitas.
- It is not necessary to butter or oil the outside of the bread. However, spreading a small amount of butter or olive oil is recommended to encourage even browning of the bread.
- When using soft or liquid fillings, use thicker-sliced breads.
- Remove the insides of soft rolls to fill with ingredients.
- If the recipe calls for canned fruit, drain and pat fruit dry with a clean paper towel.
- Processed cheeses tend to "run" under high temperatures.
- Sprinkle a teaspoon of sugar on the buttered side of a panini to make it crispier and add flavor, especially when using sweet fillings.
- Whole grain and sweet breads grill quicker than white breads and should be grilled at lower temperatures.
- After you have removed finished panini, close the top grill plate to retain heat while assembling more sandwiches.
- Use the Panini Grill to keep food warm. Place food onto the grill, lower the top grill plate. Turn the temperature control dial to MIN or to a lower setting before serving.
- Wear oven mitts and use a soft, absorbent paper towel to wipe the grill plates clean after each use to avoid food contamination.
NOTE:
The Panini Grill is coated with a nonstick surface. Do not use non-stick sprays as they can cause build-up on the grill plates. Use olive oil instead.
CLEANING & MAINTENANCE
Do not use non-fat spreads. They may burn and damage the non-stick grill plates.
- Never immerse appliance in water or other liquids. Never place Panini Grill or drip tray in dishwasher.
- The grill plates should be wiped clean, and if necessary, conditioned before heating.
- To condition plates, pour a teaspoon of vegetable oil onto the grill plates. Spread with a kitchen towel and wipe off any excess oil. Recondition after cleaning or as needed.
- Use plastic, nylon or wooden utensils to protect the nonstick coating on the grill plates.
- Remove stubborn stains with a plastic mesh puff or pad, then wipe off with a paper towel or soft cloth.
- Do not use steel wool or coarse scouring pads.
- Allow the run off to drip into the drip tray and pull it out. Empty the tray and clean with warm soapy water. Wipe dry.
- The exterior should be cleaned with a non-abrasive cleaner and a soft, damp cloth. Dry thoroughly.
- Hold the top grill plate open while cleaning to prevent accidental closing or injury.
STORAGE
- Ensure the unit is unplugged and fully cooled.
- Attach clean drip tray to the unit.
- Lower the top grill plate and slide the grill plate lock (located on the side of the handle) to the LOCK position. (See Figure 1) Store the Panini Grill in the locked position for neat and compact storage.
- Store the cord on the bottom of the Grill by wrapping it around the back two legs and the central hub. Do not put any stress on cord where it enters unit, as this could cause the cord to fray and break.

Questions? Elite's customer service team is ready to help.
Call us toll-free at 800-365-6133 ext. 120/105.
For more Elite products, visit us at www.maxi-matic.com.

Documents / Resources
References

Download manual
Here you can download full pdf version of manual, it may contain additional safety instructions, warranty information, FCC rules, etc.
Download Elite Gourmet EPN-2811 - Electric Panini Grill & Contact Grill Manual
Advertisement


Need help?
Do you have a question about the EPN-2811 and is the answer not in the manual?
Questions and answers