Flycolor A-CW018003, A-CW045003, A-CW025003, A-CW035003 Manual
- User manual (2 pages)
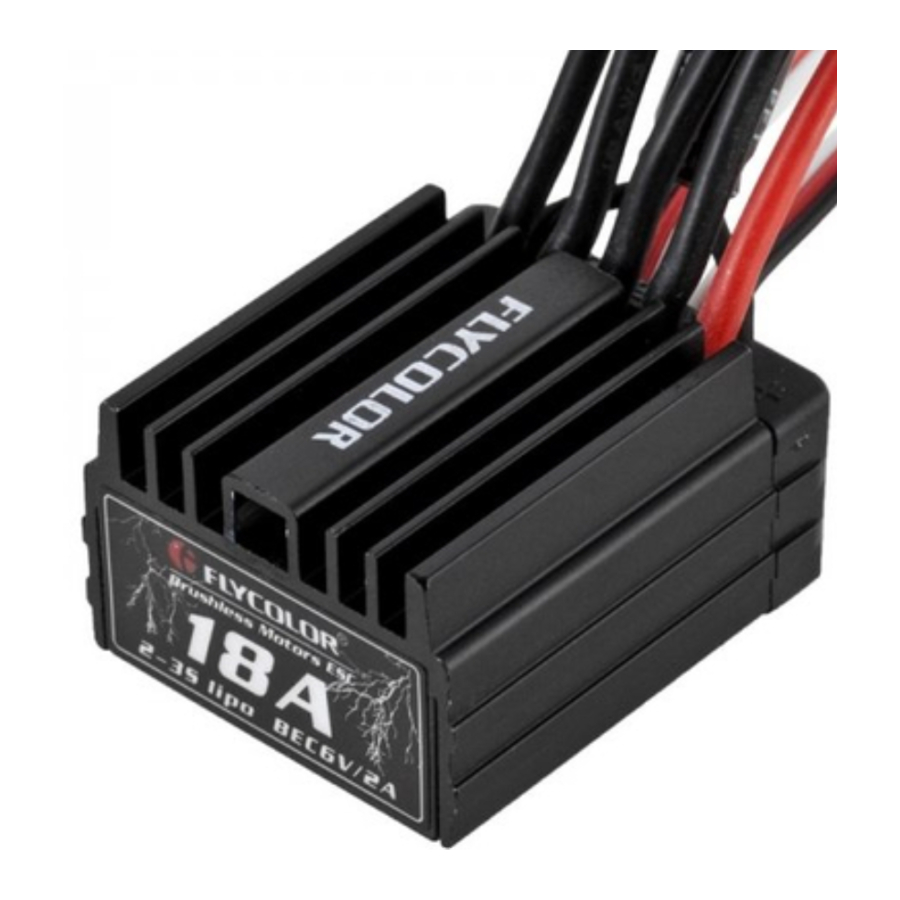
Advertisement
Introduction

Thank you for purchasing our brushless electronic speed controller (ESC). Improper operation may cause personal injury and equipment damage. This high power system for RC model can be dangerous, we strongly suggest users read the instruction carefully and completely. We will not assume any responsibility for personal injury, property damage, or any consequential damages resulting from our product.
Main features
- Well-designed drive firmware for brushless sensor-less 3 phase motor, smooth, delicate handle of speed control.
- With high performance MCU, low internal resistance MOSFET and imported components. High reliability, with low impedance circuit board, strong resistance current, less heat production.
- 8 acceleration options. Applied for all kinds of RC cars.
- 8 timing options, make motor work with the best efficiency.
- Multiple protection functions: battery low voltage protection, over temperature protection, throttle signal loss protection, motor blocked protection, etc.
- Easy to use, set parameters with radio and programming card, according to sound prompt.
Specification
| Model | A-CW018003 | A-CW025003 | A-CW035003 | A-CW045003 |
| Cont. Current | 18A | 25A | 35A | 45A |
| Burst Current | 50A | 90A | 190A | 260A |
| Battery | LiPO:2-3S;NIHM:6-10cell | |||
| BEC | Linear BEC; 2S Lipo or equivalent NiHM BEC output: 6V/2A; 3S LIPO or equivalent NiHM BEC output: 6V/1A | |||
| Motor support | ≥ 12T(2040 size Motor) | ≥ 12T(2040 size Motor) | ≥ 9T(3650 size Motor) | ≥ 5.5T(3650 size Motor) |
| Heat-dissipating | Aluminum Heatsink | Aluminum Heatsink | Aluminum Heatsink | Aluminum Heatsink + Fan |
| Suitable Car | 1:18/1:16 | 1:18/1:16 | 1:18/1:16 | 1:10 |
| Motor Type | Brushless sensorless | Brushless sensorless | Brushless sensorless | Brushless sensorless |
| Dimension | 34*29*19mm | 34*29*19mm | 34*29*19mm | 34*29*31mm(Including Fan) |
| Weight | 40g | 42g | 46g | 54g |
Wiring Diagrams

*Please ensure all solder joints are insulated with heat shrink where necessary
Operation Instruction
- Connect all the equipments as the wiring diagram, and go to next step.
Note: We strongly advise the use of battery connections that do not allow reverse polarity, or ESC will be damaged.
Please disconnect the battery and ESC, if not use for a long time to avoid damaging battery and accidents. - Set throttle range ( refer the setting process of throttle range)
First time to use remote control transmitter or change the parameters, like throttle middle point, ATL, EPA, throttle range will be set again.
Remote control transmitter ABS must be set as "OFF", set throttle channel direction as "REV", set throttle trim as "0", EPA/ATL clockwise and anticlockwise direction of throttle channel are set as 100% ( Max.), or it may cause no work or misoperation.
- Keep the throttle stick in the neutral position. Press "set" button, green LED flashes once. Neutral point of the throttle is now memorized.
![]()
- Move the throttle stick to full forward position, Then press the "Set"button, the green LED will flashes twice. Now the full forward throttle position is memorized.
![]()
- Move the throttle stick to the full reverse position. Press the "Set" button and green LED will flashes 3 times. Full reverse throttle is memorized.
![]()
- Return throttle stick to neutral position. All ranges now configured.
![]()
- Keep the throttle stick in the neutral position. Press "set" button, green LED flashes once. Neutral point of the throttle is now memorized.


- After Wire connection and basic setting, and motor prompt tone finshed, the ESC can work.
- After setting, Turn off the power, and turn on again, the ESC will ready for working.
- Indicator function: red light flashes when motor run. When motor run with full throttle, green light flashes.
- Reset to factory default setting: press the "set" button more than 3 seconds, then red and green lights will flash 3 times, all the setting will to be the factory default se tting. (this operation will not work during the process of setting throttle range or programming)
Setting options
*Shadow parts are factory default value
| Setting options | Option1# | Option2# | Option3# | Option4# | Option5# | Option6# | Option7# | Option8# | Option9# |
| Forward with brake | Forward and reverse with brake | Forward and reverse | ||||||
| 6% | 9% | 12% | ||||||
| 0% | 5% | 10% | 20% | 30% | 40% | 50% | 60% | |
| Nonprotection | 2.6V | 2.8V | 3.0V | 3.2V | 3.4V | |||
| Level 1 | Level 2 | Level 3 | Level 4 | Level 5 | Level 6 | Level 7 | Level 8 | Level 9 |
| 8KHz | 12KHz | |||||||
| 25% | 50% | 75% | 100% | |||||
| 50% | 60% | 70% | 80% | 90% | 100% | |||
| 0% | 5% | 10% | 20% | 40% | 60% | 80% | 100% | |
| 0° | 3.75° | 7.5° | 11.25° | 15° | 18.75° | 22.5° | 26.25° | |
| Forward | Reverse | |||||||
| Protection | Non-Protection | |||||||
| Auto | 2S | 3S |
- Running Mode:
- Forward with brake: only forward, reverse throttle is brake, no Reverse, it's mainly used for racing.
- Forward and reverse with brake: with reverse function, when push throttle from forward to reverse area, RC car is in the brake state and throttle. must be back to the middle point. RC car will reverse when motor stops rotating. This mode is used for practice.
- Forward and reverse: Push throttle from middle point to reverse area, motor will rotate reverse immediately. This mode is used for rock crawler.
- Fixed Area Accelerator: 6% 9% 12%,choose as personal preference.
- Initial Brake Force: the brake force on motor when brake is in the initial position of throttle.
- Low Voltage Protection: To protect battery damage from over discharging. ESC will monitor battery voltage during running process, once voltage is lower than set value, it will cut off motoroutput.
- Start Mode(Punch): 9 level, default is 6 level, choose the appropriate acceleration according to the field and personal preference. The higher level, the faster the start acceleration, but high demand for battery discharging ability( it will cause abnormal start when battery capacity isn't enough ).
- PWM:Working frequency, 8KHz, 12KHz, choose the appropriate working frequency according to the features of motor and battery.
- Max Reverse Force:4 options: 25% 50% 75% 100%, different option with different force. Recommend to use the smaller options, to avoid crashing for the force is too heavy when back up.
- Max Brake Force: ESC with potential brake the max. brake force is that the brake force when push throttle stick to the brake limit point. Choose the appropriate brake force according to personal preference and specific situation
- Drag Brake Force: Push throttle stick from forward area to middle point, produce brake force for motor, it's easy for slowing down.starting the turns.
- Timing: Options: 0°,3.75°,7.5°,11.25°,15°(default),18.75°,22.5°,26.25°,Purpose are:
- Compatible with different types motor. If not work with default timing, please change the appropriate timing.
- Change motor Max. RPM by changing timing. Timing is higher, output RPM is faster, power consumption is bigger.
- Make motor work in the best efficiency point by changing timing.
- Auto timing can change timing between 0°and 30°automatically.
- Motor Direction Adjustment: Change motor rotation direction with this option.
- Over heat Protection: ESC or motor temperature is very high ( over 95°), this option decides if cut off the motor output, default is protection.
- Lipo Cells: Auto: count Lipo cells automatically; 2S,3S:choose the corresponding values according to battery cells number.
Programming
- Programming with set button in the switch.
Note:
- Motor will emit "BEEP" when indicator light flashes.
- When N>=5, indicator light will flash for a long time ( with long tone ) to represent 5.For example, ESC red indicator flashes for a long time once ( motor emits long tone "BEEP---" at the same time), shows that enter the 5th set option. If ESC green indicator flashes for a long time once then for a short time once ( motor emits long " BEEP---" once and short "BEEP" once at the same time), shows that it enters the 6th set option. And the like, the 7th set option "BEEP---BEEP,BEEP,BEEP", the 8th set option " BEEP---BEEP,BEEP,BEEP".


- Programming with Program Card.
It's the easiest way to set with programming card. Operation is as following: insert signal wire to the interface in programming card, select the options that you want ( see in the above chart), press【OK】,after VALUE screen displaying "S", this option sets successfully. If want to reset the option to factory setting, please press 【RESET】, then press【OK】. (Please see the instruction of program card for more detail)
Protections
| Lipo low-voltage protection | If running speed gets slowly (reduce power to cut off in 5 seconds), please reduce speed and stop. ESC red light will flash at this time, it means low-voltage protection starts. For NiMH battery, set no low-voltage protection. |
| Over heat protection | When temperature is higher than 90°, ESC will cut off with flashing green light. When temperature is lower than 80°, motor will restart again. Note: To make ESC not be burnt during working, please don't cancel over heat protection. |
Trouble shooting
| Troubles | Possible causes | Solutions |
| After connecting battery, indicator led doesn't flash, motor doesn't start, fan doesn't start. |
| Check the soldering of all joints, especially between the battery and motor wires. If the switch or switch wire is damaged, return to factory for service. |
| Car goes backwards when forward is pressed. |
| Make sure the motor wires are connected in the correct sequence |
| Stop suddenly during motor rotation. |
| See the explanation of low-voltage protection and over heat protection. |
| .When motor starts, fast acceleration, motor gets stuck or pauses. |
|
|
Optional Kits
- 45A Model with Fan as factory default.
- 18A,25A,35A without Fan as factory default. according your requirement install or not install.

*please pay attention to the "+" and"-" during install the Fan.

ADD: 5th Floor, C2 Building, Jiaan Industrial Park, Zone 72,Baoan District, ShenZhen, China
TEL:0755-86321853 FAX:0755-86321852
Web: www.flycolor.net
Email: sales@flycolor.net

Documents / Resources
References
Download manual
Here you can download full pdf version of manual, it may contain additional safety instructions, warranty information, FCC rules, etc.
Download Flycolor A-CW018003, A-CW045003, A-CW025003, A-CW035003 Manual
Advertisement

Need help?
Do you have a question about the A-CW018003 and is the answer not in the manual?
Questions and answers