Table of Contents
Advertisement
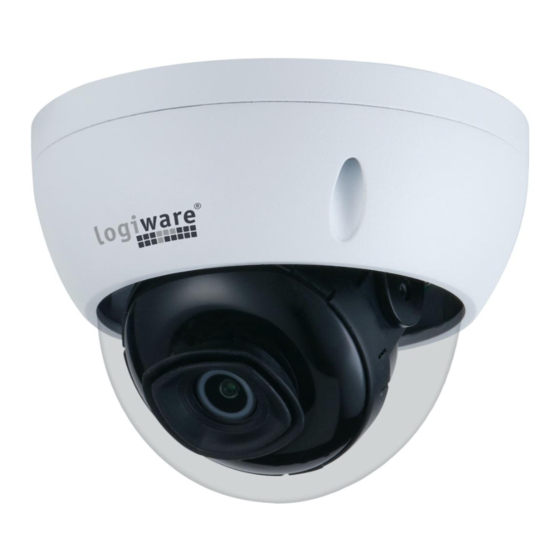
Quick Links
Advertisement
Table of Contents

Related Manuals for Logiware IPC2101A

Summary of Contents for Logiware IPC2101A
- Page 1 Quick Start Guide logiware IPC2101A V1.0.2 logiware gmbh Alfred-Mozer-Str. 51 D-48527 Nordhorn Phone: +49 (0)5921 7139925 Internet: https://www.go1984.de E-Mail Sales: sales@logiware.de E-Mail Support: support@logiware.de Quick Start Guide - logiware IPC2101A Page 1 of 18...
- Page 2 We are not liable for any loss caused by the operations that do not comply with the manual. The manual would be updated according to the latest laws and regulations of related Quick Start Guide - logiware IPC2101A Page 2 of 18...
- Page 3 Please visit our website, contact the supplier or customer service if there is any problem occurred when using the device. If there is any uncertainty or controversy, please refer to our final explanation. Quick Start Guide - logiware IPC2101A Page 3 of 18...
-
Page 4: Important Safeguards And Warnings
(Not all models are included with the desiccant). It is recommended to use the device together with lightning arrester to improve lightning Quick Start Guide - logiware IPC2101A Page 4 of 18... - Page 5 Do not provide two or more power supply sources for the device unless otherwise specified. A failure to follow this instruction might cause damage to the device. Quick Start Guide - logiware IPC2101A Page 5 of 18...
-
Page 6: Table Of Contents
3.3 Installing Device ............................13 3.3.1 Installation method ........................13 3.3.2 Installing SD Card (Optional) ......................14 3.3.3 Attaching Device .......................... 3.3.4 Installing Waterproof Connector ....................3.3.5 Adjusting Angle ..........................Quick Start Guide - logiware IPC2101A Page 6 of 18... -
Page 7: Introduction
For more information about cable ports, see Table 1-1. Table 1-1 Cable information Name Description Connects to network with network cable. Provides power to the device with PoE. Ethernet port PoE is available on select model. Quick Start Guide - logiware IPC2101A Page 7 of 18... - Page 8 Inputs 12V DC power. Please be sure to supply power as instructed in the Guide. 12V DC power input Device abnormity or damage could occur if power is not supplied correctly. Quick Start Guide - logiware IPC2101A Page 8 of 18...
-
Page 9: Network Configuration
Step 3 Click Search setting. The Setting interface is displayed. Step 4 Enter the start IP and end IP of the network segment in which you want to search devices, and then click OK. Quick Start Guide - logiware IPC2101A Page 9 of 18... - Page 10 IP addresses of multiple devices will be set to the same if you select Same IP. If DHCP server is available in the network, devices will automatically obtain IP addresses from DHCP server when you select DHCP. Step 4 Click OK. Quick Start Guide - logiware IPC2101A Page 10 of 18...
-
Page 11: Logging In Web Interface
Step 1 Open your favorite browser, enter the IP address of the device in the address bar and press Enter. Step 2 Enter user name and password in the login box, and then click Login. Quick Start Guide - logiware IPC2101A Page 11 of 18... -
Page 12: Installation
The operation manual and related tool are contained on the QR code, and the actual packing shall prevail. 3.2 Dimension Following figures are for reference only, the actual product shall prevail. (Unit: mm [in]) Quick Start Guide - logiware IPC2101A Page 12 of 18... -
Page 13: Installing Device
3.3 Installing Device 3.3.1 Installation method Quick Start Guide - logiware IPC2101A Page 13 of 18... -
Page 14: Installing Sd Card (Optional)
SD card slot is available on select models. Disconnect the power from the device before installing the SD card. Pressing reset button: Press the reset button for 10 seconds to reset the device. Quick Start Guide - logiware IPC2101A Page 14 of 18... -
Page 15: Attaching Device
3.3.3 Attaching Device Make sure the mounting surface is strong enough to hold at least three times of the device weight. Cable going through the mounting surface Quick Start Guide - logiware IPC2101A Page 15 of 18... - Page 16 Cable going through the side cable tray Quick Start Guide - logiware IPC2101A Page 16 of 18...
-
Page 17: Installing Waterproof Connector
3.3.4 Installing Waterproof Connector This part is only needed when there is waterproof connector come with the device and the device is used outdoor. Quick Start Guide - logiware IPC2101A Page 17 of 18... -
Page 18: Adjusting Angle
IR light layout is different according to different models; please refer to the real model for more details. Please be aware of image rotation direction when it turns to 64°vertically, which is to avoid IR light being blocked by enclosure and causing worse IR effect. Quick Start Guide - logiware IPC2101A Page 18 of 18...