Table of Contents
Advertisement
Quick Links
Advertisement
Table of Contents

Related Manuals for Cerasonar CS-500DSP4

Summary of Contents for Cerasonar CS-500DSP4
- Page 2 4 channel DSP amplifier Technical changes and printing errors reserved - Installation Manual V2.1 – Page 2 / 16...
-
Page 3: Important Safety Instructions
Important Safety Instructions Read these instructions Keep these instructions Heed all warnings Follow all instructions Do not use this apparatus near water Clean only with a dry cloth Do not block any ventilation openings. Install in accordance with the manufacturer’s instructions ... - Page 4 Caution, to reduce the risk of electric shock, do not remove the top cover. There are no user-serviceable parts inside. Refer servicing to qualified personnel. Recycling notice: If the time comes and this apparatus has fulfilled its destiny, do not throw it out into the trash. It has to be carefully recycled for the good of mankind, by a facility specially equipped for the safe recycling of electronic apparatus.
-
Page 5: Maintenance And Repair
Cerasonar authorized service partner. Cerasonar is not responsible for any injury, harm or related damages arising from any failure of the customer, owner or user of the apparatus to facilitate those repairs. - Page 6 Introduction Thank you for purchasing the cerasonar cs-500dsp4 which is a 4-channel DSP amplifier that convinces with its performance and compact dimensions. A preset can be selected for our cerasonar loudspeakers to ensure optimal sound in any room. The digital overload protection guarantees operational safety.
-
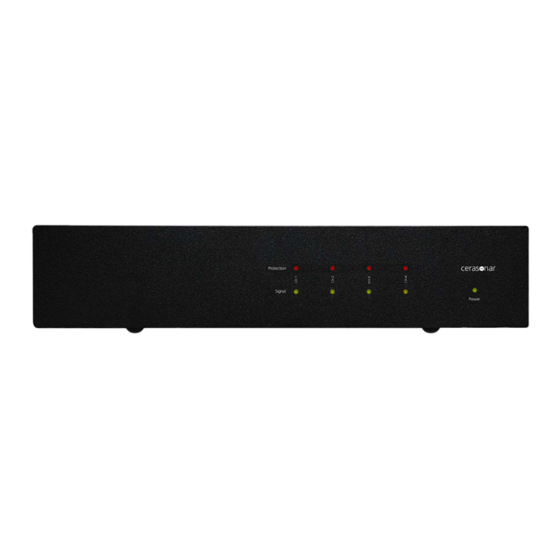
Page 7: Signal Led
Please turn to page 14 IEC 4-PIN RECEPTACLE The cs-500dsp4 amplifier has an auto-switch 115/230VAC power supply that operates on mains from 100 - 240 V at 50Hz or 60 Hz. The IEC receptacle on the rear panel accepts the supplied IEC cord which terminates in a connector plug appropriate for the country of sale. -
Page 8: Network Control
(LINK) and network activity (ACT). When several network devices are connected to a network, a switch with a built-in DHCP server should be used. The cs-500dsp4 is set to DHCP mode on delivery, which means that the network router assigns an IP address to the device. -
Page 9: Dsp Section
Web GUI Controls START SECTION The cerasonar cs-500dsp4 is easy and fast to configure due to the sleek and straightforward GUI design. On the start page you have the input matrix to route the input signal(s) to the desired output channel(s). In the mixer section, the output channel(s) volume can be adjusted or the amp channel muted. - Page 10 EQ FILTER SECTION If required, EQ filters can be used. Three filters are available per channel, the LPF and HPF are each 12 dB per octave. With a suitable measurement system, the frequency response should be measured at different points in the room. Afterwards, filters should only be set if a certain tendency is visible on all measurements.
-
Page 11: Preset Section
PRESET SECTION The amplifier is shipped with presets for various cerasonar products. These can be selected in this section. The presets can be loaded not only from the amplifier, but also from the data memory of the individual device. If changes have been made to the settings of the amp, they can be saved here. -
Page 12: Network Configuration
POWER SAVING SECTION Again, the values set by DIP switches on the rear panel are only displayed. Please make sure that the configuration is correct so that the energy saving options can be utilised. NETWORK CONFIGURATION The set network values are displayed here and can also be changed. ATTENTION: Please make changes only by qualified users, since the amplifier may not be visible if it is configured incorrectly. -
Page 13: Password Section
PASSWORD SECTION The device can be secured by a password in this section. WARNING: We recommend to keep the password safely! Technical changes and printing errors reserved - Installation Manual V2.1 – Page 13 / 16... -
Page 14: About Section
ABOUT SECTION Here the device name and the software version can be checked. FACTORY RESET To perform a factory reset, follow these steps: 1. Remove the audio input adapter(s) 2. Power on the device 3. Use a safety pin to assert the hidden button on the rear panel for less than 2 seconds 4. -
Page 15: Technical Specifications
Technical Specifications Amplifier channels: 4 channels Power Output: 125 watts x4 @1KHz/4ohm 125 watts x4 @1KHz/8ohm 250 watts (bridged) x2 @1KHz/8ohm 250 watts (bridged) x2 @1KHz/70V 250 watts (bridged) x2 @1KHz/100V Signal-to-Noise Ratio: ≥ 96dB (A-weighted) @1KHz/100V THD+N: <1% @1KHz/rated power Frequency Response: 20Hz to 20KHz ±...