Advertisement
Quick Links
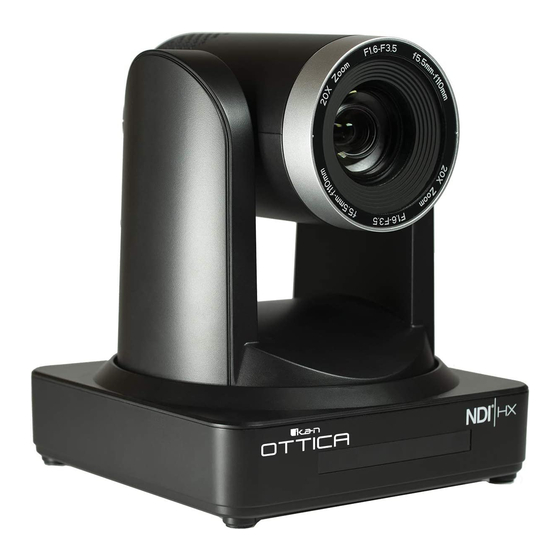
OTTICA
TROUBLESHOOTING GUIDE
Make sure all of your devices that you're trying to connect (camera, computer, and controller) are in
the same network range. The first 3 segments need to be the same. For example: "192.168.5._"
If you are having trouble finding the IP address of the camera, here are a few options:
1. Plug in the camera to a monitor via HDMI. The IP address will appear in the top left corner of
the screen when it boots up.
2. Download and run "NDI Analysis"
2A.
https://ndi.video/tools/ndi-analysis/
www.ikancorp.com | 1.713.272.8822 | sales@ikancorp.com
Advertisement

Related Manuals for Ikan OTTICA


Summary of Contents for Ikan OTTICA
- Page 1 OTTICA TROUBLESHOOTING GUIDE Make sure all of your devices that you’re trying to connect (camera, computer, and controller) are in the same network range. The first 3 segments need to be the same. For example: “192.168.5._” If you are having trouble finding the IP address of the camera, here are a few options: 1.
- Page 2 www.ikancorp.com | 1.713.272.8822 | sales@ikancorp.com...
- Page 3 2D. After pasting the text, press enter. All of the NDI streams will appear with information including their IP addresses. 3. Download and run “Advanced IP Scanner” https://www.advanced-ip-scanner.com/ 3B. Type in the IP range that you’d like to search within. Press the scan button. All the devices on your network will appear with their IP addresses.
- Page 4 only one camera, press “ * ”, “ # ”, “Manual” in 4. Use the included IR remote, point it at that order. This will reset the camera’s IP address to the default of 192.168.5.163. NOTE: Make sure you do not point the IR Remote at any other cameras except for the one you are trying to change.
- Page 5 Once you’ve discovered the IP address, type it into the URL bar of your web browser and press enter. Before logging in, make sure the language is set to English. Then log in using “admin” for both username and password. www.ikancorp.com | 1.713.272.8822 | sales@ikancorp.com...
- Page 6 After logging in, go to the configurations tab at the top right of the screen and go to the “Ethernet settings.” Uncheck the “DHCP” box, then set the IP address to your liking (make sure the IP address is not identical to any other devices on your network.) Press the save icon, then reboot the camera.
- Page 7 If the camera login screen still does not appear, you may have to temporarily change the IP address of your computer. If you need help changing the IP address of their computer, here is a tutorial. https://www.youtube.com/watch?v=zroTxsDC2V8 This tutorial is for Windows 10. For Windows 11, getting to the adapter options is slightly different.
- Page 8 After you’ve changed the IP address of your cameras, you can change the IP address of your computer back to DHCP by clicking the following option: To change the IP address of your controller, press the “SETUP” button. Toggle down to menu “2/10”...
- Page 9 Here, you can set the first three segments of your controller’s IP address to match your camera. You should be able to add your OTTICA cameras. To add your camera (Using IP VISCA): 1. Press the “IP” button, type in your camera’s IP address. Note: Use the joystick to navigate through the different segments in the IP range when typing in the IP address if needed.
-
Page 10: Learn More
Learn More More dynamic information at official website: www.ikancorp.com Support Contact email: support@ikancorp.com ©2023 Ikan International. All rights reserved. www.ikancorp.com | 1.713.272.8822 | sales@ikancorp.com...
Need help?
Do you have a question about the OTTICA and is the answer not in the manual?
Questions and answers