Advertisement
Quick Links
Advertisement

Related Manuals for iFan IF402


Summary of Contents for iFan IF402
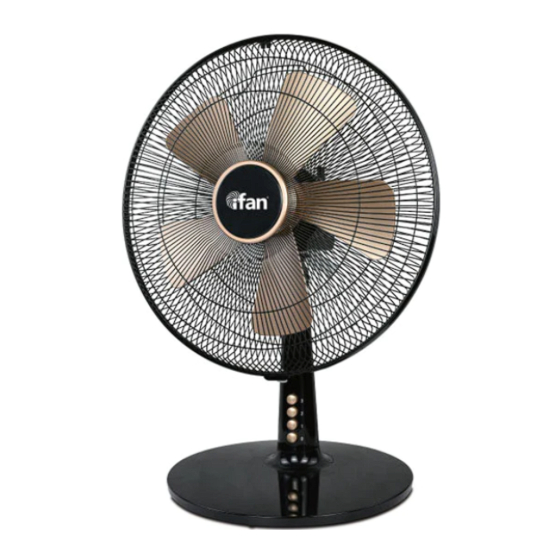
- Page 1 DESK FAN 16” TABLE FAN WITH AIR CIRCULATOR IF402...
- Page 2 Parts & Description LIST OF COMPONENTS Front Grille Fan Head (containing Motor) Grille Ring with Grille Clip Swing Button Blade Cap Speed Buttons Fan Blade Main Body Guard Mounting Nut Base Cover Back Grille Base Motor Shaft Screws ④ ⑤ ⑥ ⑦...
-
Page 3: How To Assemble
HOW TO ASSEMBLE Warning: DO NOT operate the fan with any of its parts unassembled. The entire assembled unit works as a single appliance. The fan must only operate in the upright position. Any other position will be hazardous. 1. Unpack all parts from the package and place them on the floor. 2. - Page 4 • Insert the Back Grille through the Motor Shaft, making sure that the ⑥ ⑦ three locking pins are placed into their holes of the Back Grille. ⑥ • Screw the Guard Mounting Nut to the Fan Head by turning it clockwise. ⑤...
- Page 5 • Insert the ④ Fan Blade through the Motor Shaft. Wiggle the Wedge ⑦ Groove at the back of the Fan Blade onto the Space Pin of the Motor ④ ⑦ Shaft. • Secure the Fan Blade to the Motor Shaft by tightening the Blade ④...
- Page 6 • Ensuring the logo at the front of the ① Front Grille is positioned properly, attach the Front Grille to the Back Grille and secure them by turning ① ⑥ the screw of the Grille Clip at the bottom of the Grille Ring. ②...
- Page 7 Warnings ATTENTION : Read this booklet carefully as it contains important instructions for a safe installation, use and maintenance. Important instructions to be kept for future reference. The following basic precautions should always be followed when using electrical appliances: 1. Read all instructions before using the appliance. The Appliance 2.
- Page 8 8. Only use original components & accessories (e.g. Front & Back Grilles, Fan Blade, Blade cap, Guard Mounting Nut, Poles, Base, etc.) provided by the manufacturer. Any non-original component or accessory NOT recommended by the manufacturer (including, but not limited to, Front & Back Grilles, Fan Blade, Blade cap, Guard Mounting Nut, Poles, Base, etc.
- Page 9 Operation 16. If you are using the appliance for the first time, you should: a. Clean the exterior parts of the fan thoroughly with warm water & detergent with a non-abrasive sponge and wipe dry. DO NOT use metal scouring pads. Make sure that the Motor Unit DOES NOT come into contact with water.
- Page 10 17. During operation, DO NOT touch the appliance with wet body parts, and it is recommended to have between you and the standing surface, an isolating element (for example, wearing shoes with rubber soles). 18. DO NOT soak the Motor Unit in water or other liquids, wash it under the tap, or let any liquid flow into the internal casing of the appliance to prevent electric shock.
- Page 11 HOW TO USE 1. Press the Speed Button to the fan speed ‘0’. 2. Insert the plug directly into the wall socket. Switch the socket switch ON. To turn ON 3. Press the Speed Button to the fan speed (Low – ‘1 / 2 / 3’ – High) you desire. 4.
-
Page 12: How To Clean
HOW TO CLEAN 1. Switch the appliance OFF. Wait for the appliance to cool down completely. 2. To disassemble a. Unlock the Grille Ring Clip and detach the Front Grille. b. Holding the Fan Blade, turn the Blade Cap clockwise. c. -
Page 13: Specification
DISPOSAL: Do not dispose this appliance as unsorted municipal waste. Collection of such waste separately for special treatment is necessary. SPECIFICATION MODEL IF402 FAN DIAMETER 16 inch (41 cm) RATED VOLTAGE 220 – 240 V ~50 – 60 Hz... -
Page 14: Warranty
WARRANTY Warranty Conditions 1. This warranty provides against defective materials and manufacturing faults throughout for two years from the date of purchase of the appliance. The warranty on the Compressor is 10 years subject to the same conditions as above. 2. - Page 15 Please complete the on-line registration warranty form available on our website. There is no further requirement to send us any hard copy as part of our efforts to save the environment. In accordance with the terms and conditions of this limited warranty as stated above, PowerPac Electrical Pte Ltd, at its expense shall provide free services for the appliance within the warranty period from its date of purchase from our Authorised dealers.
Need help?
Do you have a question about the IF402 and is the answer not in the manual?
Questions and answers