CMP DEL Ozone 25 Installation Instructions Manual
Hide thumbs
Also See for DEL Ozone 25:
- Installation instructions & product manual (50 pages) ,
- Service instructions manual (8 pages)
Table of Contents
Advertisement
Quick Links
Advertisement
Table of Contents

Related Manuals for CMP DEL Ozone 25


Summary of Contents for CMP DEL Ozone 25
- Page 1 ® DEL OZONE 25/50/100 INSTALLATION INSTRUCTIONS & PRODUCT MANUAL FOR MODELS DEL Ozone 25, DEL Ozone 50, DEL Ozone 100 ENGLISH ......1 CANADIEN FRANÇAIS ..19 ESPAÑOL ......37 C-M-P.COM/DEL 4-2162-01 Rev.G...
- Page 2 IMPORTANT INFORMATION • Read this manual completely before attempting installation. Failure to install in accordance with the installation instructions could void warranty and result in injury or death. • The DEL Ozone generator electrical connection is to be attached to the pool controls, be sure the pool controls are protected by a Ground Fault Circuit Interrupter (G.F.C.I.).
- Page 3 • WARNING: Short-term inhalation of high concentrations of ozone and long term inhalation of low concentrations of ozone can cause serious harmful physiological effects. DO NOT inhale ozone gas produced by this device. • For your safety, do not store or use gasoline, chemicals or other flammable liquids or vapors near this or any other appliance.
-
Page 4: Table Of Contents
TABLE OF CONTENTS SECTION 1 Overview 1A. Description.................... 1 1B. Specifications ..................1 SECTION 2 Installation 2A. Location ....................1 2B. Wall Mounting ..................2 2C. Electrical ....................3 2D. Plumbing ....................3 SECTION 3 Operation 3A. General ....................7 3B. Initial System Start-Up ..............7 3C. - Page 5 TABLE OF CONTENTS SECTION 4 Maintenance & Service 4A. System Electromechanical Overview ........... 8 4B. System Maintenance ................ 8 4C. Generator Servicing - Refer to Figure 4 ........9 4D. Troubleshooting ................10 4E. Contact Information ................ 11 Section 5 Replacement Parts 5A.
-
Page 6: Section 1 Overview
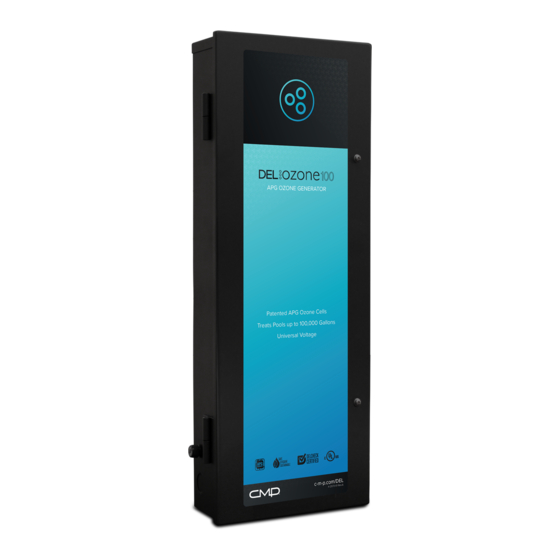
Section 1 Overview 1A. Description The DEL Ozone generators described in this manual are designed to provide the benefits of ozonated water in an environmentally safe and effective manner. The high quality, specially engineered components ensure efficient ozone output and reliable performance. As a result of proper use of the DEL Ozone generators, unpleasant effects of traditional chemical use are virtually eliminated. -
Page 7: Wall Mounting
Section 2 Installation 2B. Wall Mounting 1. Open the Enclosure Door and locate the three mounting holes on the back wall of the Enclosure. There will be two holes located near the top on the left and right and one located in the center near the bottom. -
Page 8: Electrical
Section 2 Installation 2C. Electrical 2C-1. Main Power This device is intended to be installed by a certified electrical technician, in accordance with local electrical codes. Connect the DEL Ozone generator to the pool timing clock so that the DEL Ozone generator operates simultaneously with the pool pump. - Page 9 Section 2 Installation Note: The Injector Manifold should be installed above water level whenever possible. If the Injector Manifold is installed below water level, take proper precautions to prevent water from draining through the injector and damaging the surrounding area. For example, use clamps on all tube connections, run ozone tubing above water level and provide adequate drainage around the pool equipment.
- Page 10 Section 2 Installation Add an arrow that points to the join of the green ozone tube to the assembly, and entitle it "Flow Meter Assembly: Flow Meter Assembly Tube Adaptor Injector Assembly Figure 3a: Flow Meter Assembly 2D-3. Pressure Test If a pressure test is required, it should be performed prior to connecting the Ozone Gas Line.
- Page 11 Section 2 Installation Adjustable Injector Manifold: Gas flow can be controlled by adjusting the Valve on the Manifold. Close the valve to increase gas flow, open the Valve to decrease gas flow. Rigid Injector Manifold: This Manifold is equipped with a DELCheck spring loaded valve.
-
Page 12: Section 3 Operation
Section 3 Operation 3A. General To achieve optimal performance from the ozone system, the pool must be as clean as possible to start with. 1. Backwash or clean filters one day before starting the ozone generator. 2. Superchlorinate pool water using a chlorine based shock treatment prior to ozone system start-up. -
Page 13: Water Chemistry
Section 4 Maintenance & Service 3E. Water Chemistry Regular chlorine or bromine testing should be performed as normal. Ozone will be eliminating the majority of contaminants. Therefore, only a small amount of chemicals will need to be added - just enough to maintain a minimum of residual level of 0.5 - 1.0 ppm chlorine or 1.0 - 2.0 ppm bromine. -
Page 14: Generator Servicing - Refer To Figure 4
Section 4 Maintenance & Service WARNING: Do NOT touch the ends of the Ozone Tube when replacing. Trace amounts of nitric acid may be present and could prove harmful if touched or ingested. 4B-5. While operating, check to see if bubbles are entering the pool. If an MDV is installed, check the MDV for bubbles. -
Page 15: Troubleshooting
Section 4 Maintenance & Service To replace an Ozone Module: 1. Disconnect the Ozone Module from the Manifold and pull the Ozone Module from the Bracket so it hangs by its wires. 2. Locate the Power Supply Connector and disconnect it from the wire harness. -
Page 16: Contact Information
Section 4 Maintenance & Service c. Check connections. d. Check that the check valve is installed with the arrow pointing towards the injector. e. Be sure that the check valve has not become fouled with debris. Disconnect the Ozone Tube from the injector. With the pump running, cover the end of the injector with your thumb, and feel for suction. -
Page 17: Ordering Information
Section 5 Maintenance & Service 5A. Ordering Information To locate a dealer nearest you call (800) 676-1335 or visit www.delozone.com. Be prepared with the following information: • Name • Date Purchased • Address • Dealer Name • Model # 5B. Standard replacement parts list: 1. - Page 18 APPENDIX A DEL Ozone Installation – Plumbing The DEL Ozone series generators work under vacuum. The Injector Manifold draws the ozone/air gas mixture out of the ozone generator and mixes it into the water leaving behind some un-dissolved gas bubbles. These bubbles can affect certain pool system components, so care must be taken when installing the ozone Injector Manifold.
- Page 19 NOTES...
Need help?
Do you have a question about the DEL Ozone 25 and is the answer not in the manual?
Questions and answers
Can the amount of air going into the filter housing be adjusted? I have a new DelOzone 25 and so much air is being injected into the system that the filter housing is almost going dry due to so much air.