
Subscribe to Our Youtube Channel
Related Manuals for SilverStone RVZ03


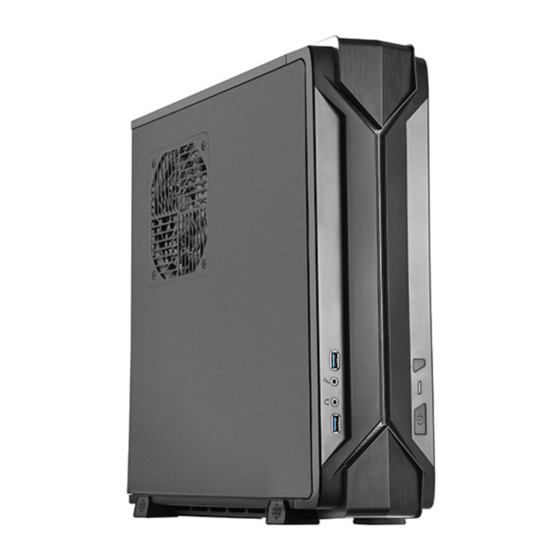
Summary of Contents for SilverStone RVZ03
- Page 1 RVZ03-ARGB REDEFI EFINE S SFF FF COM COMPUTI TING WITH G WITH FLAI REDEFI EFINE S SFF FF COM COMPUTI TING WITH G WITH FLAI Signature RAVEN styled front panel adorned with addressable RGB light strip...
-
Page 2: Special Features
INTRODUCTION ilverStone RVZ03 is a further evolution of the highly rated RAVEN Z RVZ01-E, a slim form factor case with tremendous capability. It has the same optimized interior that has room for a standard ATX (PS2) power supply and support for some the biggest consumer graphics cards on the market with superb air cooling performance. -
Page 3: Specifications
* Maximum length for power supply is 150mm but we recommend 140mm deep power supply due to varying connector locations and the unique structure of RVZ03. Due to the use of internal power cord extension, we recommend not to exceed 800W when powering off a 110V outlet... -
Page 4: Disassemble Chart
DISASSEMBLE CHART 2.5" HDD X1 2.5" HDD X2 TOP COVER FAN FILTER X1 12015 FAN X1 ARGB CAGE FAN FILTER X2 MINI-ITX (OPTION) POWER CAGE RESET BUTTON HDD LED POWER BUTTON POWER LED USB 3.0 + SPK + MIC 12015 FAN X1 ATX PSU (OPTION) ITEM PURPOSE... - Page 5 INSTALLATION GUIDE efore you begin, please make sure that you Have all components collected. Check that all components do not have compatibility problems with each other or with the case. If possible, assemble the components outside the case first to make sure they are working.
- Page 6 Unscrew the screws from the graphics card support bracket then remove it Unscrew the screws from PSU bracket then remove it...
- Page 7 If you want to use SilverStone NT06-PRO or other similar CPU cooler, please relocate the top panel 120mm fan to the bottom vent near the graphics card area Insert the I/O shield included with your motherboard then install the motherboard into the chassis...
- Page 8 We recommend at this point connecting all the necessary cables including the SATA cables to the motherboard Secure the PSU into the PSU bracket...
- Page 9 Place the PSU bracket on top of the chassis then connect the power cord to the PSU Insert the PSU bracket into its original position and secure with screws...
- Page 10 Remove expansion slot cover and install graphics card into the graphics card support bracket Depending on the design of your graphics cards, install and adjust the graphics card holder to a proper position to support your card. Adhere included rubber padding according to the height of graphics card’s backside, one (for 3mm thick backplate) or two (for no backside components) Included Foam Pad...
- Page 11 Install 2.5" HDD/SSD onto the graphics card support bracket Connect addressable RGB (ARGB) connector. Please refer to ARGB LED connector guide in later pages for more details...
- Page 12 Install graphics card support bracket into the chassis and connect the power cord to the graphics card if needed Make sure all the cables are properly connected...
- Page 13 Place the top cover back onto the chassis and secure with screws Depending on requirement or preference, adhere four rubber stands for horizontal use or install the rubber pads for vertical use. Corresponding RAVEN logo for each orientation are included for installation...
-
Page 14: Connector Definition
CONNECTOR DEFINITION (1) Front Panel Connectors Guide Power Switch Reset Switch Power switch and reset switch installation guide Please refer to the motherboard manuals for the motherboard’s “Front Panel Connector” or “System Panel Connector” pin definition Power switch and reset switch have no polarity, so they can be connected in any orientation LED indicators installation guide HDD LED+... - Page 15 A. To control lighting via motherboard, make sure it supports addressable RGB (+5V, D, G) signals on its RGB header. B. If you have other ARGB devices such as SilverStone’s own LS03 light strip or FG122 ARGB fan frame, you may also connect them to RVZ03’s ARGB controller, below are...
- Page 16 (3) Front I/O connector guide Below are the front I/O connectors pin definition, please also check your motherboard manual to cross reference with motherboard’s front I/O pin headers. SilverStone’s I/O connectors are in block type to simplify installation USB 3.0 CONNECTOR...
-
Page 17: Component Size Limitations
(1) CPU cooler height limitation 83mm 11mm 4.2mm A. Height limitation: The RVZ03 has 83mm height limitation for CPU cooler B. Upper boundary: the cooler can protrude 11mm over the motherboard’s top edge C. Front boundary: The clearance toward the front of the chassis... - Page 18 (2) PSU limitation RVZ03’s maximum depth for a standard PS/2 (ATX) power supply is 150mm, but installation of a 150mm deep power supply will require sacrificing a 2.5" drive space and no room for cable connection after installation. So if using a 150mm deep modular power supply, make sure to connect all cables prior to installing it into the case.
- Page 19 149mm 131mm 111mm A. Length limitation RVZ03 can support 13" (330mm) consumer level graphics cards. Please contact us if you find a card that does not fit B. Width limitation (i) The standard width for graphics card is 4.38" (111mm) (ii) With the graphics card holder installed, the maximum allowable width for graphics card is 5.16"...
-
Page 20: Optimal Thermal Performance Layout
VERTICAL/HORIZONTAL PLACEMENT A. Because most vents are situated on the bottom, placing the RVZ03 vertically will result in better temperature than in horizontal position B. When using the case horizontally, please be sure of adhering... -
Page 21: Maintenance And Upgrade
MAINTENANCE AND UPGRADE he RVZ03’s positive air pressure design is an effective configuration that will reduce dust buildup inside the case. Small air particles or lint will accumulate over time on intake filters instead of on the components inside the case. To maintain... - Page 22 FAN REMOVAL GUIDE The fan on the top cover can be dismounted after removing the top cover The graphics card holder needs to be removed before dismounting the fans on the bottom vents We recommend removing the filters before dismounting the fans...
-
Page 23: Protect Your Computer
Note: Cable security lock is not included with RVZ03 A lock and cable can be purchased on the market for use with the Kensington security slot located on rear of RVZ03 to prevent removal of the entire computer or top cover Caution: Please check for compatibility before purchasing the lock and cable for use with RVZ03’s Kensington security slot... -
Page 24: Warranty Terms And Conditions
1 year warranty in North America and Australia. For information on warranty periods in other regions, please contact your reseller or SilverStone authorized distributor. WARRANTY TERMS & CONDITIONS Product component defects or damages resulted from defective production is covered under warranty. - Page 25 Warranty covers only the original purchaser through authorized SilverStone distributors and resellers and is not transferable to a second hand purchaser. You must provide sales receipt or invoice with clear indication of purchase date to determine warranty eligibility. If a problem develops during the warranty period, please contact your retailer/reseller/SilverStone authorized distributors or SilverStone http://www.silverstonetek.com.
- Page 26 All products should be sent back to the place of purchase if it is within 30 days of purchase, after 30 days, customers need to initiate RMA procedure with SilverStone Technology in USA by first downloading the “USA RMA form for end-users” form from the below link and follow its instructions.
- Page 27 ©2018 SilverStone Technology Co., Ltd. All Rights Reserved ALL trademarks are registered to their respective owners...
Need help?
Do you have a question about the RVZ03 and is the answer not in the manual?
Questions and answers