Advertisement
Quick Links
SAFETY INFORMATION
Please read and understand this entire manual before attempting to assemble, install or operate the product.
WARNING
• RISK OF ELECTRIC SHOCK - Before beginning installation, turn off electricity at the circuit breaker box or the main fuse box.
• RISK OF FIRE - Use bulbs specified by the markings and/or labels on the fixture.
CAUTION
• For your safety, read instructions completely before beginning installation.
• If in doubt about electrical installation, consult a licensed electrician.
• Turn off electricity to fixture before replacing the bulb(s).
TOOLS REQUIRED
CARE AND MAINTENANCE
• Wipe clean using soft, dry cloth or static duster. Always avoid using harsh chemicals and abrasives to clean fixture as they may damage
the finish.
If you need further assistance call Quoizel Customer Care at 1-800-645-3184 (9:00am - 5:00pm EST), or visit us on-line at
www.quoizel.com.
PACKAGE CONTENTS
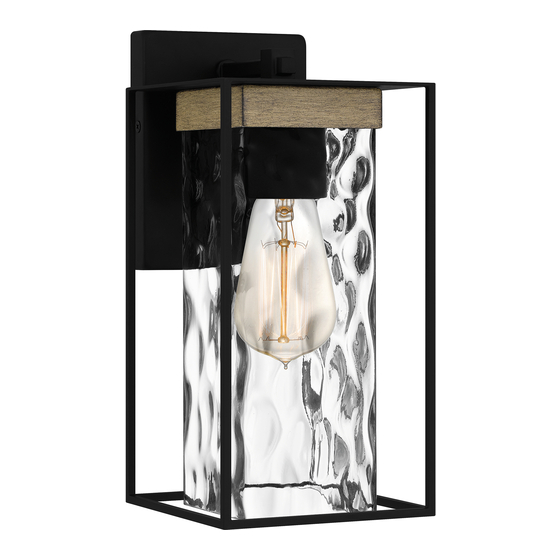
Fixture Body
A
x 1
MOUNTING HARDWARE
Crossbar
AA
BB
x 1
INSTALLATION GUIDE FOR LWD8405MBK
Glass Shade
B
x 1
Mounting Screw
CC
x 2
Steel Collar
Socket Collar
[Pre-assembled
[Pre-assembled
C
D
to Fixture Body]
to Fixture Body]
x 1
x 1
Wire Connector
Outlet Box Screw
DD
x 3
x 2
-
1
of
2
-
Released Date: 202 - 2 06-10
Socket Collar
Tool
E
x 1
Advertisement

Subscribe to Our Youtube Channel
Related Manuals for Quoizel LWD8405MBK


Summary of Contents for Quoizel LWD8405MBK
- Page 1 • Wipe clean using soft, dry cloth or static duster. Always avoid using harsh chemicals and abrasives to clean fixture as they may damage the finish. If you need further assistance call Quoizel Customer Care at 1-800-645-3184 (9:00am - 5:00pm EST), or visit us on-line at www.quoizel.com.
- Page 2 INSTALLATION Wiring Install Crossbar OUTLET BOX White wire from supply White wire from fixture Black (or red) wire from supply Black wire from fixture Ground wire from fixture Ground wire from supply Green ground screw Install Glass Shade Install Fixture Body Install Bulb Apply Caulking * Note: Do NOT caulk the bottom of the backplate to...
Need help?
Do you have a question about the LWD8405MBK and is the answer not in the manual?
Questions and answers