Sign In
Upload
Download
Table of Contents
Contents
Add to my manuals
Delete from my manuals
Share
URL of this page:
HTML Link:
Bookmark this page
Add
Manual will be automatically added to "My Manuals"
Print this page
×
Bookmark added
×
Added to my manuals
Manuals
Brands
Hoover Manuals
Washer/Dryer
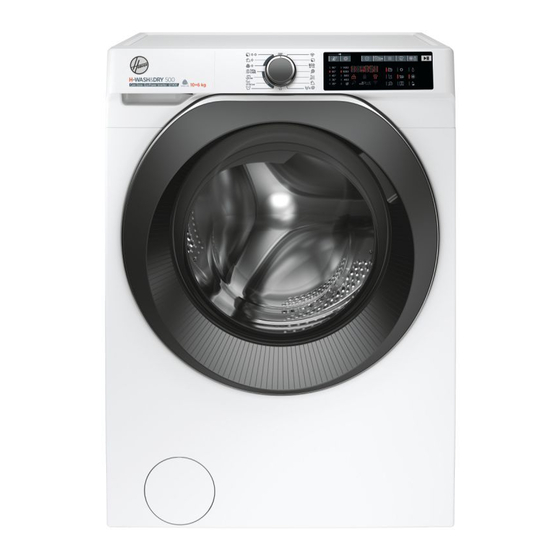
HDD 4106AMBC-80
Manual
Hoover HDD 4106AMBC-80 Manual
Hide thumbs
1
2
Table Of Contents
3
4
5
6
7
8
9
10
11
12
13
14
15
16
17
18
19
20
21
22
23
24
25
26
27
28
29
30
31
32
33
34
35
36
page
of
36
Go
/
36
Contents
Table of Contents
Bookmarks
Table of Contents
Table of Contents
General Safety Rules
Installation
Detergent Drawer
Practical Hints
Cleaning and Maintenance
Remote Control (Wi-Fi)
Quick User Guide
Controls and Programs
Drying Cycle
Troubleshooting and Warranty
Advertisement
Quick Links
1
Controls and Programs
Download this manual
Table of
Contents
Previous
Page
Next
Page
1
2
3
4
5
Advertisement
Table of Contents
Need help?
Do you have a question about the HDD 4106AMBC-80 and is the answer not in the manual?
Ask a question
Questions and answers
Related Manuals for Hoover HDD 4106AMBC-80
Washer/Dryer Hoover H-WASH&DRY 500 Manual
(32 pages)
Washer/Dryer Hoover HD 485AMBB/1-S Manual
(32 pages)
Hoover H-WASH&DRY 500 - Washer Dryer Manual
(article)
Washer/Dryer Hoover HDP 4149AMBC/1-S Manual
(32 pages)
Washer/Dryer Hoover HD 495AMBS/1-S Manual
(32 pages)
Washer/Dryer Hoover HD 495AMBB/1-S Manual
(32 pages)
Washer/Dryer Hoover H WASH HBD 485D2E/1-80 Manual
(32 pages)
Hoover H-WASH & DRY 300 PRO - Washer Dryer Manual
(article)
Washer/Dryer Hoover Dynamic Next WDMT413AI2 Manual
(32 pages)
Washer/Dryer Hoover H-WASH 300 PRO Manual
(32 pages)
Washer/Dryer Hoover H-WASH & DRY 300 PRO HBDOS 695TAME-80 Manual
(36 pages)
Washer/Dryer Hoover H-WASH 300 PLUS Manual
(36 pages)
Washer/Dryer Hoover VHD Instruction Book
Sensor dry 6+5kg (25 pages)
Washer/Dryer Hoover H-WASH & DRY 300 LITE H3D 4106TE Manual
(32 pages)
Washer/Dryer Hoover Nextra Instruction Book
7.5+5 wash'n dry (232 pages)
Washer/Dryer Hoover W.MACHINE/WASHER-DRYER Service Manual
(20 pages)
This manual is also suitable for:
H-wash&dry 500
Hdd4106ambcb-80
Hdd4106ambcr-80
Hddb4106ambcr-80
Hddb 4106ambc-80
Table of Contents
Print
Rename the bookmark
Delete bookmark?
Delete from my manuals?
Login
Sign In
OR
Sign in with Facebook
Sign in with Google
Upload manual
Upload from disk
Upload from URL


Need help?
Do you have a question about the HDD 4106AMBC-80 and is the answer not in the manual?
Questions and answers