
Related Manuals for Sirius Satellite Radio valentina The Eclipse

Summary of Contents for Sirius Satellite Radio valentina The Eclipse
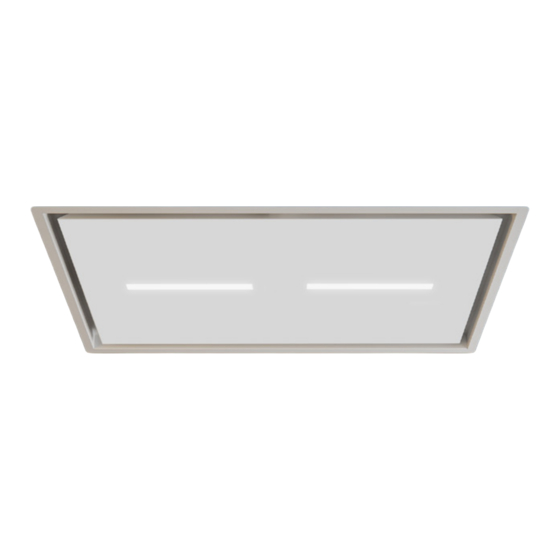
- Page 1 Congratulations on your purchase! Thank you for choosing a Sirius product. SLT971 ceiling cassette user manual INSTALLATION AND USE INSTRUCTIONS SLT971BRHM EAN #9351116005320...
-
Page 3: Table Of Contents
BEFORE YOU INSTALL TO THE ATTENTION OF THE USER PRE-INSTALLATION CHECKS OPENING THE GLASS PANEL LINE DRAWING INSTALLATION DUCTING THE CASSETTE REMOTE CONTROL WIRING DIAGRAM PROUDMOUNT INSTALLATION CLEANING AND MAINTENANCE WARRANTY... -
Page 4: Before You Install
BEFORE YOU INSTALL - DUCTING INFORMATION Sirius warranty covers only Sirius product. If you choose to install a non-Sirius branded accessory such as flexible ducting, Sirius will only warrant the rangehood and motor. If installation is found to be the cause of failure or issue then charges will apply for service and parts. Flexible ducting is not permitted under any circumstances. -
Page 5: To The Attention Of The User
TO THE ATTENTION OF THE USER This rangehood is designed to work with ducted outside evacuation. WARNING • This appliance must not be used over cook tops Keep these instructions for use with the appliance. If powered by wood or coal or in any case, over the appliance should be sold or passed on to others, cook tops with power levels that could damage make sure that the instructions are passed on with... -
Page 6: Pre-Installation Checks
CAUTION Installation must comply with the regulations in force regarding the ventilation of enclosed environments. In particular, discharged air must not be conveyed into a duct used for fumes discharge or discharge from appliances using gas or other combustible materials. Air cannot be ducted into roof space. The use of discontinued ducts is not allowed without the approval of a qualified technician. - Page 7 WARNING Before proceeding with the installation of the ceiling cassette, please thoroughly inspect the entire unit (including the motor) for any damages, including all of the electrical connections. If any damage is found, cease installation and report it immediately to the retail partner that the cassette was purchased from. NOTE •...
-
Page 8: Opening The Glass Panel
OPENING THE GLASS PANELS - On the side where the speed control light is visible, plull down the centre of the panel. This panel is held on by a strong magnet. Allow the panel to swing open to expose the grease filters. (Fig. 1) After swinging open the panel, disconnect the lighting by depressing the tabs on the connection and pulling on the cable. -
Page 9: Line Drawing
LINE DRAWING - SLT971 For the installation, create a false ceiling with a niche of 1165mm x 615mm with height between 200mm and 280mm... -
Page 10: Installation
INSTALLATION NOTE As every installation will differ slightly depending on the ceiling cavity of the dwelling, this installation instruction shall be used as a guide only. Create a rectangular opening in the ceiling that is 1165mm x 615mm, with a depth ranging from 200mm to 280mm. -
Page 11: Ducting The Cassette
Fig. 10 Fig. 11 DUCTING THE CASSETTE 1. Part ‘A’ will come fitted to the short side of the cassette from the factory. If either of the long side options are required, remove Part ‘A’ from the short side by removing the 4 x 10mm screws holding it in place. Unscrew the 4 x 10mm screws from the long side and remove the blocking plate, Part ‘A’... -
Page 12: Remote Control
REMOTE CONTROL OPERATION MODE Standard configuration: Working: Standard configuration requires all rangehood radio 6 channel control for rangehood remote. control systems to be provided with the same transmission code. In the event two rangehoods are • When the rangehood is first turned on, hold the installed in the same room or nearby, each system lighting button for 5 seconds. -
Page 13: Wiring Diagram
SLT971 WIRING DIAGRAMS... -
Page 14: Proudmount Installation
Instruc�on for installa�on of MOUNT KIT FOR SLT971 h. 300mm h. 170mm For SLT971 externa motor and BRHM For SLT971 externa motor only version 1. Position the mount kit to the ceiling and mark the perimeter holes for installation. drill the holes using an 8 mm diameter drill bit then insert the plugs supplied and install the ceiling mount kit... - Page 15 3. After installing the mount kit, proceed by making the holes to install the hood. These holes must be made in correspondence with the references in the mount kit.
- Page 16 4. Proceed by installing the hood as indicated in the user manual. Before inserting the product in its seat, make the electrical connection and connect the ducting for the smoke outlet.
-
Page 17: Cleaning And Maintenance
CLEANING AND MAINTAINENCE 1. Cleaning the filters in the dishwasher. • Clean the mesh filters by removing them from the cassette by pulling on the tab and dropping them down. • Run them through a cycle in the dishwasher. Once the cycle is completed ensure that they have air dried completely and replace them into the cassette. -
Page 19: Warranty
WARRANTY INFORMATION Dear Customer, Thank you for choosing this Sirius Rangehood. We are sure that it will provide you with many years of excellent service. At Arisit Pty Limited we are dedicated to ensuring that our customers receive the best possible after-sales care. The Sirius ‘Protection Plan’... - Page 20 Your Warranty Register now to qualify. Terms & Conditions This warranty will not apply where: Division or travel costs for a technician or The fault is caused by accident, Authorised Service Agent shall be for the misuse, an infestation of insect account of the Purchaser.
Need help?
Do you have a question about the valentina The Eclipse and is the answer not in the manual?
Questions and answers